

Guides Start Here
Your First Candle: A Complete Beginner's Guide
Everything you need to pour a safe, good-burning container candle: gear, wax, wicks, math, the pour itself, curing, and fixing problems.
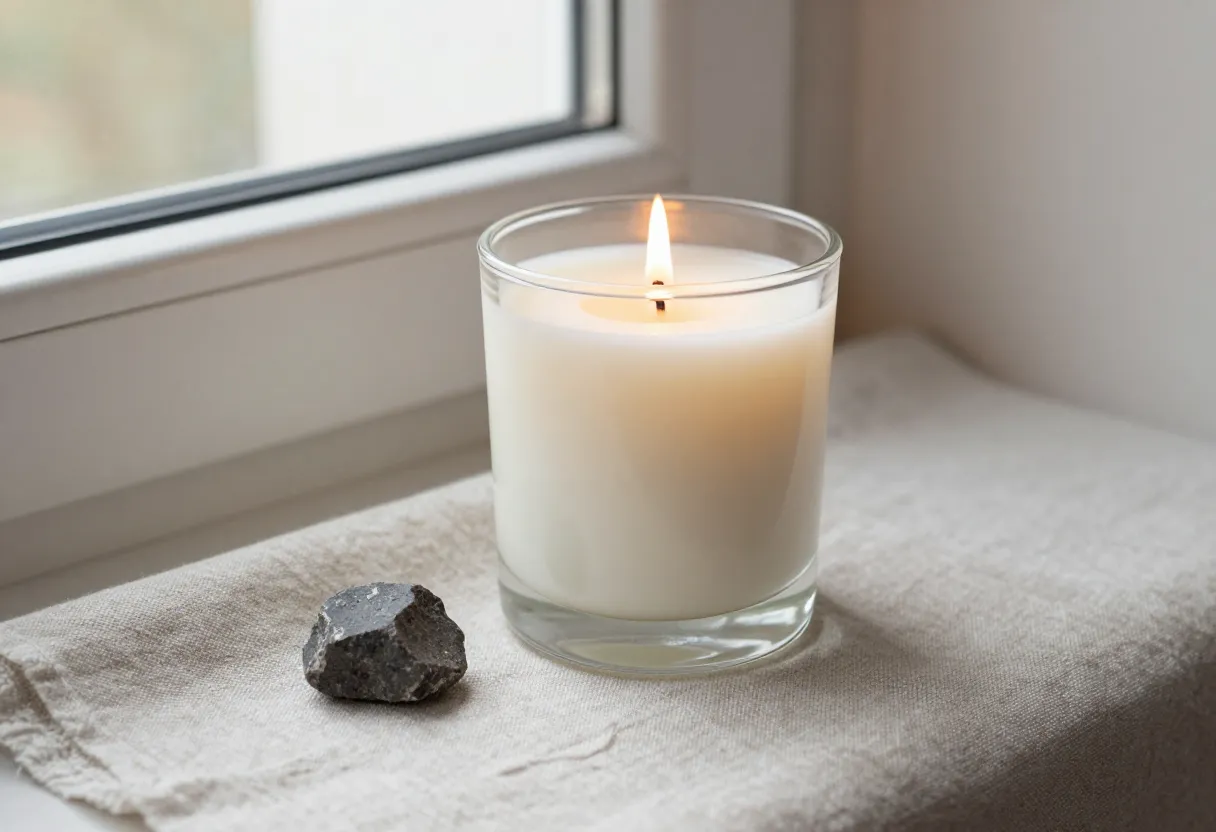
A good candle looks simple: a flame, a little pool of melted wax, a warm smell. Underneath is a small system of wax, wick, container and fragrance that all have to agree with each other. Get them to agree and you get a clean, even burn. Get them wrong and you get tunnels, smoke, weak scent, or worse.
This guide walks you through making your first container candle from start to finish. It is long on purpose. Read it once through, then keep it open at the bench.
How a candle works
A candle doesn’t burn wax the way a log burns wood. The flame melts the wax near the wick, the wick draws that liquid wax upward, and the heat of the flame vaporizes it. The vapor is what actually burns. That’s why the wick size matters so much: too small and it can’t pull enough wax to keep the flame healthy, too large and it pulls more than the flame can burn cleanly.
Keep this picture in mind. Nearly every problem in candle making comes down to the wick, the wax, or the two not being matched to the container.
Gather your gear
You don’t need much, but a few items are not optional. Accurate weighing and temperature control are what separate repeatable candles from lucky ones.
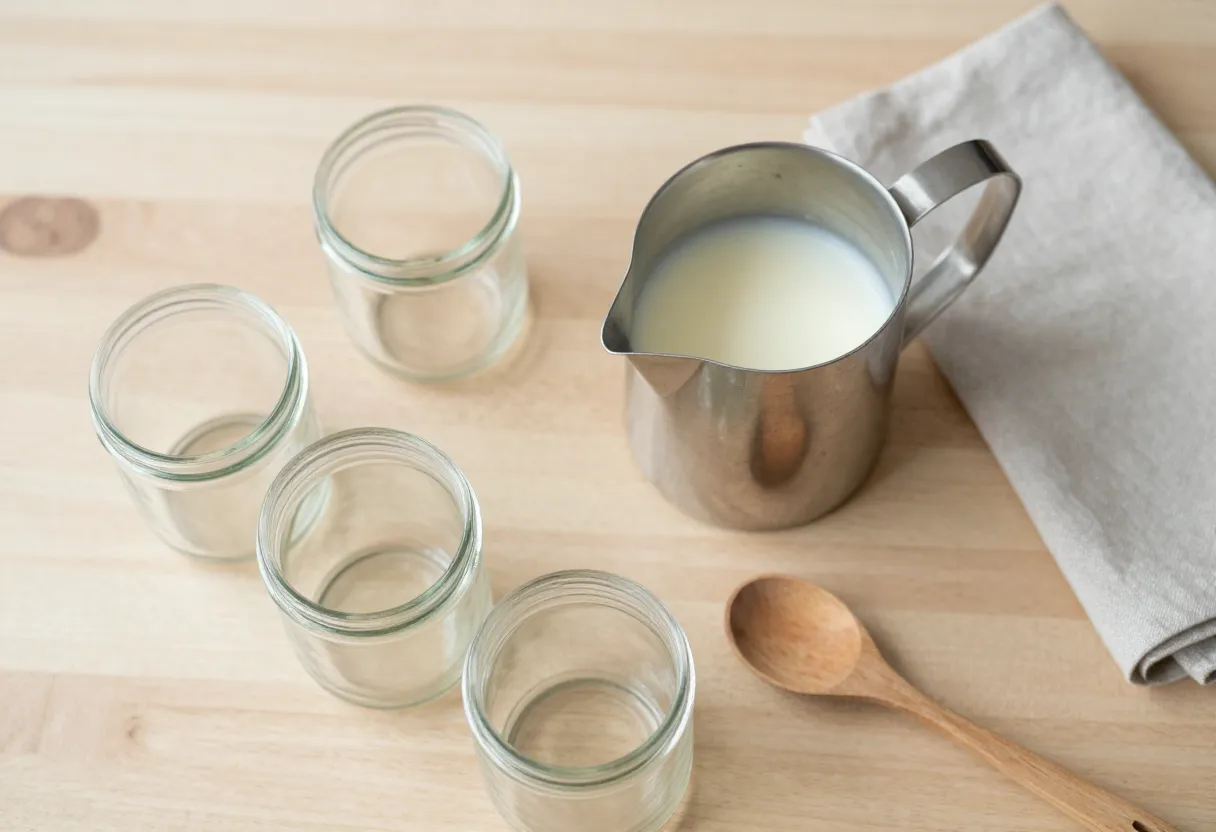
Must have
- Digital scale that reads in grams. Candle recipes are by weight, not volume.
- Pouring pitcher with a handle and spout, dedicated to wax.
- Double boiler setup: a pot of water with the pitcher set inside it, or a dedicated wax melter. Never heat wax directly over a flame or burner.
- Thermometer (an infrared or probe style works). Guessing the temperature is the most common beginner mistake.
- Containers that are made to hold hot wax and a burning candle.
- Pre-tabbed wicks in the right size for your container.
- Wick stickers or hot glue to fix the wick to the bottom, and a centering tool (a wick holder, clothespin or two chopsticks) to keep it upright.
- Stirring utensil you won’t use for food.
Nice to have
- A heat gun for smoothing the top.
- Wick trimmers.
- A kitchen timer.
- Paper towels and a dedicated wax-cleanup rag.
Choose your wax
Wax is chosen for the type of candle you’re making. For a container candle, you want a wax designed for containers. It will be softer and cling to the glass better than a pillar wax.
| Wax | Good for | Things to know |
|---|---|---|
| Soy | Beginner container candles | Natural-origin, easy to work with, slower to melt. Can frost or show wet spots. |
| Coconut blends | Smooth, creamy finish | Often blended with other waxes. Usually excellent scent throw. Costs more. |
| Paraffin | Strong scent throw, bright color | Petroleum-derived. Easy to color and scent. Burns hotter. |
| Beeswax | Natural, slow burning | Distinct honey scent. Usually needs a larger wick. Pricey. |
Start with a soy container wax. It is forgiving, widely sold, and the examples in this guide use it. Whichever wax you buy, find the supplier’s data sheet or instructions. It lists the melt temperature, the fragrance temperature, the pour temperature, the maximum fragrance load, and recommended wicks. That sheet outranks any general advice you read here, including this page.
Choose a container
Use a vessel made for candles or one you know is heat-safe and designed to hold hot liquid. Not every jar is suitable, and a container that cracks under the heat of a burning candle is a hazard.
- Look for thick-walled, heat-resistant glass or metal tins.
- Avoid thin glass, cracked or chipped vessels, and anything with plastic parts or flammable decoration.
- Make sure it is clean and completely dry. Moisture and dust cause defects.
- Choose a straight-sided container for your first candle. It’s the easiest to wick and the easiest to predict.
Measure the container’s diameter across the inside at the top, because wick selection depends on it, and its capacity in fluid ounces if you can, since you’ll use that for your wax math.
Wick basics
The wick controls the flame. There’s no single right wick for every candle, because the correct size depends on your wax, the container diameter, the fragrance and dye you use, and even how the candle is cooled.
- Start with the supplier’s chart. Wick makers publish sizing charts by container diameter and wax type.
- Pick the recommended size, then test it. A burn test is how you confirm or correct the choice. See below.
- Wick too small: the flame drowns, the candle tunnels, and scent is weak.
- Wick too big: the flame is tall and sooty, the wax gets very hot, and the top may mushroom with carbon.
Attach the wick tab to the center of the bottom of the jar with a wick sticker or a small dot of hot glue, pressing it flat so wax can’t creep under it. Hold the wick upright and centered at the top with your wick holder.
Do the math before you melt
Doing the math first means no guessing and no wasted wax.
1. Wax weight. For soy wax, a dependable estimate is the container’s capacity in fluid ounces multiplied by about 0.86 to get ounces of wax by weight. Because you’ll fill to a little below the rim, this slightly overestimates, which leaves you a bit extra for a second pour.
2. Fragrance weight. Fragrance is a percentage of the wax weight. Many soy waxes handle roughly 6 to 10 percent, but the exact maximum is on your supplier’s sheet. For a first candle, start at the low end.
Worked example: one 8 fl oz jar
| Step | Calculation | Result |
|---|---|---|
| Wax needed | 8 fl oz × 0.86 | about 6.9 oz (about 195 g) |
| Fragrance at 6% | 195 g × 0.06 | about 11.7 g |
| Total in the pitcher | 195 g + 11.7 g | about 207 g |
Weigh in grams whenever you can. The numbers are finer and the math is easier. Our calculators (coming soon) will do this for you, including batches.
Pour your candle
1. Prepare the container
Clean, dry, and set out on a level surface protected with paper or a tray. Stick the wick in the center and steady it with your holder so it stays straight and taut.
2. Melt the wax
Weigh the wax into your pitcher, set it in the simmering water, and melt it slowly, stirring occasionally. Watch the temperature. Heat it only as far as your supplier recommends. Overheating can damage the wax and is a fire risk.
3. Add fragrance
When the wax reaches the temperature your supplier gives for adding fragrance, remove it from the heat, add the weighed fragrance oil, and stir thoroughly for about two minutes so it bonds to the wax.
For many soy container waxes, this is around 185°F. Treat that as a common example, not a rule, and follow your sheet.
4. Cool to pour temperature
Let the scented wax cool, stirring now and then, until it reaches the pour temperature on your supplier’s sheet. For many soy container waxes that’s roughly 135°F to 145°F. Pouring at the right temperature helps the wax grip the glass and reduces wet spots and sinkholes.
5. Pour
Pour slowly and steadily. Stop about half an inch below the rim. Hold back a little wax for later. Check that the wick is still centered and straight.
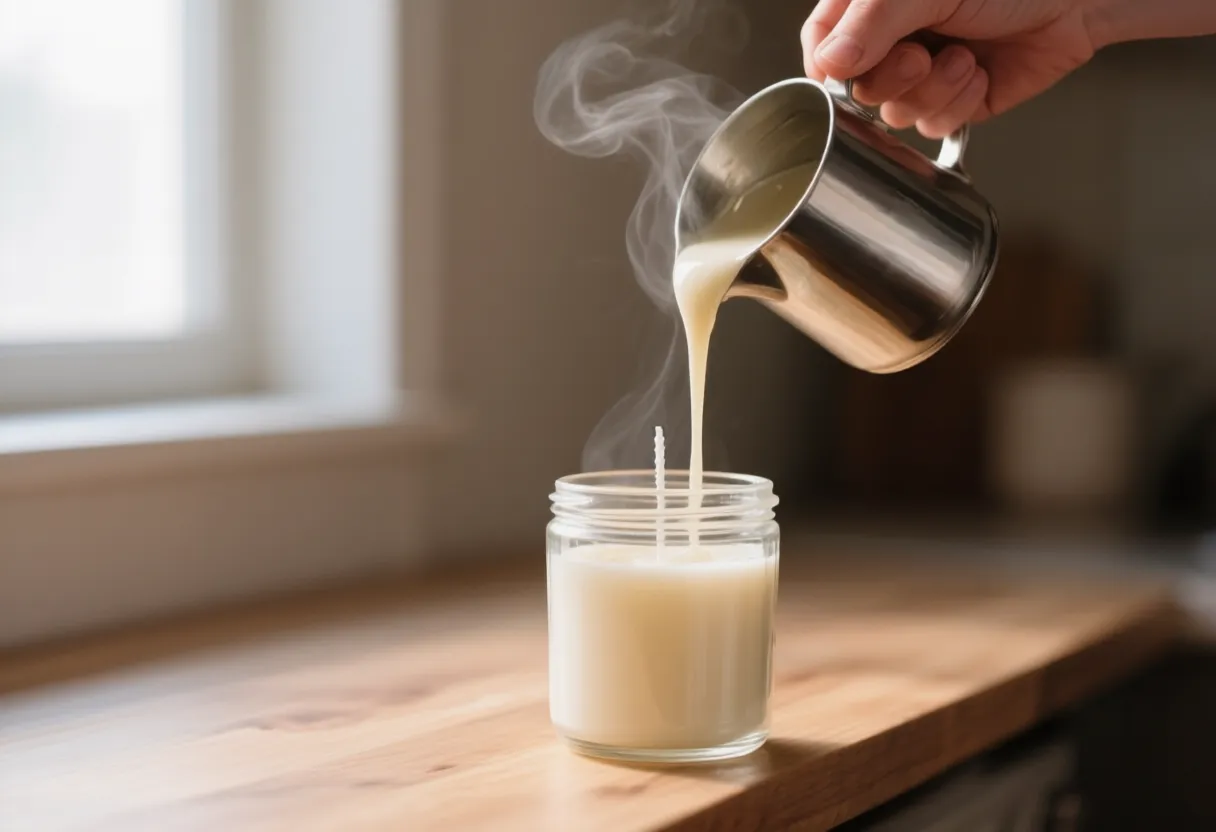
6. Let it set
Leave the candle somewhere at room temperature, out of drafts, and don’t move or jostle it. Cooling too fast can cause cracks and frosting. It usually takes several hours to set firm, and most makers leave it overnight.
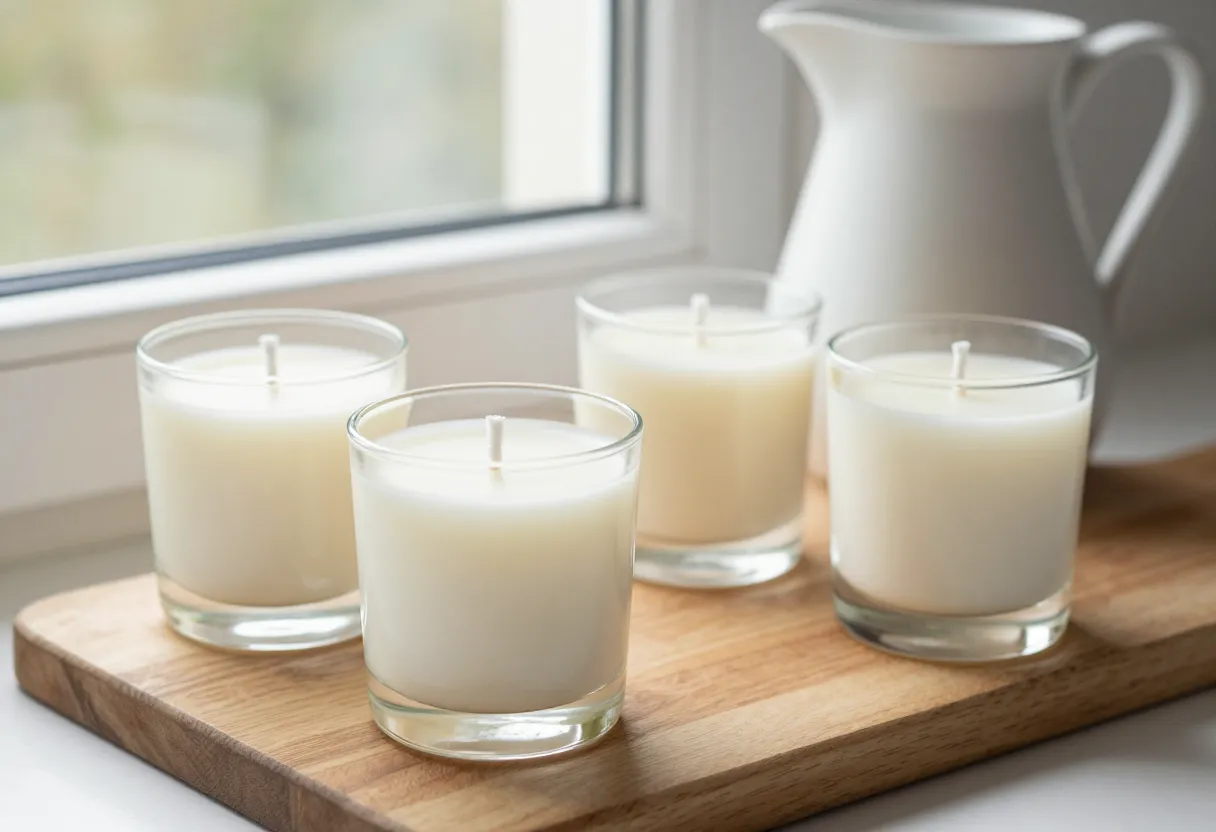
7. Top off and trim
As wax cools it shrinks, and a dip can form around the wick. If it does, gently reheat the reserved wax and do a second pour to level it. Then trim the wick to about ¼ inch once the candle is fully set.
Cure
Curing is simply waiting. Over days, the wax finishes crystallizing and the fragrance binds with the wax, which gives a stronger, more even scent throw and a cleaner burn. For soy wax, one to two weeks is the usual advice. Put the lid on, or cover it, and store the candle somewhere cool, dry and out of direct sun.
Burn test: the step most beginners skip
A burn test tells you whether your wick is right. It’s how you turn a recipe into a reliable candle.
- Trim the wick to about ¼ inch and place the candle on a heat-safe surface away from drafts and anything flammable.
- Burn it long enough for the melted pool to reach the edges of the container. A common rule of thumb is about one hour per inch of container diameter, but never burn a candle for more than about four hours at a stretch.
- Watch the flame. You’re looking for a steady flame that isn’t smoking, flickering wildly, or climbing tall, and a full, even melt pool with no wax left clinging to the sides.
- Let it cool, trim the wick, and repeat a few times. Note how it behaves as it burns down.
If the melt pool never reaches the edge, try a larger wick. If the flame is tall, sooty, or the container gets very hot, go smaller.
Troubleshooting
| Problem | Likely cause | What to try |
|---|---|---|
| Tunneling (wax left on the sides) | Wick too small, or early burns were too short | Step up a wick size. Burn long enough for a full melt pool each time. |
| Mushrooming (carbon buildup on the wick) | Wick too large, or wick too long | Step down a wick size. Trim to ¼ inch. |
| Sinkhole around the wick | Wax shrank while cooling | Do a second pour. Cool slowly. |
| Wet spots (patches where wax lifts from glass) | Wax cooled unevenly or container was cold | Warm the jar slightly, pour at the right temperature, avoid drafts. |
| Frosting (white crystals on the surface) | A natural trait of soy wax, worse with temperature swings | Cosmetic only. Pour at the right temperature, cool steadily, or use a blend. |
| Weak scent | Not cured, too little fragrance, fragrance added at the wrong temperature, or wick too small | Cure longer, check your load and temperatures, and revisit the wick. |
| Smoking or tall flame | Wick too large or untrimmed | Trim. Step down a size. |
Safety, always
- Melt wax only in a double boiler or a melter made for wax. Never over direct heat.
- Never pour water on a wax fire. Smother it with a lid, or use a fire extinguisher rated for grease fires. Keep one nearby.
- Stay within your supplier’s limits for fragrance load and temperature. Fragrance oils have flash points.
- Keep candles away from drafts, curtains, paper, children and pets, and on a heat-safe, stable surface.
- Trim the wick to about ¼ inch before every burn, and stop burning when about half an inch of wax remains at the bottom of the container.
- Test before you share. If you’ll gift or sell candles, test them thoroughly and add proper warning labels. Industry standards for candle fire-safety labeling exist (look up ASTM F2058), and you’ll want to review the rules that apply to you.
Your first-candle checklist
- Read your wax supplier’s data sheet.
- Clean, dry, heat-safe container. Wick fixed and centered.
- Do the math and weigh everything in grams.
- Melt in a double boiler. Add fragrance at the stated temperature.
- Cool to pour temperature. Pour slowly. Reserve a little wax.
- Set undisturbed. Do a second pour if needed. Trim the wick.
- Cure one to two weeks.
- Burn test. Take notes. Adjust one thing at a time.
What’s next
Once you’ve poured a candle, you’ll have questions the next guides will answer: choosing between waxes, sizing wicks with confidence, getting more scent out of your candles, and tracking down the cause of a stubborn problem. Until then, the best way to get better is to pour small, change one thing at a time, and write it all down.
Strike the spark. Pour the wax.
Questions or corrections? Send a note. Ready for the next step?Browse more guides.