

Newsletter November 17, 2026
Layering Light for Better Candle Staging Photoshoots and Displays
Learning how professional designers layer light (ambient, task, accent) helps you stage better product photos and maximize in-store ambiance. It's about the mood, not just the flam
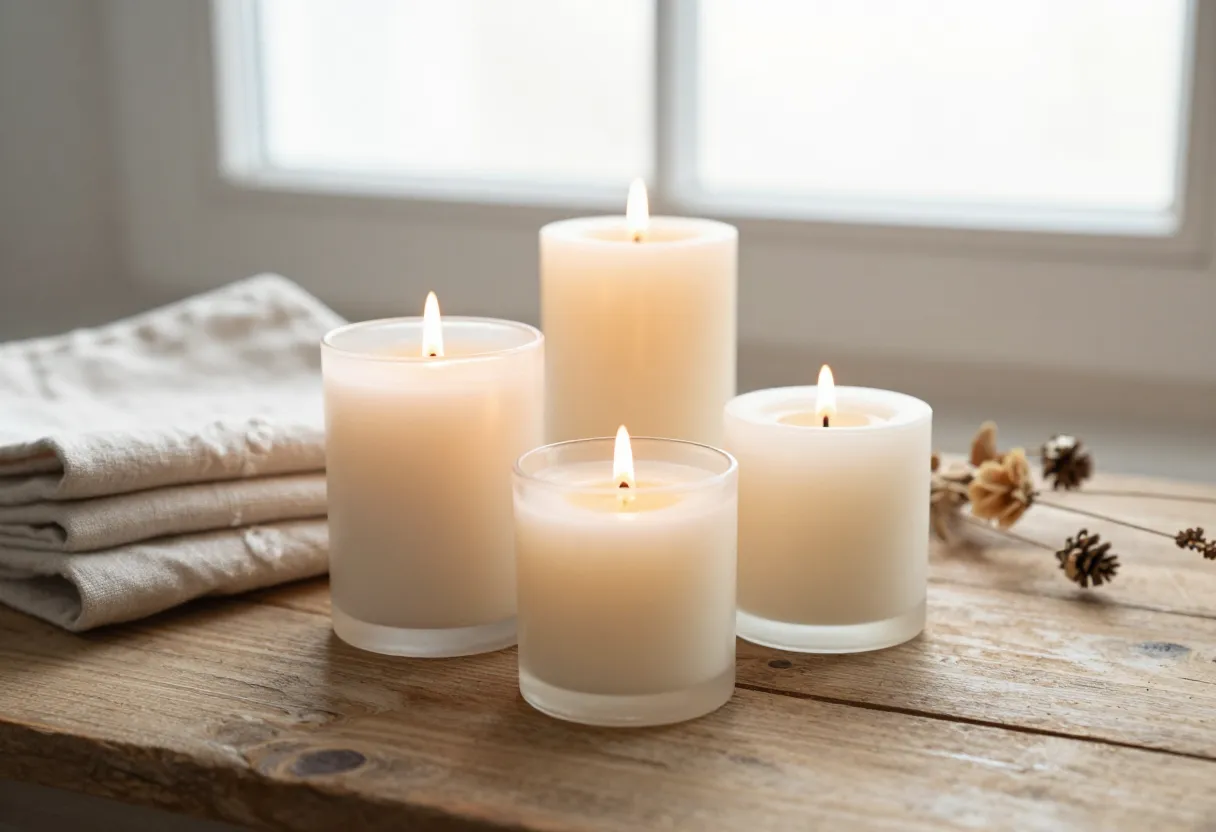
The biggest mistake in product staging is relying on one light source
When I first started taking photos of my own candles for the shop, I made the common mistake of thinking that more light was always better. I would set up a single lamp or use a single flash to illuminate the jar, only to find that the results looked flat and lifeless. The candle didn’t look like something you’d want in your home; it just looked like wax in a container on a table.
The mistake is assuming that brightness equals mood. In reality, mood comes from complexity—the way light interacts with different surfaces. If every part of your display is hit by the same uniform source, you lose the shadows that define the shape of the jar and the highlights that show off the texture of the wax. To make a product look like a curated piece rather than just an item for sale, you need to move away from “lighting everything” and toward creating layers. A single point of interest is rarely enough; your eye needs to travel through different levels of light and shadow to feel the atmosphere of the scene.
How to think about lighting: Ambient, Task, and Accent
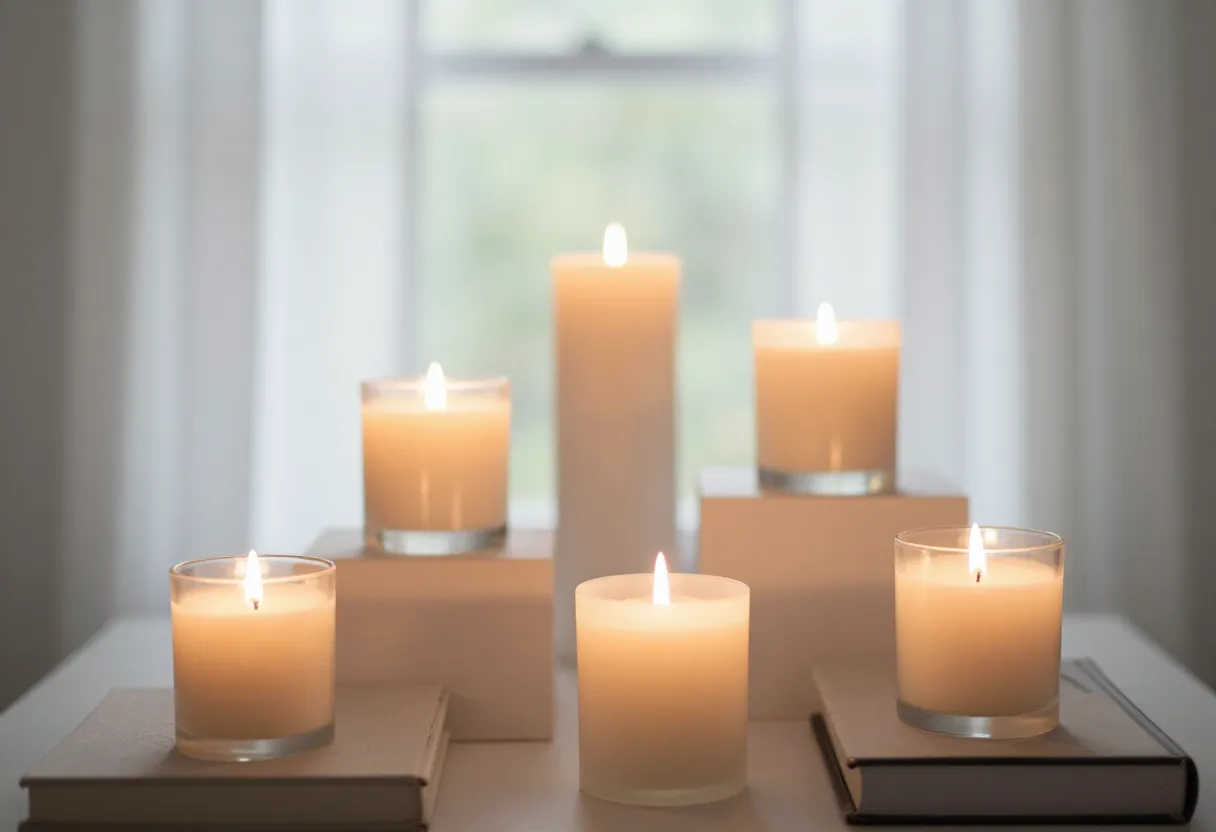
To organize a display or a photoshoot effectively, it helps to categorize your light sources into three distinct roles. This isn’t just for professional studios; it’s a way to plan how you want a customer to perceive your brand.
Ambient Light
This is the “base” layer of light. It provides the general visibility for the room or the scene. In a photo, this is what prevents your shadows from becoming pitch black and unreadable. It sets the overall tone—whether it’s a bright morning feel or a dim evening vibe.
Task Light
Task lighting is more focused. Its job is to make specific details clear. When you are staging a candle, task light ensures that the label is legible and the texture of the wax can be seen clearly by the viewer. It’s about highlighting the “work” of the product—the craftsmanship in the pour or the detail on the branding.
Accent Light
This is where candles truly excel. An accent light is a small, concentrated point of light that draws the eye to a specific spot. In your case, the flame itself is an accent light. It creates movement and warmth. By combining these three layers—general fill, focused detail, and intentional accents—you create a scene that feels finished rather than unfinished.
Making the principles work for your candle line
Applying these concepts doesn’t mean you need to buy expensive studio equipment. You can achieve this by thinking about how your candles and props interact with the light available in your workspace or studio. The goal is to fulfill all three lighting roles simultaneously within a single frame or display area.
For example, if you are staging a large pillar candle, that pillar acts as your anchor. You might place it near a window for soft ambient light during the day. To add “task” clarity to the label, you can position a secondary lamp at an angle that highlights the text without washing out the rest of the scene. Finally, use smaller votives or tea lights as accent points nearby. These small flames create tiny pools of light and shadow that break up the uniformity of the larger candle.
I’ve found that grouping candles with props—like a textured linen cloth, a wooden tray, or an old book—helps immensely. Different materials catch light differently; some will absorb it (matte) while others reflect it (glossy). By mixing these textures, you naturally create more visual “layers” without needing to change your actual lighting setup.
The discipline of composition: Grouping and height
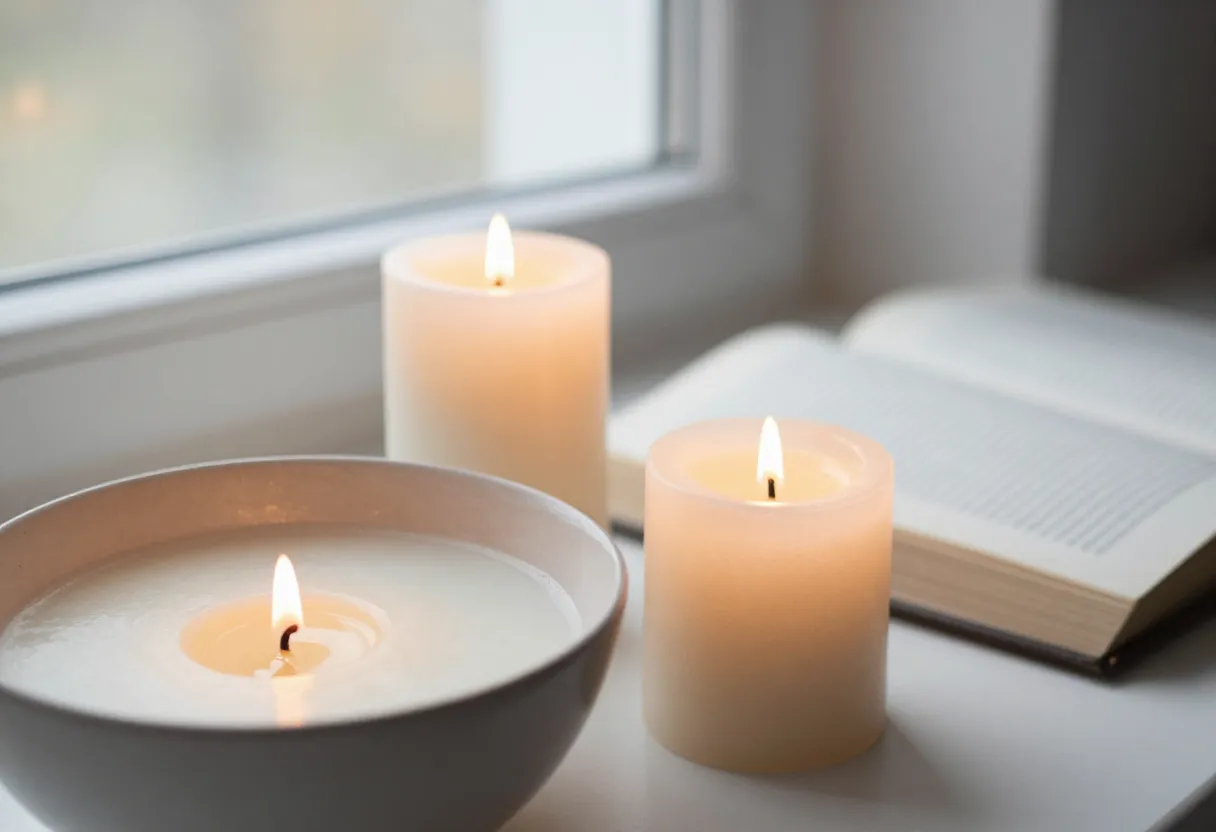
Composition is where the discipline of the craft meets the final presentation. I’ve always approached my work with a systematic mindset—if something feels cluttered or disorganized on the bench, it will look that way in a photo too. A common mistake for new makers is placing three jars of the same size in a straight line. This creates a “wall” effect that stops the eye from moving through the image.
To create a professional display, you need to vary the heights and materials. Think about creating a visual triangle:
- Varying Heights: Use blocks, stacks of books, or different container sizes (like mixing pillars with jars) to ensure there is no single horizontal line for the eye to rest on.
- Texture Contrast: Place a smooth glass jar next to something rough, like a piece of raw wood or a woven basket. These contrasting surfaces will react differently to your light sources.
- Depth: Don’t put everything in one plane. Pull some items forward and push others back. This creates a sense of space that makes the viewer feel like they could reach out and touch the display.
By applying this kind of structure, you move from “putting stuff on a table” to intentional staging. It’s about checking off every requirement for a balanced scene before you ever pick up the camera.
Time for a refresher on staging your finished product
Staging is just another part of the production process, much like choosing the right wick or calculating your pour weight. It’s how you communicate what your candle feels like to someone who can’t smell it through their screen. By layering your light and being disciplined about your composition, you take a simple jar of wax and turn it into an experience for the customer.
Remember that results will vary based on your specific containers, wax types, and the physical space you are working in. If you find yourself struggling with how to make your products stand out, I recommend starting with these resources:
- For a deeper dive into capturing your work, read our guide on /guides/candle-photography-explained/.
- If you need help organizing your production workflow before the staging phase, check out our guide on /guides/candle-workshop-and-small-batch-production-explained/.
- To ensure your products are safe for display and use, always refer to our /guides/candle-safety-explained/ page.
If you’re ready to move from staging to selling, you can also explore the tools in our /tools/pricing-calculator/ or visit our /shop/ to see how we approach these principles in our own branding.
Inspired by a story from Good Housekeeping.
Get the next issue
Questions or corrections? Send a note. Or read more issues.