Newsletter October 23, 2026
Sourcing Unique Containers and Display Elements
We’re talking about making your finished candle look curated, whether you source the vessel or just the perfect backdrop. It's all in the details.
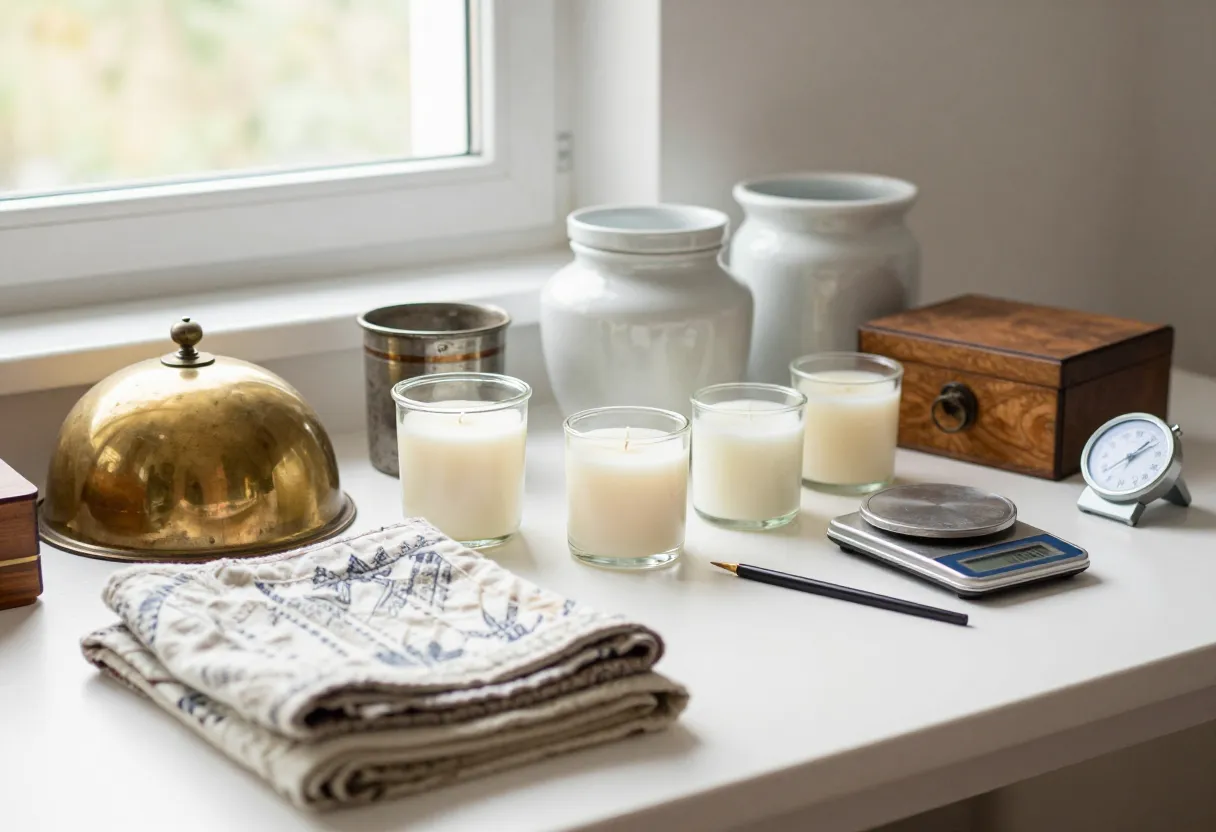
The difference between a vessel and a setting
When you are designing your candle line, it is easy to conflate two different elements of your presentation: the vessel and the setting. I’ve seen many makers get these backwards when they first start planning their branding. A vessel is the structural component—the jar, tin, or ceramic piece that actually holds your wax and houses the wick. It has a job to do: it must be heat-resistant, stable, and capable of containing the melt pool safely over several hours of burning.
A setting, on the other hand, is everything else in the frame. This includes the baskets, trays, linens, or driftwood that your candle sits upon during a photoshoot. A basket might look beautiful as a primary container for wax, but if it isn’t designed to withstand high temperatures, it belongs in the “setting” category rather than the “vessel” category. Understanding this distinction allows you to be more creative with your staging without compromising the safety or integrity of the candle itself. You can swap out props and textiles as often as you like to change the vibe, but your vessel choice should be a deliberate, tested decision based on how it handles heat on your bench.
Sourcing vessels: The ‘Test Before You Pour’ checklist
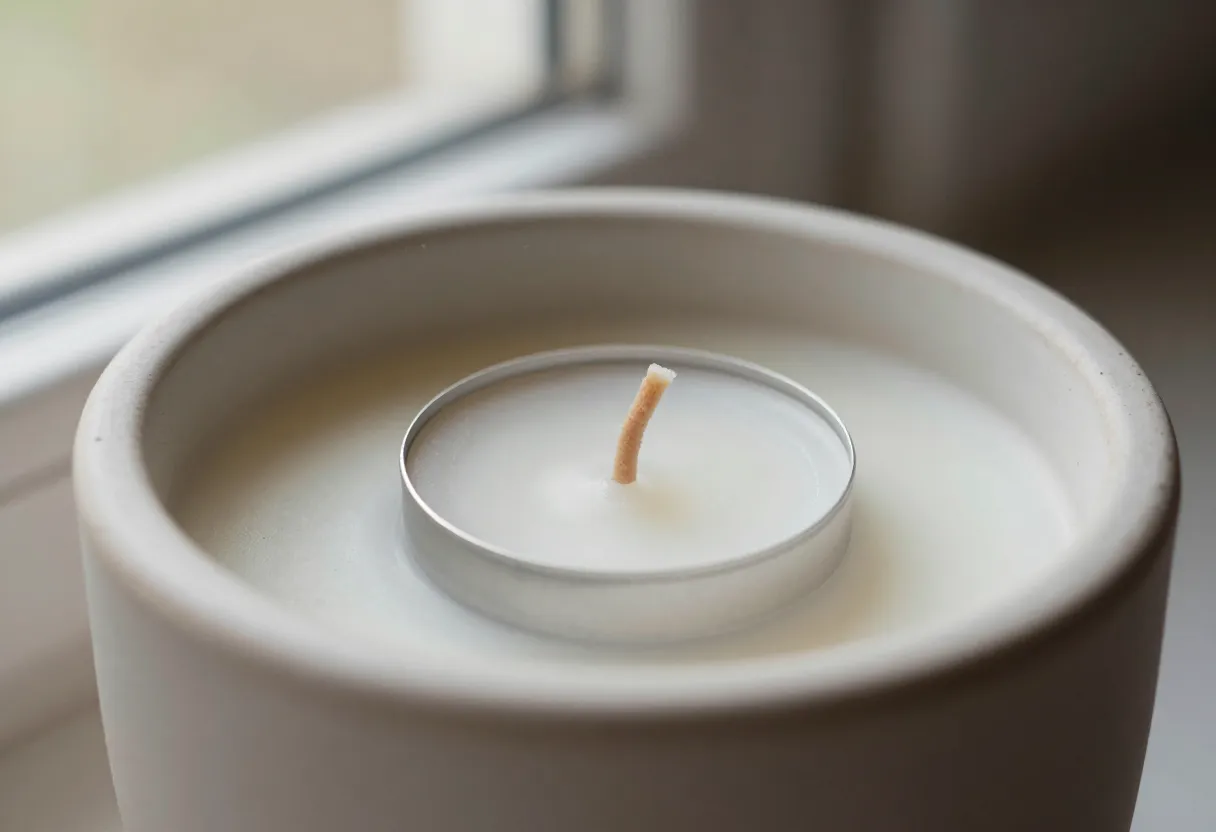
If you want to use unique finds—like vintage fairy lamps or weathered metal tins—you have to act as your own quality control department. I don’t trust just because an item looks good at a thrift store; it has to survive the reality of a sustained flame. When sourcing non-standard containers, I recommend running through a specific checklist before you ever commit to a batch:
Material Integrity
Inspect every piece for hairline cracks, chips in glass, or thin spots in metal. Heat will find these flaws and expand them quickly. If it feels fragile in your hand, it won’t hold up during a burn test.
Weight and Balance
A vessel that is too light can become unstable as the wax melts and the center of gravity shifts. You want to ensure that even when half-empty, the container remains upright on a flat surface.
Interior Clearance
Measure your interior dimensions carefully. You need enough “headroom” so that the flame doesn’t get too close to the rim or any decorative elements of the vessel.
Thermal Reaction
Observe how different materials react to heat. Some metals will get hot enough to be a burn hazard on contact, while some glass might shatter if it undergoes rapid temperature changes. Always check your wax supplier’s data sheet for thermal properties and refer to /guides/candle-containers-explained/ for more details.
Beyond the wax: Using textiles and props in your staging
Once you have secured a safe vessel, you can start building the “story” of your candle through staging. This is where you move away from the bench work and into the aesthetic side of the craft. For marketing photoshoots, using surrounding elements helps ground your product in a real-world environment that your customers can recognize.
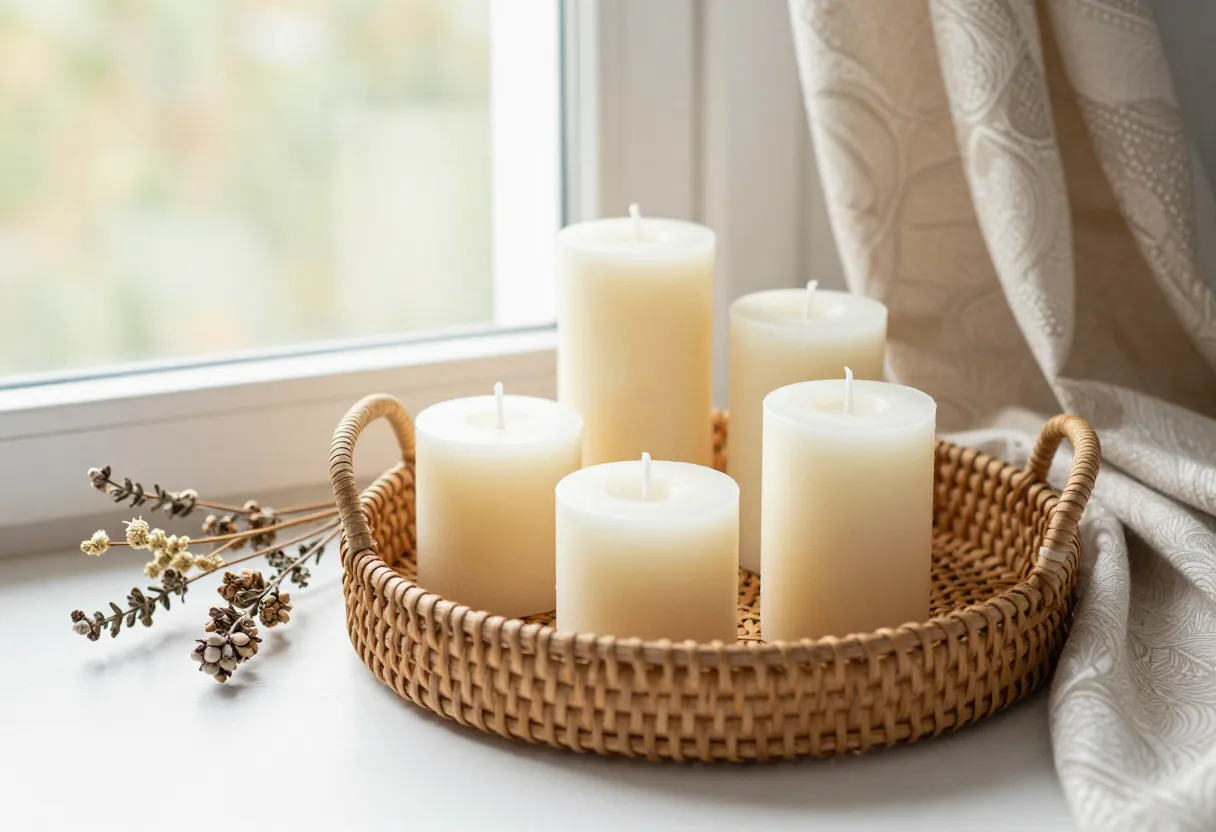
I’ve found that texture plays a massive role here. A simple linen runner or a piece of heavy cotton fabric can add a soft contrast to a hard glass jar. Using props like woven baskets or even stacks of old books creates depth in a photograph, making the candle look curated rather than just “placed.” When I am prepping for a shoot, my goal is to create a scene where the customer can imagine that specific candle sitting on their own mantelpiece. It’s about using these secondary elements—the drapes, the baskets, and the props—to highlight the work you did on the wax and wick without letting them distract from the product itself.
Safety first with non-standard containers
Safety is where I get most conservative because there are no “do-overs” when it comes to heat management. When you move away from standard manufactured jars, you lose the benefit of factory safety ratings. You must be extra diligent in ensuring that your chosen vessel can handle a sustained flame without warping, melting, or cracking.
I always tell makers: if an item feels flimsy or doesn’t feel solid in your hand, don’t use it as a primary wax holder. It is much safer to use a non-standard item (like a decorative basket) as a “prop” that sits next to the candle rather than trying to pour wax directly into it. Furthermore, be mindful of how different materials conduct heat; some metals can become dangerously hot very quickly. For specific guidelines on what to look for regarding container safety and thermal behavior, consult /guides/candle-safety-explained/. Always refer to your specific wax supplier’s data sheets rather than relying on general assumptions about how a material will react to heat.
Next steps: From bench work to the photoshoot
Moving from a successful pour to a professional presentation is a significant jump in the maker’s journey. Once you have mastered the container choice and the staging, the next step is ensuring that your visual identity carries over into your branding materials. A beautiful candle in a curated setting needs a label that reflects that same level of care and attention to detail.
You want your packaging to match the effort you put into sourcing and styling. Whether you are refining your photography style or preparing to print your first batch of stickers, there are tools available to help you keep things consistent. If you want to improve how your products look in photos, check out /guides/candle-photography-explained/. If you are ready to start designing the labels that will sit on those curated vessels, try using our /tools/label-builder/ to get started.
Inspired by a story from Country Living.
Get the next issue
Questions or corrections? Send a note. Or read more issues.