

Newsletter November 16, 2026
Stop selling scent, start styling spaces.
We're talking staging, not pouring. Learn how to use décor trends and visual grouping to position your finished candles as essential home accents.
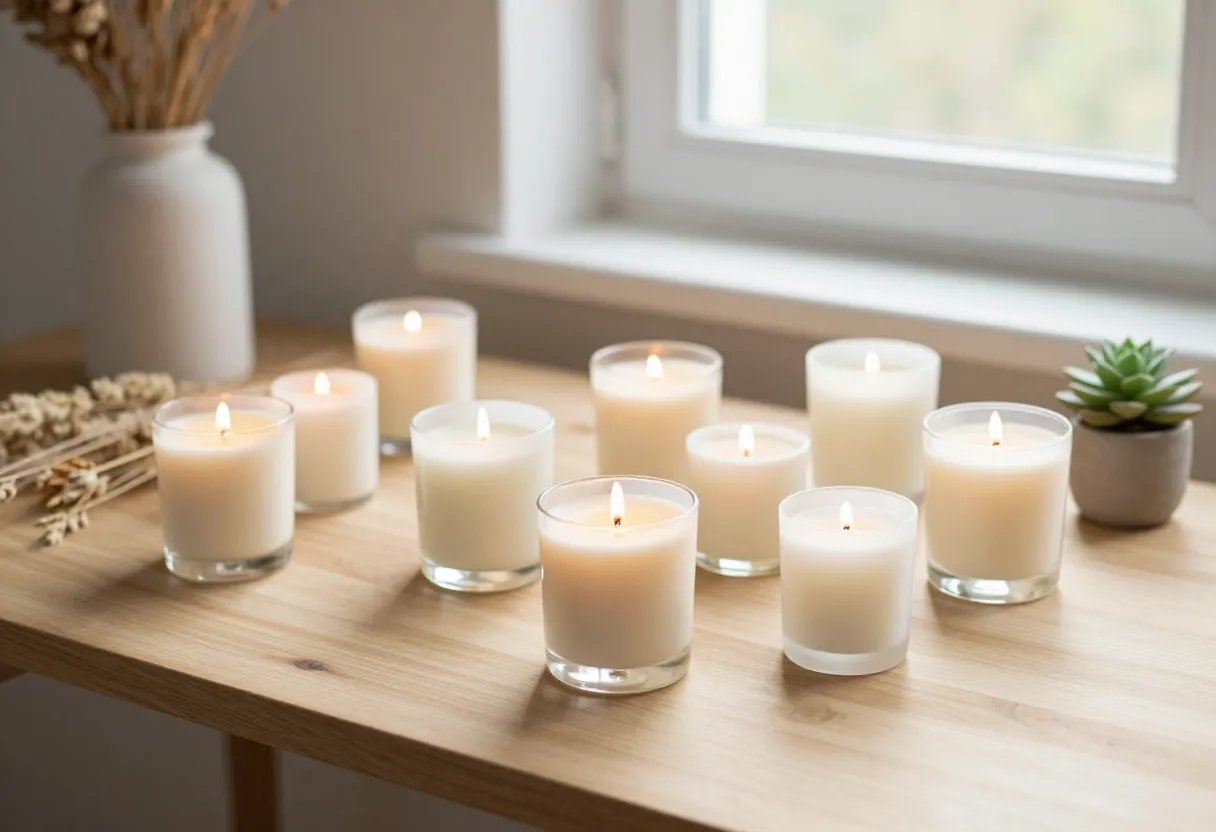
Making candles a décor item (and not just a scent)
When you’re at the workbench, it’s easy to get tunnel vision on the technical side of the craft—the pour temperature, the wick choice, and getting that perfect melt pool. But we have to remember what the customer sees before they ever light your candle. For most people, a candle is a piece of home décor first and a source of fragrance second. They are looking for an object that fits into their living room, sits on their bedside table, or complements their kitchen aesthetic.
If you only focus on the scent profile in your marketing, you’re missing half of why someone hits “add to cart.” You want to shift your mindset from selling a functional item (a thing that smells good) to an aspirational one (a piece that completes a room). When we think about our batches as décor items, it changes how we choose containers and labels. It’s about the visual weight of the jar and how the wax color interacts with the glass. Your goal is to help your customer imagine where this candle will live in their home.
Reading what’s trending in home design
To sell candles effectively as décor, you have to understand what people are currently trying to achieve in their homes. You don’t need to be an interior designer, but keeping an eye on high-end trends helps inform your production choices. For example, we see a lot of “biophilic” design—incorporating natural elements like wood, stone, and greenery into indoor spaces. This is where candles with earthy textures or containers that mimic organic materials really stand out.
Another trend involves deep jewel tones and moody palettes. If someone is decorating in these colors, they aren’t looking for a clear glass jar; they might be looking for an amber-tinted vessel or a matte finish that feels substantial. By staying aware of these shifts, you can tailor your next batch to fit into those specific “vibes.” It’s about aligning your product with the aesthetic goals of your customers. When you see a trend emerging in home magazines, ask yourself how your current wax and container selection fits into that picture.
The biggest mistake small makers make when staging
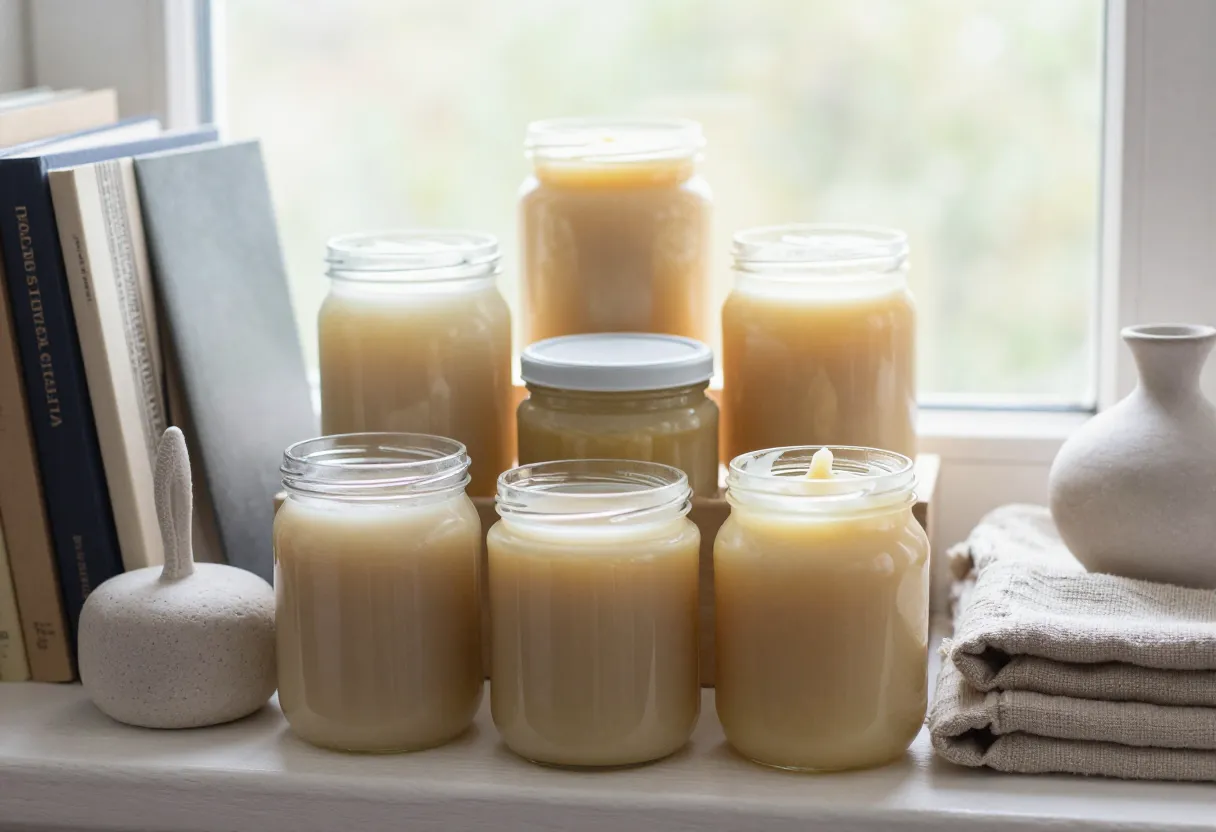
I see this constantly, and it’s an error I’ve made myself during my early batches: placing a single candle on a perfectly blank surface and calling it a day. It looks like a product shot for a warehouse catalog, not a lifestyle image from a home magazine. When a candle sits in a vacuum with no context, the “vibe” disappears. The customer can’t tell if that candle belongs on a rustic farmhouse table or a sleek modern mantel.
Proper staging requires context and grouping. You want to create a scene. This means surrounding your candle with items it would naturally sit next to. If you’re selling a “cozy cabin” scent, the candle shouldn’t just be on a table; it should be near a knit blanket or a stack of old books. The goal is to tell a story about how the product functions in a real home. You want to eliminate the clinical feel and replace it with something that feels lived-in. This is where you move from “I’m selling this candle” to “This is how your evening will look.”
Practical ways to group your finished candles
Once you understand the need for context, the next step is learning how to arrange those items without making the photo look cluttered. One of the most effective ways to stage a batch is by varying heights and textures. If every candle is the same height on a flat surface, it looks repetitive and flat. Use “risers” to create depth—this could be a decorative tray, a stack of books, or even a small wooden block.
Tips for grouping:
- The Rule of Three: Grouping items in odd numbers often feels more balanced to the eye. Try pairing your candle with two other non-candle items, like a small succulent and a linen napkin.
- Texture Contrast: If your jar is smooth glass, place it near something rough, like a woven basket or a piece of driftwood.
- Negative Space: Don’t feel the need to fill every inch of the frame. Leaving some “breathing room” allows the eye to focus on the candle while still enjoying the surrounding décor.
Simple photography tricks for better listings
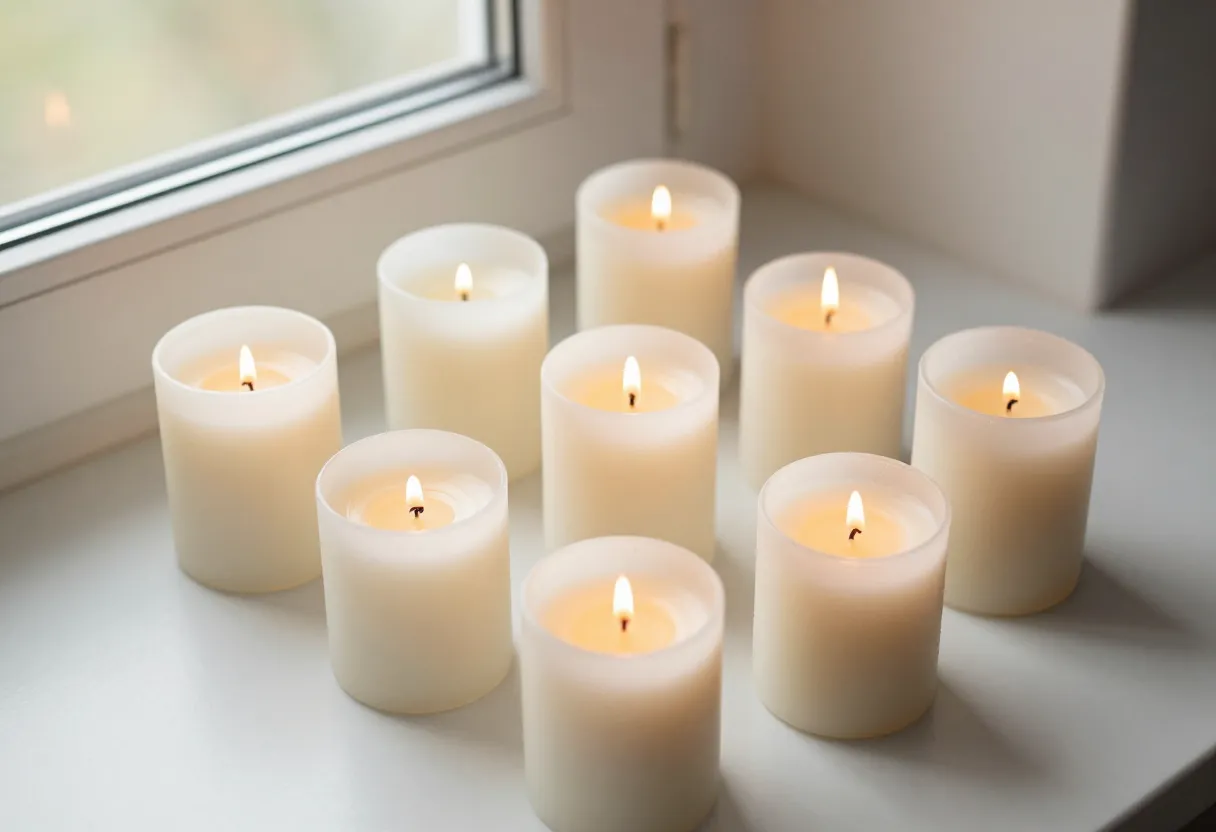
You don’t need an expensive studio or a professional lighting rig to get high-quality photos that look like they belong in a magazine. Most of what you need is a steady hand and an understanding of light. Start by using natural, indirect sunlight—a cloudy day or a bright room with the curtains drawn provides soft light that doesn’t create harsh shadows on your labels.
Quick photography adjustments:
- Perspective: Avoid shooting from directly above unless it’s specifically for showing the top of a lid. Shoot at eye level or slightly higher to give the candle its full height and presence.
- Backgrounds: Choose backgrounds that have some texture but aren’t distracting. A plain white wall can feel too “empty,” while a weathered wood surface provides immediate context.
- Focus: Ensure your camera is focused on the label or the front of the jar, not the items in the background.
For more specific tips on capturing your products clearly, check out our guide at /guides/candle-photography-explained/.
The takeaway: planning your decor from the start
The most important thing to remember is that aesthetic decisions shouldn’t be an afterthought. You shouldn’t wait until you have a finished batch of candles to decide how they are going to look in a home. Those choices—the container shape, the wax color, and even the label style—should be made during your planning phase before you ever pour your first batch of the season.
When you plan for décor from the start, it makes your marketing much easier because every element of the product was designed to fit into a specific environment. It streamlines your production and ensures that when you finally get to the photography stage, the “vibe” is already built into the candle itself. If you are just starting out or looking to refine your brand’s look, I recommend reviewing our guide on /guides/starting-a-candle-business-explained/ to help align your production with your long-term goals.
Next step: Use our /tools/label-builder/ to see how different designs interact with your container choices.
Inspired by a story from Sunset Magazine.
Get the next issue
Questions or corrections? Send a note. Or read more issues.