Newsletter October 20, 2026
Turning Trash into Candles: Repurposing Vessels at Home
Don't toss those old jars and cans. Learn how to turn common household items into durable candle vessels that look good and perform well on your workbench.
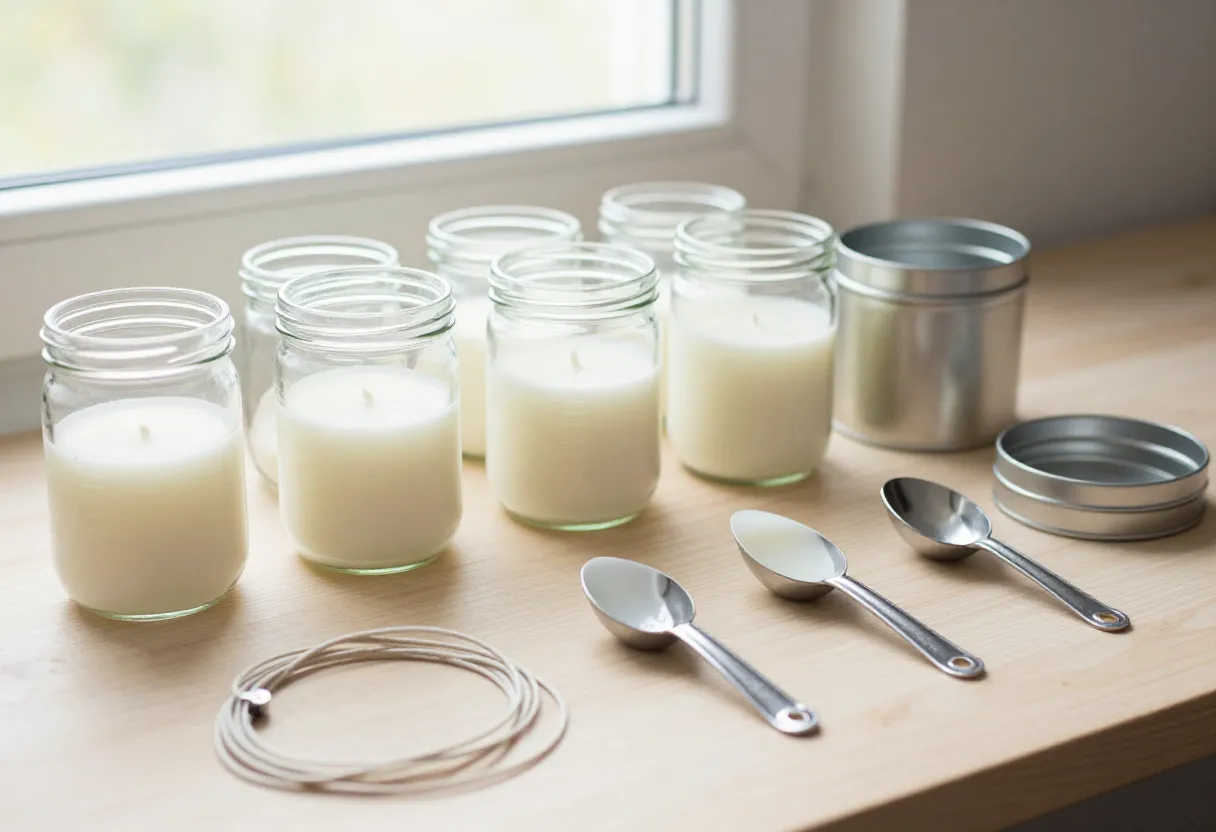
The Eco-Friendly Angle: Why Repurposing Works
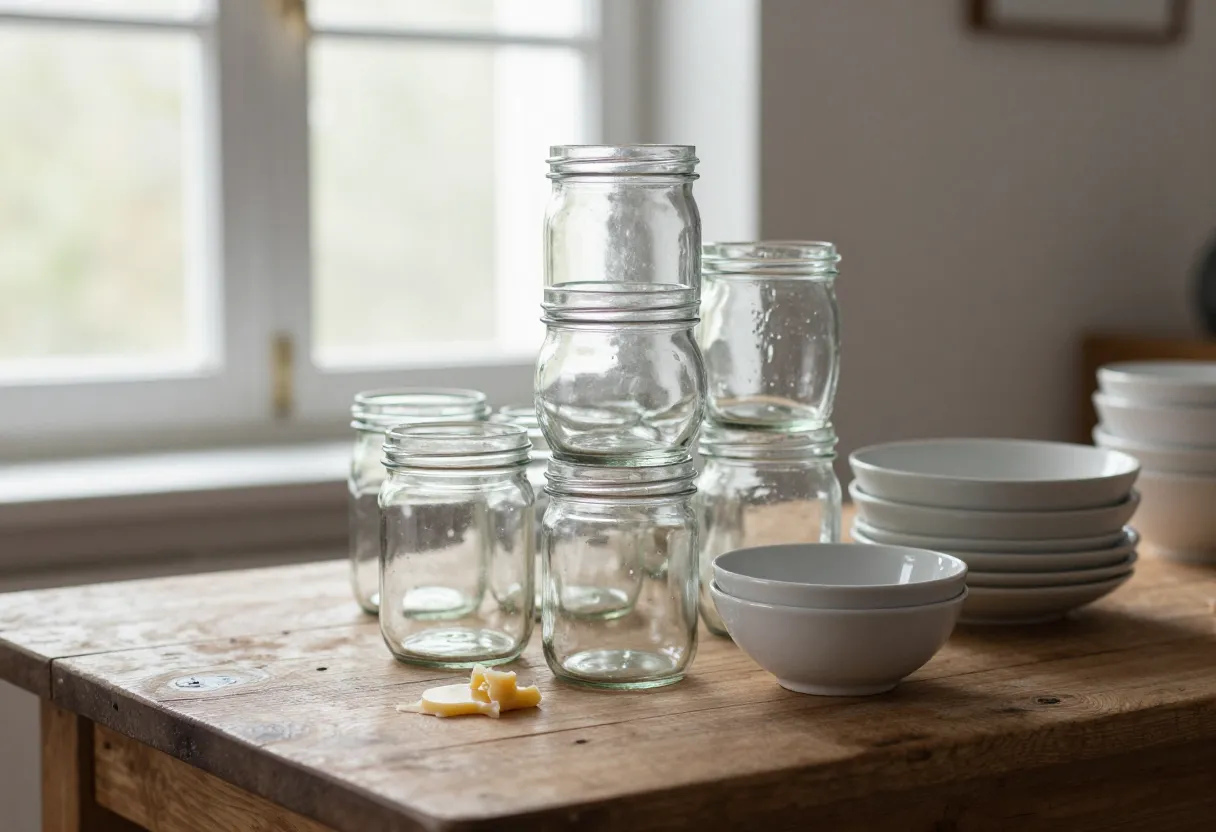
There is a significant movement toward sustainability in the craft world, and for good reason. From my perspective on the bench, repurposing isn’t just about being “green”—it’s often one of the most practical ways to manage costs when you are starting out or experimenting with new designs. Taking an old glass jar or a metal tin that would otherwise end up in a bin is a smart way to build your initial inventory without over-investing in expensive, specialized packaging from day one.
I see many makers find success by creating unique “limited edition” batches using repurposed vessels. It allows you to test different wax types and fragrance loads in various containers before committing to large orders of uniform glass. Just keep it grounded: the goal is a functional product that looks intentional. While some items might be harder to work with than others, repurposing remains a valid, cost-effective way to get your hands dirty and find your footing in the craft without breaking the bank on supplies you might not need yet.
Glass Jars vs. Metal Tins: What’s Safe to Pour In?
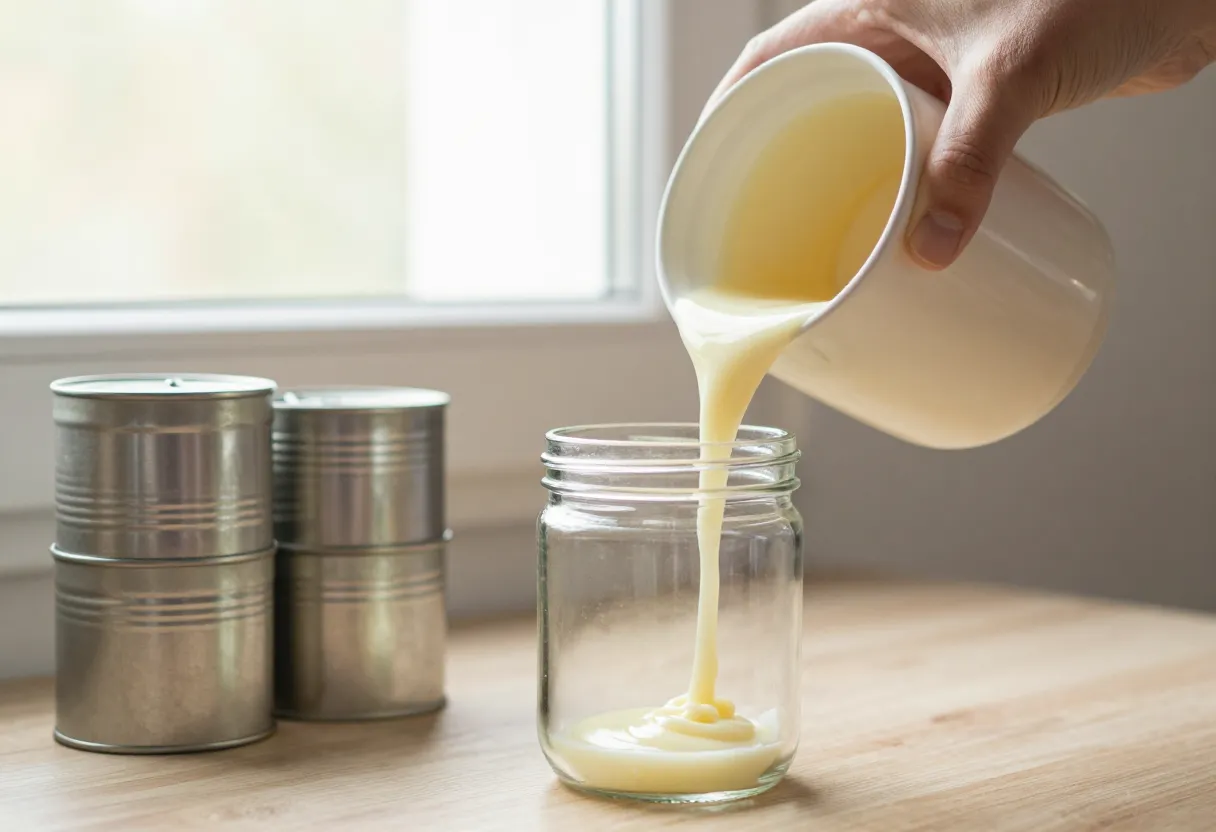
When you are deciding between glass and metal for your pour, it helps to think about how these materials handle heat. This isn’t just a matter of aesthetics; it’s about the physics of how a candle burns. Glass is generally more predictable in terms of heat retention. It provides a stable barrier that holds the wax and allows you to focus on the wick performance.
Metal, on the other hand, conducts heat much faster than glass. A thin metal tin can become very hot to the touch quite quickly because it doesn’t insulate the heat as effectively. While metal tins are excellent for certain styles of candles—like those that need a compact footprint or a specific industrial look—they require more attention during the testing phase. Because different materials react differently to heat, I always recommend checking your wax supplier’s data sheet and consulting our [candle-containers-explained] guide before you decide on a material. Each container type has its own set of rules when it comes to how much heat it can safely manage over time.
Working with Glass Containers
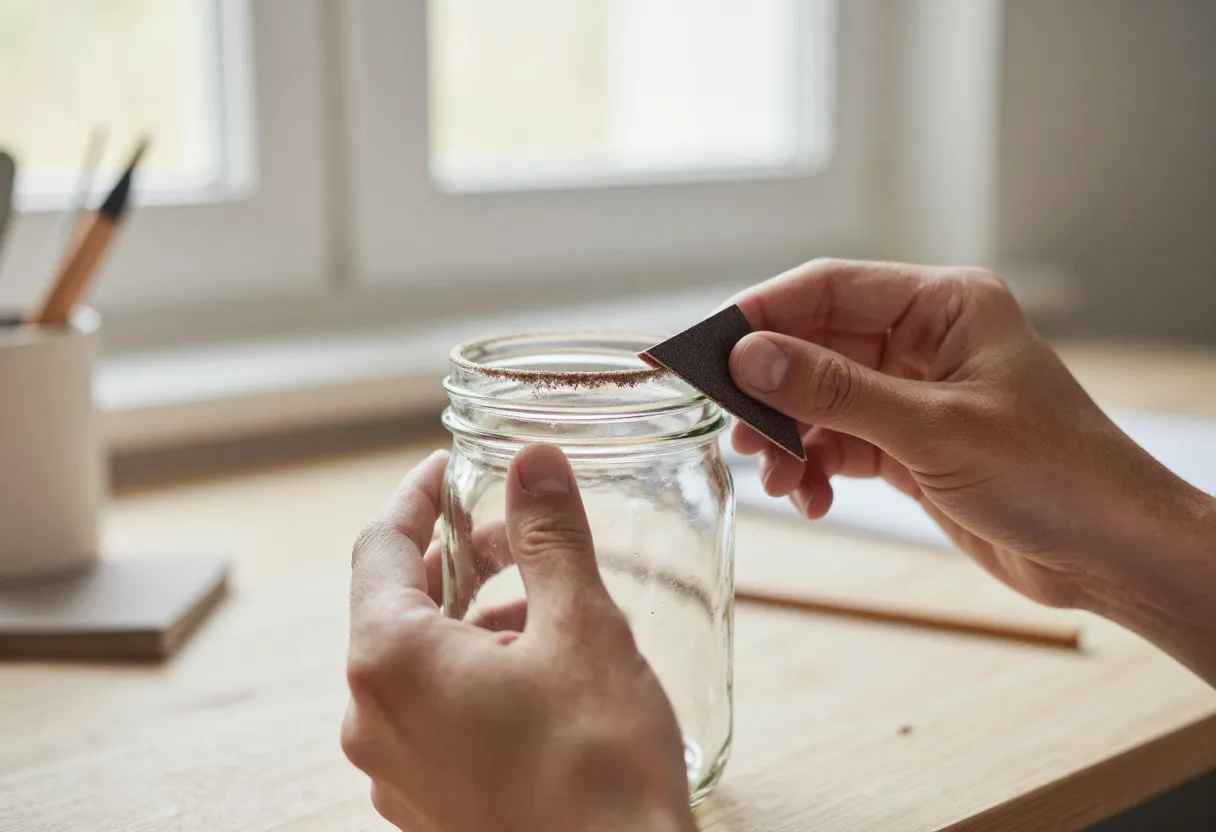
If you choose to use glass jars, the preparation is where your discipline pays off. You aren’t just pouring wax into a jar; you are preparing a vessel that must be stable and clean enough for production. When I prep containers, I follow a strict process: remove all labels and adhesive residue completely, wash with a heavy-duty degreaser to ensure no oils remain, and check the bottom of the glass.
A common mistake is using a jar with an uneven or “wobbly” base. If it doesn’t sit perfectly flat on your workbench, it won’t stay stable during a long burn. You want every pour to be consistent. Additionally, make sure any lids are designed for use with candles and aren’t intended to be left on while the candle is lit. Before you move forward with a batch of repurposed glass, ensure they are uniform enough that your [wax-calculator] results will remain consistent across the lot. Every jar should feel like it belongs in the set, not just as an afterthought.
Using Metal Vessels (Tins and Cans)
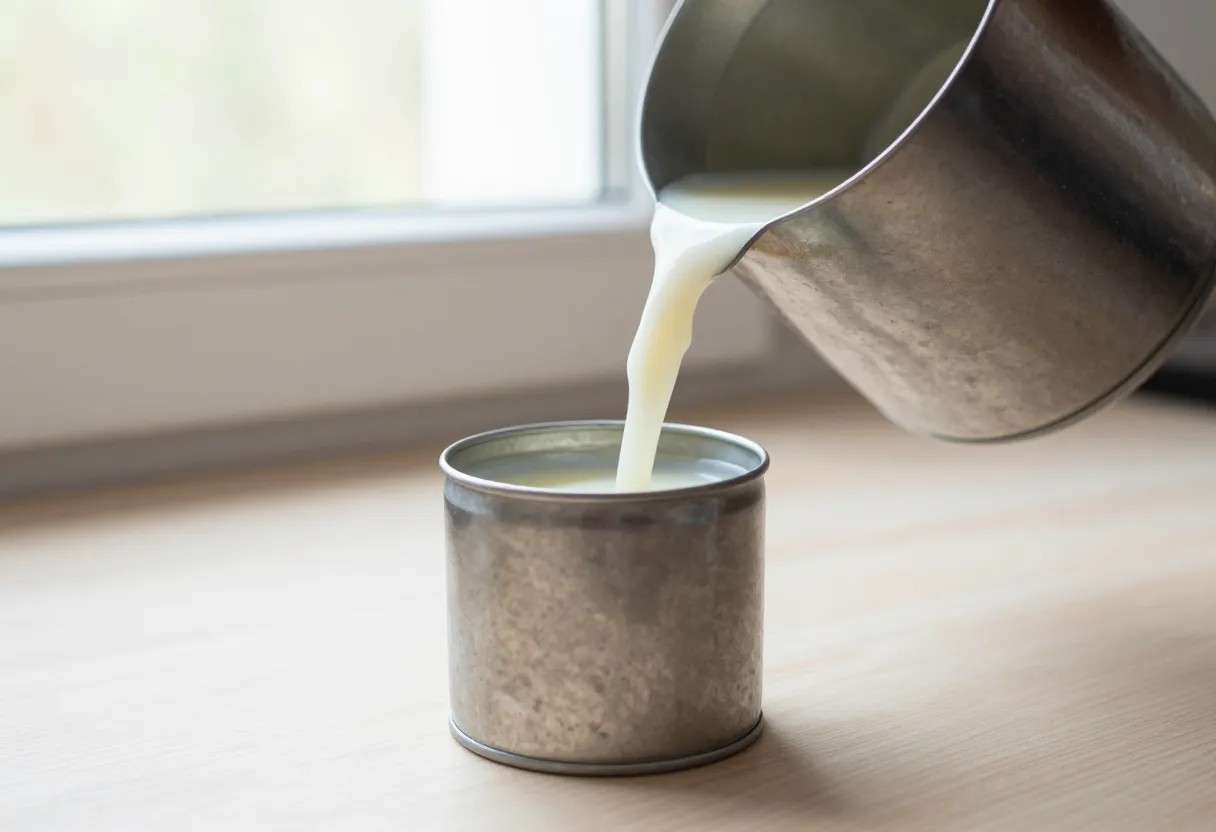
Because metal conducts heat so rapidly, using tins requires a more disciplined approach to safety and testing. I think of this like a pre-flight checklist: you need to verify the integrity of the container before it ever sees a flame. Not all metal is created equal; some cans are thin enough that they can warp or become dangerously hot too quickly under the stress of a heavy pour.
When working with repurposed tins, check for structural integrity and thickness. You want a vessel that feels substantial in your hand. If a tin feels flimsy or has sharp edges from its previous life as a food container, it isn’t ready for your bench. I always suggest making a small test batch of just one candle to monitor how the metal handles heat over several hours before you move to a full production run. This disciplined approach ensures that you are creating a safe product for your customers. You can find more on these specifics in our [candle-safety-explained] guide and by reviewing the safety data sheets (SDS) for your specific wax types.
The Functional Check: Making Sure It Burns Right
The final step is moving past the container as an object of “upcycling” and looking at it as a functional candle component. Regardless of whether you used a vintage jar or a tin from a local market, the vessel must allow for a proper melt pool and stable wick performance. A common pitfall I see is makers choosing a container that is too wide or too narrow for their chosen wick size, regardless of how “cool” the container looks.
You need to ensure there is enough room for the wax to melt all the way to the edges without hitting the glass sides too early, and enough headspace so the flame doesn’t get too close to any lid or rim. Every repurposed item must pass a burn test. If it doesn’t hold a steady melt pool or if the wick feels unstable in that specific shape, then that container isn’t right for your brand yet. Use our [wick-selector] and [wax-calculator] tools to ensure that whatever vessel you choose—repurposed or new—supports the chemistry of the candle itself. For more on getting the basics right, see our [candle-wicks-explained] guide.
Inspired by a story from CraftGossip.
Get the next issue
Questions or corrections? Send a note. Or read more issues.