

Newsletter October 13, 2026
How to use the Wax Calculator for batch planning
Stop estimating wax volume by eye. We walk through using our free calculator so you can accurately plan your batches, reducing waste and saving money.
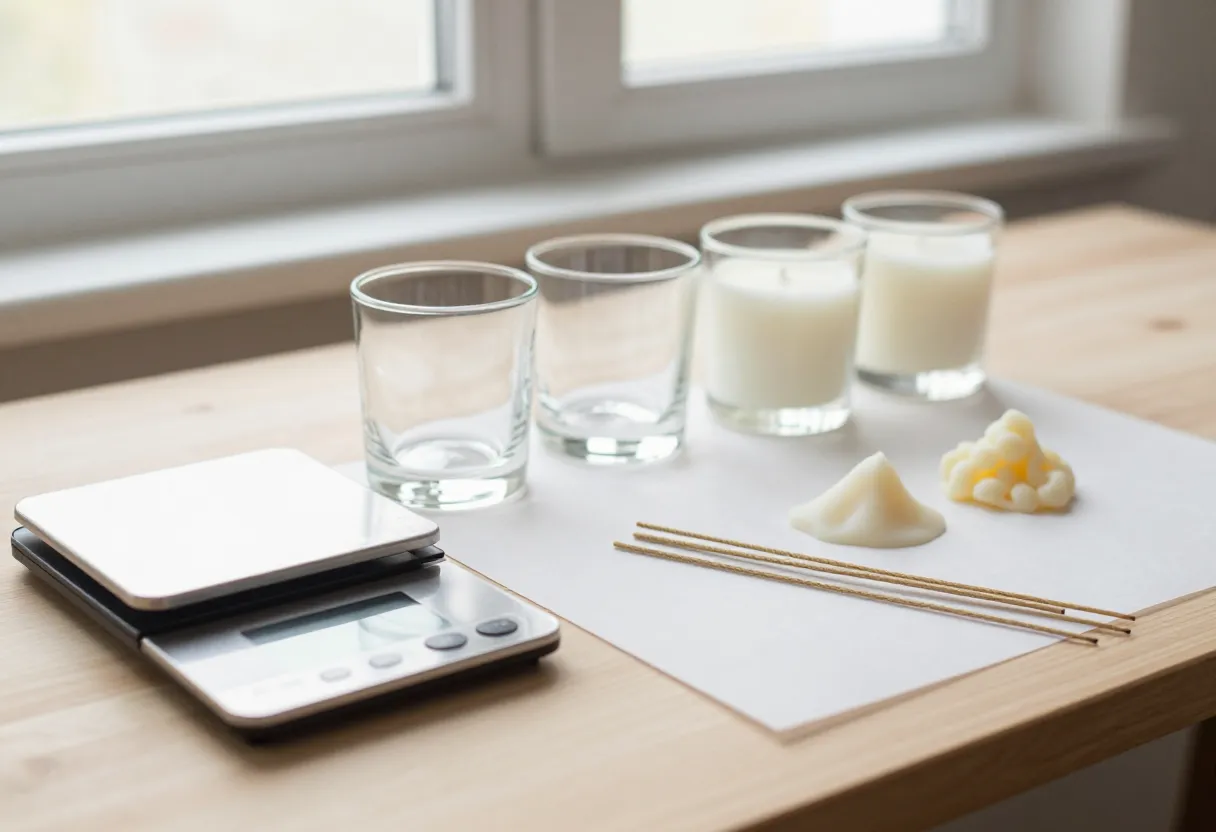
Why you shouldn’t estimate volume by sight
In my experience, one of the hardest habits to break for new makers is trying to guestimate by sight. It is tempting to look at a container and think, “I should pour about half a pound here,” but that approach leads to inconsistent results. When you rely on your eyes alone, you introduce variables that make it difficult to maintain a consistent product. If you are off by even a small amount on every jar because of an inaccurate estimate, you end up with different fill levels across your batch, which affects how the candle performs and looks to the customer.
Good craftsmanship is built on repetition and careful planning. You want to know exactly how much wax it takes to reach your desired pour line consistently. When we move from experimenting to producing—even for small batches—we need a disciplined process. Using the wax calculator allows you to remove the guesswork before you ever turn on the heat. It helps you prepare your materials with precision, ensuring that batch number ten looks and pours just like batch number one.
What the Wax Calculator actually does (and what it doesn’t)
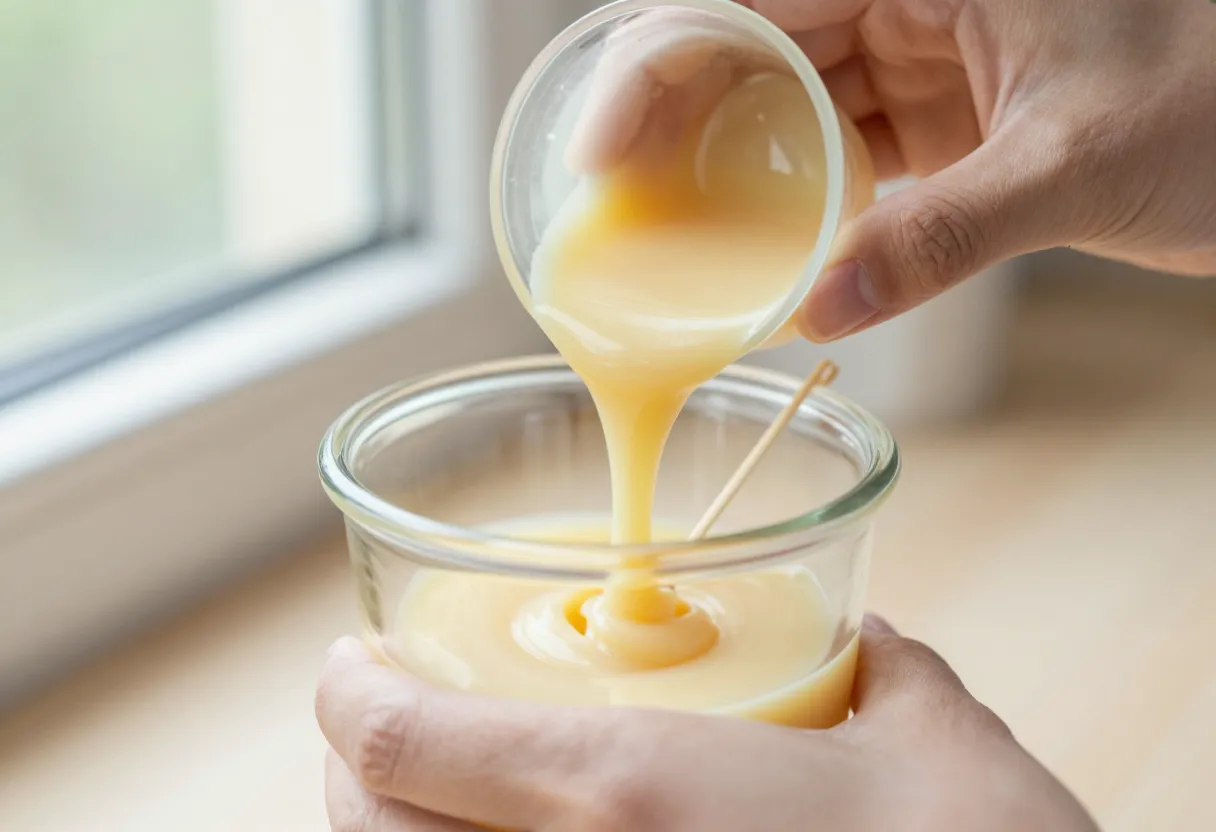
The wax calculator is designed to bridge the gap between volume—how much space a container holds—and weight, which is the amount of wax you actually need to melt and pour. Because we measure our ingredients in weight but see our containers in volume, this conversion is a necessary step for any maker who wants to be organized.
When using the tool, you will provide several specific inputs: your container’s volume, the unit type, how full you want to fill the container (as a percentage), the number of candles in your batch, the wax type you are using, and a percentage for extra weight needed for things like waste or a second pour.
It is important to remember that this tool provides a starting point based on standard measurements; it does not account for specific nuances in your unique pouring technique or the specific impurities in a particular batch of wax. By inputting your requirements upfront, the calculator gives you both the weight needed for a single candle and the total amount required for your full batch. This ensures you have enough material prepared before you begin.
How the math works: Density is key
The reason we use a calculation rather than just “eyeballing” it comes down to density. Different waxes do not have the same weight-to-volume ratio. For example, even if two containers are the exact same size, a soy wax candle and a beeswax candle will require different amounts of physical material to fill them.
The calculator uses these established average densities for its calculations:
- Soy is about 0.86 grams per milliliter.
- Coconut blends are about 0.88 grams per milliliter.
- Paraffin is about 0.90 grams per milliliter.
- Beeswax is about 0.96 grams per milliliter.
Because these are averages, you should treat the results as a starting point for your planning. Every wax and every brand has its own characteristics. I recommend that once you find a combination of container and wax that works for you, you record the actual weight you used during your test pours. This helps you keep accurate notes and allows you to adjust if your specific blend behaves differently than these standard averages.
A simple example of planning for multiple jars
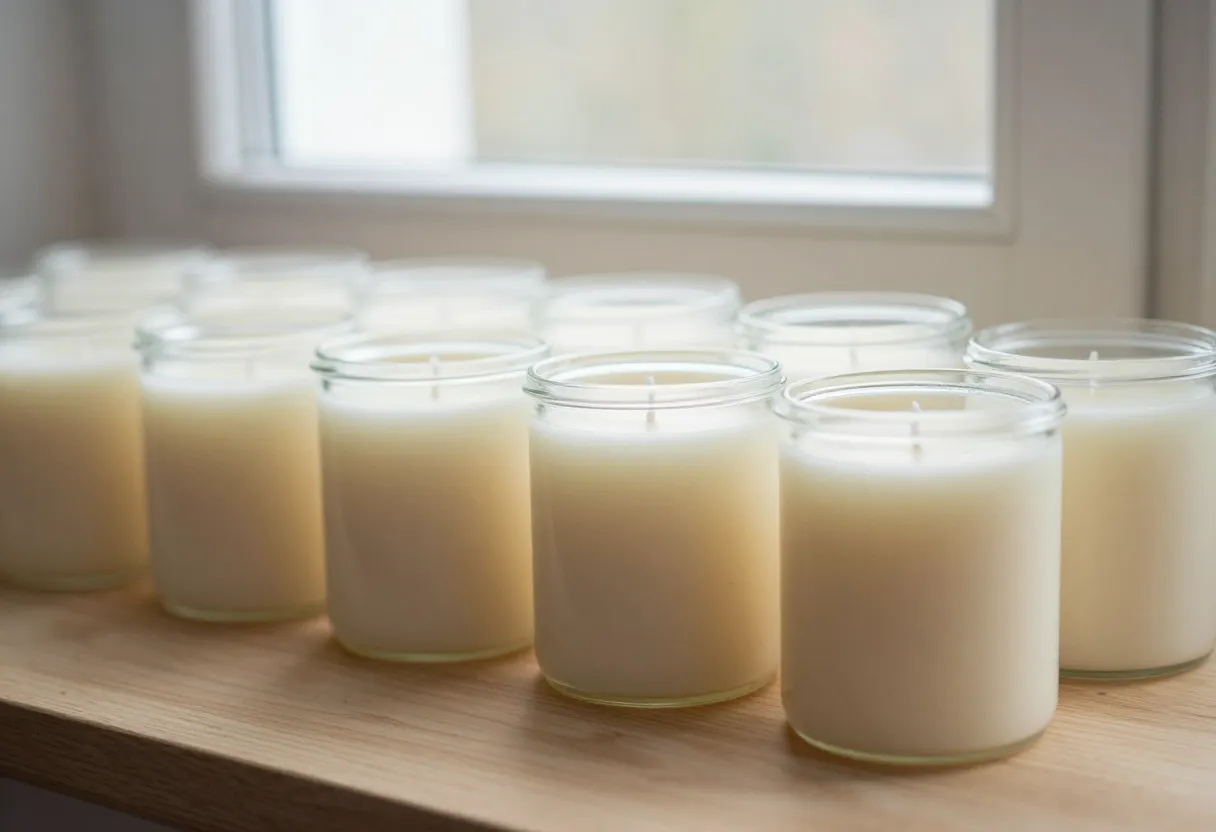
Let’s walk through how this looks on a practical scale. Imagine you have decided to make 20 candles using a soy wax. You chose a container that holds 350 milliliters, but because of the way your labels sit or simply to leave some head space at the top, you want to fill each one to 80% capacity.
When you put these details into the wax calculator, the tool performs the necessary steps for you: it calculates that you need 280ml of wax per container (350ml x 0.80). It then applies the soy density factor to determine how many grams that is, and multiplies it by your total count of 20 jars. Finally, it adds the percentage you specified for waste or a second pour.
Instead of guessing if you have enough wax in your melting pot when you reach jar number 18, you will know exactly how much weight to prepare beforehand. This level of planning prevents you from running short and ensures that every candle in the batch is filled consistently to your specifications.
Using this tool as part of your process checklist
Think of the wax calculator as one specific step in a larger preparation checklist. A reliable pour comes from combining calculation with physical testing. The tool handles the math so you can focus on the craft, but it should always be paired with diligent record-keeping.
When you are trying out a new container or a new wax type, use the calculator to determine your starting point for your test batch. Once those first few candles have cooled and set, compare what the tool suggested against what you actually poured. If you find that you consistently need slightly more weight to hit your mark due to your specific pouring habits, update your personal notes accordingly.
By making this calculation a standard part of your workflow, you build a disciplined routine. It moves you away from “guessing” and toward “knowing,” which is the best way to ensure consistency for your customers and less stress for yourself at the workbench. If you are just starting out with these calculations, our how to get started guide can help walk you through the initial steps of setting up your workspace.
Get the next issue
Questions or corrections? Send a note. Or read more issues.