Newsletter November 2, 2026
Layering Light: Making Your Candles Look Cozy and Curated
Learn how designers use layered lighting, and apply that same principle when staging your candle photoshoots. It's about depth, not just brightness. (169/170)
Making the Scene: Beyond Just Lighting
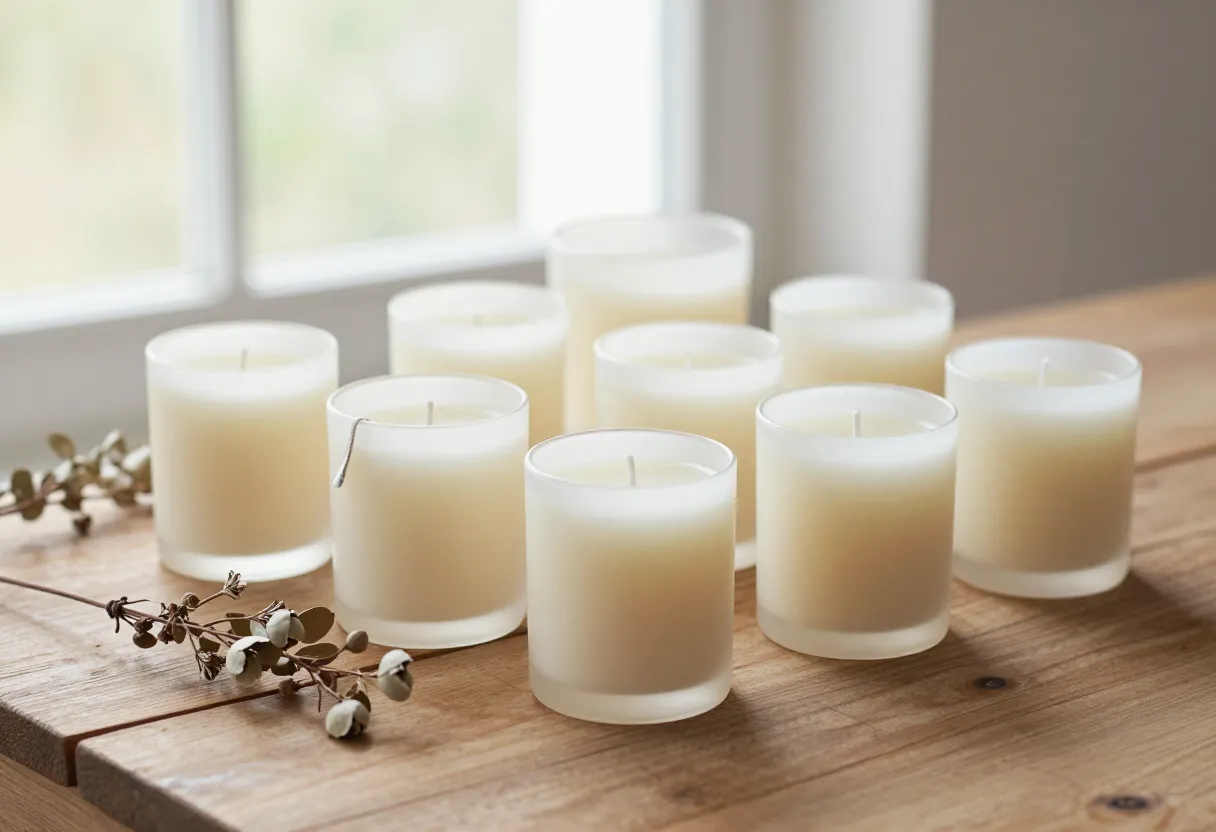
When I’m at my bench, I think about how a candle functions in someone’s home. It isn’t just a utility tool to keep a room bright; it is a way to shift the mood of a space. In interior design, there is a concept called “layered lighting.” This doesn’t mean buying five different types of lamps. It means creating depth by combining different sources of warmth and soft light.
When you are marketing your candles, you aren’t just selling a jar of wax and a wick; you are selling the atmosphere that candle creates. A single candle in a dark room is one thing, but a candle placed near a textured throw blanket, next to a stack of books with a dim lamp nearby, tells a story. It suggests a slow evening, a moment of rest, or a cozy corner for reading. To sell your products effectively, you have to show the reader how your candle fits into that layer of atmosphere. You want them to see the depth and feeling of the room, not just the product in isolation.
The Common Mistake in Product Staging
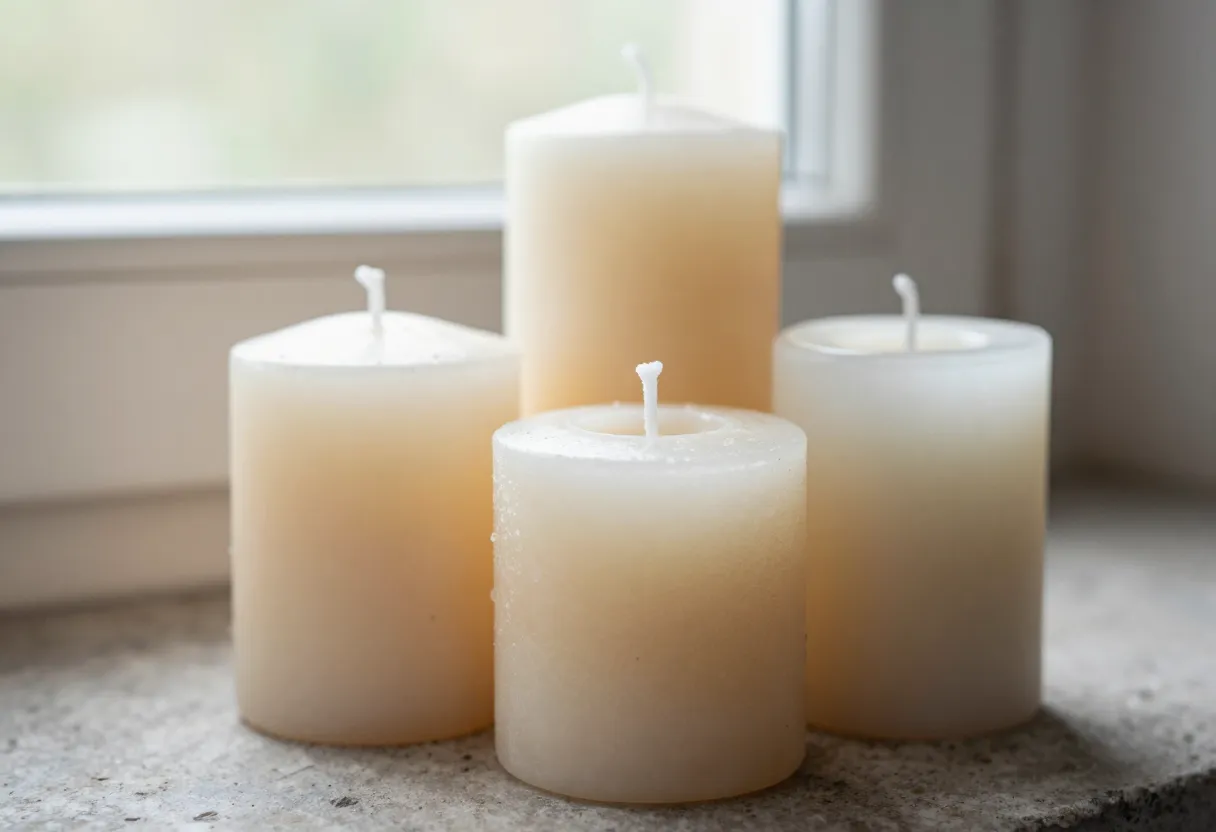
One mistake I see many makers make—and I’ve certainly fallen into this trap myself when starting out—is only photographing the “hero” candle. It is easy to take a clear photo of your best-selling scent on a plain white background, but that doesn’t help a customer visualize how it will look in their own living room. If you want to create perceived value and move inventory, you need to stage scenes that show how multiple products work together for different seasonal vibes.
Instead of showing one candle, try staging a “collection” moment. For example, if you are launching a fall line, don’t just show the pumpkin spice jar. Show it sitting next to a small votive and a piece of dried foliage. This helps the customer see how they might buy three items instead of one because those pieces complement each other. It moves the conversation from “I need a candle” to “I want this cozy autumn setup.” Staging your products in groups creates a narrative that makes it much easier for a buyer to say yes.
Building Depth with Candle Layers (Low to High)
To create a curated look in your photos or even when you are arranging candles for a display, I recommend using visual hierarchy. You want the eye to move through the scene naturally. A good rule of thumb is to group your products by height and “weight” to create depth from the foreground to the background. Think of it as building layers:
1. The Low Layer (Foreground)
Start with small items like votives or tea lights. These are perfect for placing on coffee tables, mantels, or nestled into the front of a scene. They provide “pops” of light without blocking the view of larger pieces.
2. The Mid Layer (Middle Ground)
This is where you place your standard-sized jars or medium lanterns. Grouping three of these together can create a sense of abundance and variety. This layer provides the bulk of the visual interest in your staging.
3. The High Layer (Focal Point)
Finish with your largest pillars, oversized jars, or statement pieces. These should be placed slightly further back or on a raised surface like a pedestal or a high shelf. They act as the anchor for the entire scene.
Practical Staging Checklist for Your Bench
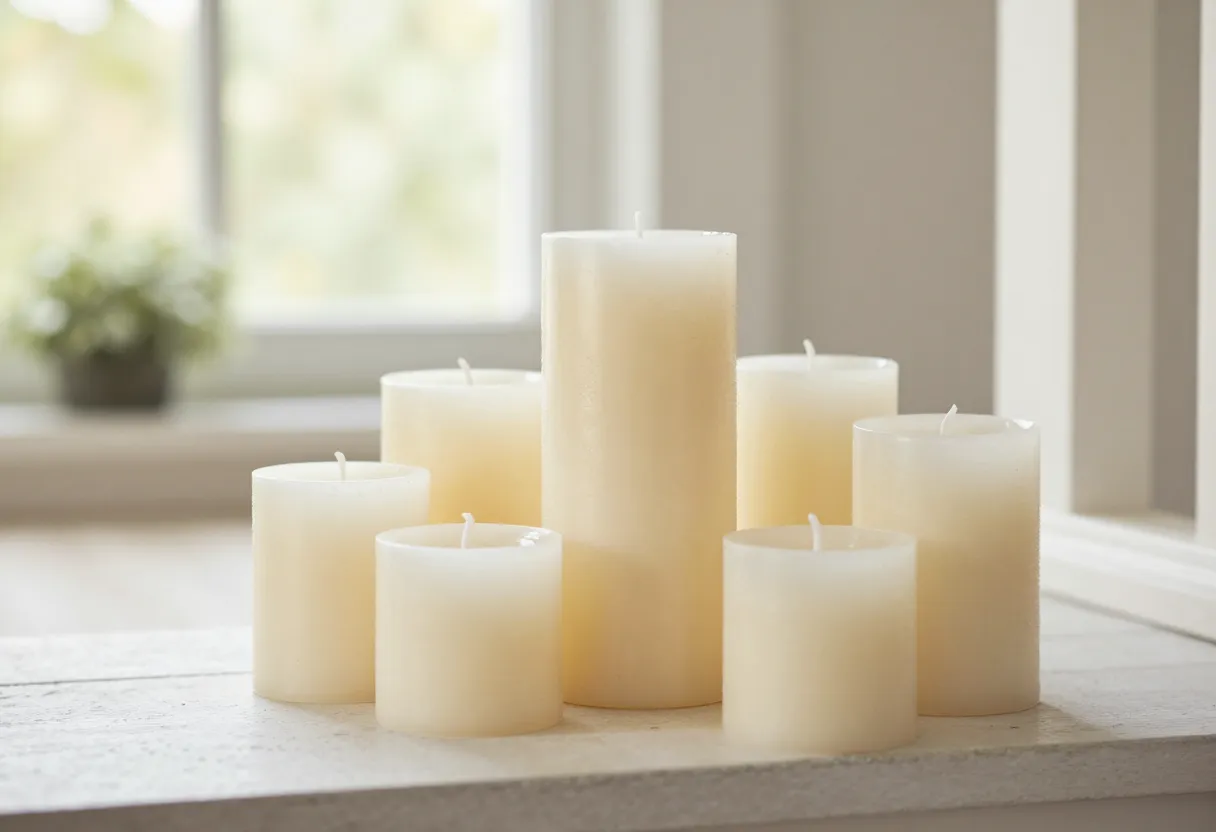
You don’t need a professional studio to get these shots; you just need a bit of discipline and an eye for texture. When I’m setting up a shot, I look for “honest” props—items that feel real and lived-in rather than perfectly polished. Here is a quick checklist to help you achieve a curated feel without any fancy equipment:
- Texture: Bring in elements like a chunky knit blanket, a linen napkin, or a weathered wooden tray. These contrast well with the smooth surface of a glass jar.
- Natural Elements: Use dried branches, pinecones, or even some fresh-cut greenery. They ground the scene and make it feel seasonal.
- The “Rule of Three”: Items often look more balanced in groups of three. Try one large candle, one medium candle, and a small decorative object like a ceramic bowl or a stack of coasters.
- Lighting: Avoid using a harsh camera flash. Use soft, indirect light from a window to mimic how the room would actually look at dusk.
Always remember that while you are styling your products for sale, safety remains the priority. Never leave a lit candle unattended during a photoshoot and ensure all props used near flames are heat-resistant. For more on keeping your workspace safe, see our guide at /guides/candle-safety-explained/.
To help you get started with capturing these scenes, I recommend checking out our guide to candle photography.
Inspired by a story from Country Living.
Get the next issue
Questions or corrections? Send a note. Or read more issues.