

Guides Photography
Candle Photography: Light, Shots and Editing for Handmade Candles
How to photograph handmade candles with a phone and a window: light, backgrounds, the six shots every listing needs, lit-candle safety, editing and honest listings.
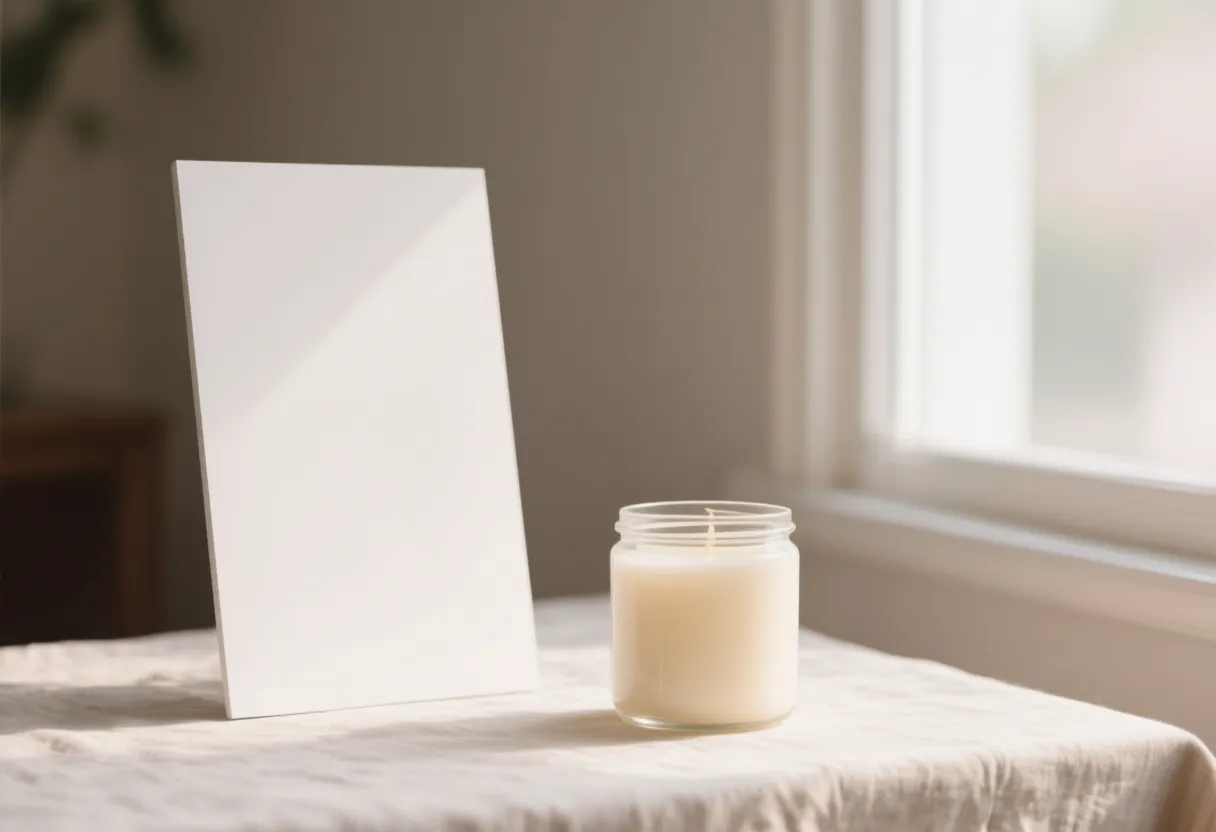
A customer can’t smell your candle, hold it or watch it burn. The photos are the whole shop window. The good news is that candles are among the easiest products to photograph: they hold still, they have clean shapes, and the best light for them is free and comes through a window.
This guide covers everything you need to photograph candles well with a phone: the light, the setup, the six shots every listing needs, how to photograph a lit candle safely, simple editing, and how to keep your pictures honest. You don’t need a studio or expensive gear. If you’re getting ready to sell, read it alongside Selling Candles.
What you need
Almost nothing, and most of it you already own.
| Item | Why it helps |
|---|---|
| A phone with a decent camera | Any recent phone is good enough for shop photos |
| A window | The best light source for candles: soft, free and consistent |
| A white board or card | White poster board or foam board bounces light into the shadows |
| A plain surface | Linen, wood, a sheet of paper or a tabletop: something that won’t compete with the candle |
| A small tripod or a stack of books | Keeps the phone steady and keeps every photo framed the same way |
| A soft cloth and a lint roller | Fingerprints, dust and wax smudges show up very clearly in photos |
Optional extras: a sheet of tracing paper or a thin white curtain to soften harsh light, a second board (black) to deepen shadows, and a small remote shutter or the phone’s timer so you don’t shake the camera.
Start with the light
Light matters more than the camera. Get it right and a phone photo looks professional. Get it wrong and nothing will rescue it.
- Use window light. Set the candle near a window, with the light coming from the side. Side light shows the shape of the jar and the texture of the wax.
- Keep it soft. A bright overcast day or a window without direct sun is ideal. If sun is pouring in, soften it with a thin white curtain or a sheet of tracing paper over the glass.
- Fill the shadow side. Stand a white card on the opposite side of the candle from the window. It bounces light back and lifts the shadows. Move it closer for brighter shadows, farther away for more contrast.
- Turn the room lights off. Mixing daylight with warm indoor bulbs gives a muddy, yellow-and-blue cast that is hard to fix later.
- Avoid on-camera flash and harsh overhead light. They flatten the candle, bounce off the glass and make wax look shiny.
- Shoot at the same time of day if you can, so a set of photos looks like it belongs together.
Set the scene
Simple backgrounds sell candles. The candle is the subject; everything else is supporting cast.
- Choose a surface that suits the candle. Cream and white candles look good on linen, pale wood or a darker surface for contrast. Dark or colored candles pop on a light background.
- Keep the background plain and slightly out of focus. A wall, a sheet of paper or a clear stretch of table works. Clutter pulls the eye away.
- Use one or two props, not ten. A sprig of dried greenery, a wooden dipper or a folded cloth can add mood. If a prop doesn’t make the candle look better, remove it.
- Match your props to the scent, such as citrus for a bright blend or cinnamon sticks for a spiced one. It tells the story of the candle at a glance.
- Be consistent. Use the same backdrop, light and angle across your shop so the listings look like one brand.
Prepare the candle
Cameras show every flaw, so look at the candle the way a customer will.
- Clean the glass with a soft cloth. Wipe off fingerprints, dust and any wax smudges before every shoot.
- Check the wax surface. A smooth, even top looks best. If you see frosting, a sinkhole or wet spots, fix the candle (see Candle Troubleshooting) rather than hiding it.
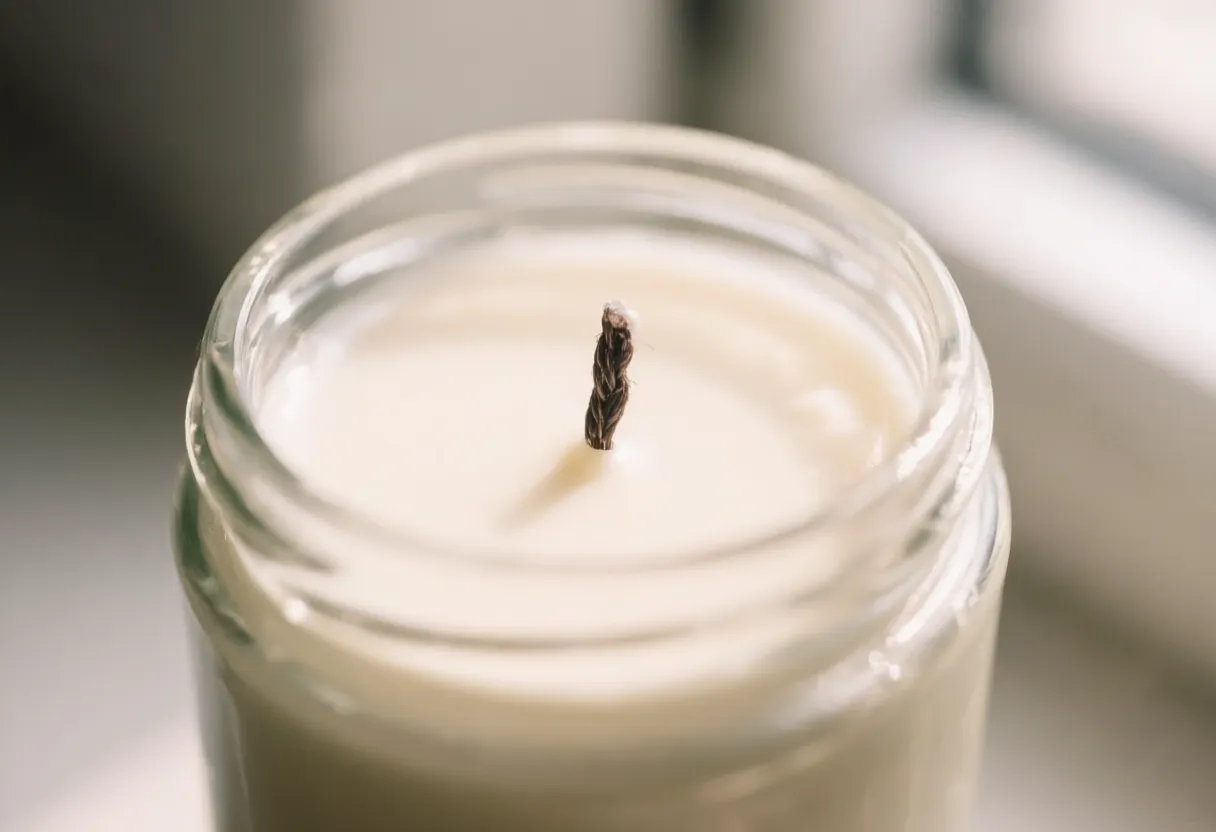
- Trim the wick to about ¼ inch and straighten it so it stands tidy in the center.
- Line up the label so it is straight, and check that the text is easy to read. If the photo looks off, it’s usually something small like a crooked label.
- Photograph the candle you will actually ship. Don’t use a “perfect” showpiece if the candles you sell look different.
The six shots every listing needs
A listing gets several photos. Customers scroll through them in order, and each one answers a different question.
- Hero shot. The whole candle, front-on, on a clean background. This is the thumbnail, so keep the candle large in the frame and centered so it still looks good when cropped.
- Scale shot. The candle in a hand or next to something familiar, so customers can judge the size. This shot prevents more returns than any other.
- Detail shot. A close-up of the wax top, the wick, the label or the texture of the container. It shows the quality of your work.
- Lit shot. A glowing candle sells the mood. See the safety notes below.
- Lifestyle shot. The candle in a setting, such as a bathroom shelf, a bedside table or a desk, so customers can picture it at home.
- Package shot. The box, the wrapping and any insert card or care instructions. Gift buyers care about presentation.
Tips for the full set:
- Add a “details” photo with the scent notes, size and burn time as text over a plain image if your marketplace allows it. Check the rules first.
- Show variations. If you sell several scents or sizes, show each one rather than relying on a single photo.
- Put the strongest image first, because it decides whether anyone clicks.
Photograph a lit candle safely
A lit candle is the best mood shot, and it is also the one that needs the most care.
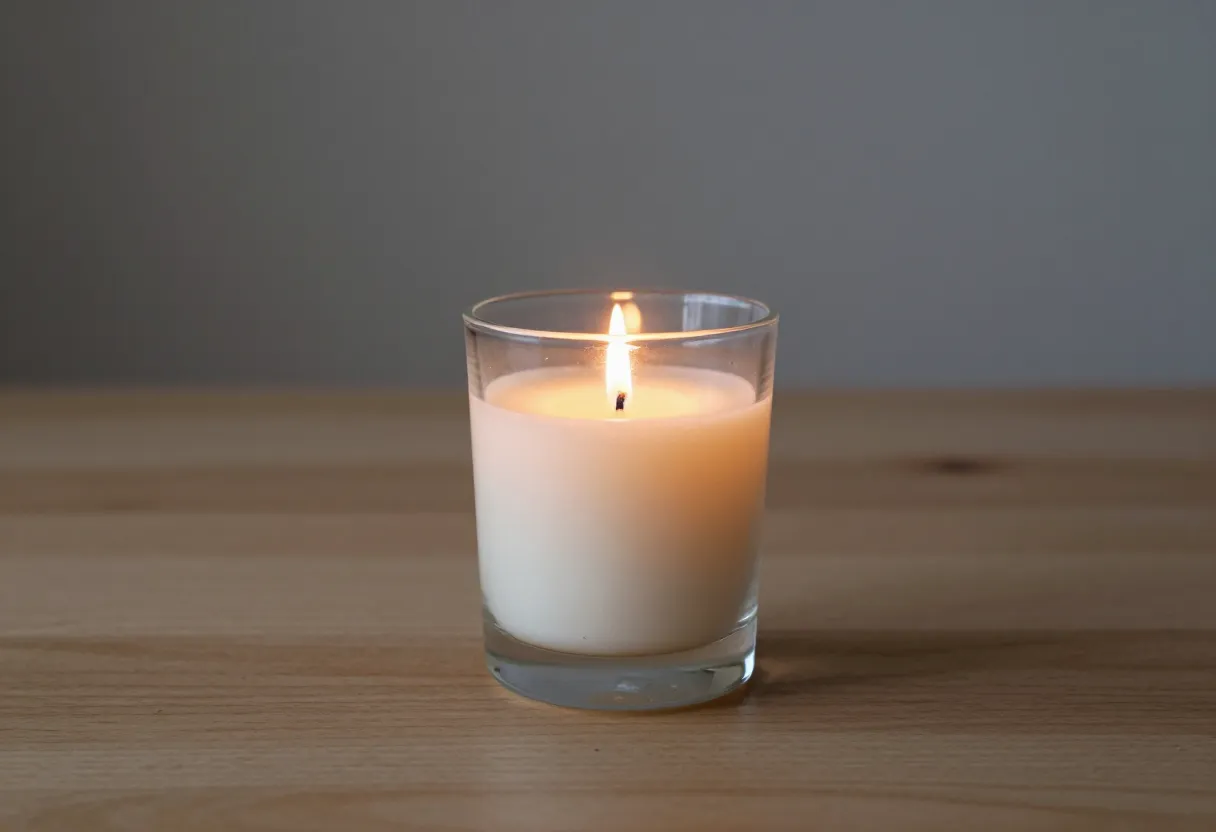
- Dim the room so the flame glows. Close the curtains or shoot near dusk, then add a little soft window light so the jar and label are still visible.
- Burn it briefly. Let the flame settle for a minute or two so it burns calmly and steadily. Trim the wick first so it doesn’t flicker or smoke.
- Keep props away from the flame. For a lit shot, use a bare surface or place props well to the side, never touching or leaning over the candle.
- Expose for the flame. On a phone, tap the flame to focus, then slide the brightness down so the flame doesn’t blow out into a white blob. A slightly dark photo with a visible flame looks better than a bright one with no detail.
- Hold the camera steady with a tripod or by bracing it, because dim light means a slower shutter.
- Avoid reflections. Glass picks up windows and lights. Change your angle a little until the reflections disappear.
- Take a few frames. Flames move, so shoot several and pick the best.
Camera settings that matter
You don’t need a manual mode. A few habits on a phone go a long way.
- Clean the lens. A smudge on the lens gives a hazy, soft photo. Wipe it before you start.
- Turn on the grid in your camera settings so you can keep the candle level and centered.
- Tap to focus on the label or the wick, and hold to lock focus and exposure if your phone allows it.
- Don’t zoom digitally. Move the camera closer or crop later. Digital zoom lowers the quality.
- Shoot at the highest quality your phone offers, so you have room to crop.
- Use a steady camera. A tripod, a stack of books or the phone’s timer all help.
- Keep the same angle across a set. Level with the candle for hero shots, and slightly above for flat-lay or detail shots.
Edit lightly and honestly
Editing should make the photo match what you saw, not change the candle.
- Crop and straighten so the candle is level and well framed.
- Adjust brightness and contrast a little to match the real candle.
- Fix the white balance so whites look white and the wax color matches the real candle.
- Remove dust or a stray hair, but never remove flaws that the customer will actually see in the candle.
- Don’t oversaturate. Heavy filters can make dye colors look different from the real thing, which leads to disappointed customers.
- Save a copy of the original so you can always start again.
If the photo doesn’t look like the candle in your hand, the customer will notice the difference when it arrives.
Match the photos to the marketplace
Every marketplace has its own image rules, so check the current ones before you plan a shoot.
- Image size and shape. Marketplaces recommend certain sizes and crop shapes for thumbnails. Keep the candle centered and leave a little space around it so a crop doesn’t cut it off.
- How many photos. Use as many slots as you are allowed. More angles mean fewer questions.
- Text and graphics on photos. Some marketplaces limit them, so read the policy first.
- Alt text. If your listing allows it, describe the photo in plain words, for example “cream soy candle in a clear glass jar on a linen cloth”. It helps people who use screen readers.
- File names. Name files clearly, such as
cedar-sage-candle-hero.jpg, to keep your library tidy.
Build a simple routine
The goal is to make photography a repeatable part of your process rather than a one-time effort.
- Choose a spot with good window light and leave a simple setup that you can reuse.
- Prepare the candles: clean the glass, trim the wicks and line up the labels.
- Shoot the six shots for each candle, using the same backdrop and angles.
- Review on a bigger screen, not just the phone, and delete anything soft, crooked or cluttered.
- Edit lightly and compare the result with the real candle.
- Keep notes: the time of day, the spot and the settings that worked, so the next batch matches.
Common mistakes
| Mistake | Fix |
|---|---|
| Dull, flat, yellow photos | Use window light, turn off the room lights and fix the white balance |
| Harsh, shiny glare | Soften the light with a curtain and change your angle |
| Fingerprints and dust | Wipe the glass and use a lint roller on cloth |
| Crooked horizon or candle | Turn on the grid and use a tripod |
| Busy background | Simplify to one surface and one or two props |
| Blown-out flame | Tap the flame and lower the exposure |
| Colors that don’t match the real candle | Check the white balance and don’t over-edit |
| Props near a lit flame | Move everything away, and never leave the candle unattended |
Common questions
Do I need a professional camera?
No. A recent phone in good window light produces shop-ready photos. Light, a clean subject and a steady camera matter much more than gear.
What is the best time of day to shoot?
Whenever your window gives soft, indirect light. For many rooms that’s mid-morning or on a bright overcast day. Avoid direct sun hitting the candle.
How do I photograph a dark or glossy container without glare?
Soften the light, move the candle a little away from the window, and change the angle until the reflections fade. A white card can help, and so can a dark board beside the jar to deepen the edges.
How do I show scent in a photo?
You can’t, so use props and words. Pair the candle with a few matching ingredients, and describe the scent notes in the listing.
Can I use generated or stock images in my listings?
Use real photos of your own candles in listings, so customers get what they see. Generated or stock images are fine for backgrounds or mood on your own website, but not as a substitute for product photos.
How many photos should a listing have?
Use all the slots your marketplace allows. Six well-chosen frames, as above, cover most of what buyers want to know.
Should I shoot video too?
Short clips are a nice addition: a slow turn of the jar, a hand lighting the wick, or a gentle shot of the flame. Keep them steady and short, and follow the same safety rules for lit candles.
Where to go next
Good photos are one part of a good listing. Read Selling Candles for pricing, labels, listings and shipping, and work through Candle Safety before you sell anything.
Good light does most of the work. Clean the jar, find the window, and let the candle do the rest.
Questions or corrections? Send a note. Ready for the next step?Browse more guides.