

Guides Wicks
Candle Wicks Explained: Choosing, Sizing and Testing
Wick types, what decides the right size, how to attach and trim a wick, and how to read a burn so you can fix tunneling, mushrooming and smoke.
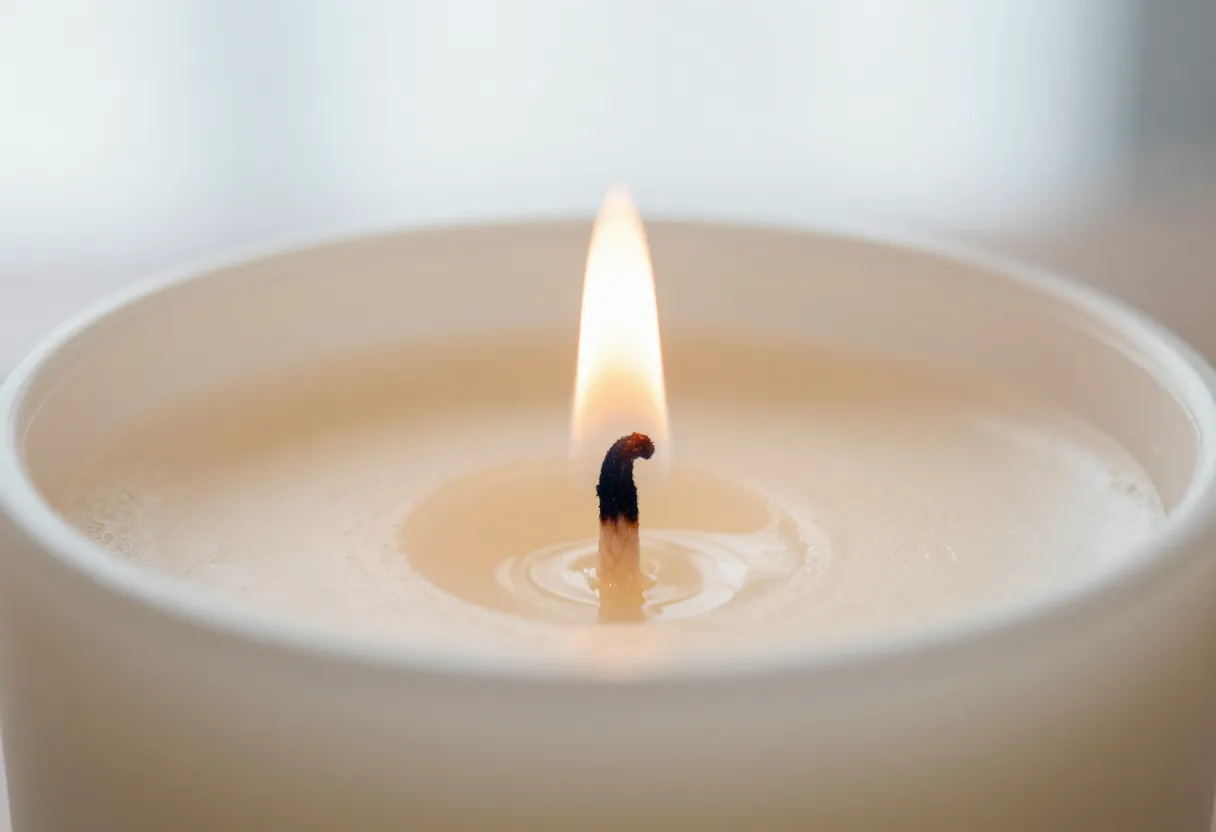
The wick looks like the least important part of a candle. It’s a thin piece of string. But it controls the flame, and the flame controls everything else: how hot the wax gets, how far the melt pool spreads, how well the candle smells, and whether it burns cleanly or smokes.
Most candle problems that look like wax problems are wick problems. If you learn to size and test a wick, you’ll fix most of what goes wrong. This guide assumes you’ve read Your First Candle and know the basics. It pairs with Candle Waxes Explained, because the right wick depends on the wax.
What a wick does
A burning candle is a small fuel system. The flame melts the wax at the top of the candle, and the wick draws the liquid wax up by capillary action, the same way a paper towel pulls up water. The heat of the flame turns that liquid into vapor, and the vapor is what actually burns.
The wick has to do three things at once: pull up the right amount of wax, feed it to a flame that keeps the melt pool at the right temperature, and do it without clogging or collapsing. Too little fuel gives a weak, drowning flame. Too much gives a tall, sooty one.
Types of wicks
Wicks are sold in several constructions. Each behaves differently, and each is meant for certain kinds of candles.
| Type | What it is | Typically used for |
|---|---|---|
| Flat braid | Cotton fibers braided into a flat ribbon that curls slightly as it burns | The most common choice for container candles and pillars |
| Square braid | A denser, rounder braid that stands stiffly upright | Beeswax, tapers and pillars |
| Cored | A braided wick around a stiffening core, such as paper or zinc | Containers and votives where the wick must stay upright in a hot pool |
| Wood | A thin wooden ribbon that crackles softly as it burns | Decorative candles in wide containers |
Manufacturers organize their wicks into series, each designed for a family of waxes and uses. The series names vary by brand, so always match the series to your wax using your wick supplier’s chart.
What decides the right size
There is no single right wick for a given container. The right size comes from several factors working together.
- Container diameter. This is the biggest factor. A wider container needs a bigger wick, or more than one wick, so the flame can melt wax all the way to the edge.
- Wax type. A harder, higher-melting wax needs a bigger wick than a soft one. Soy, paraffin, coconut blends and beeswax all want different wicks.
- Fragrance. A higher fragrance load, and some particular oils, change how the wick draws and burns. Heavily scented candles often need a different size than unscented ones.
- Dye. Dye can slow the burn or clog a wick, especially in dark or heavily colored candles.
- Container material. Thick glass absorbs heat and thin tins heat up fast, so the same wick can act differently in different vessels.
- Starting conditions. A cold room, a draft, or a candle burned near a vent will change how it burns.
That’s why a chart gives you a starting point, and a burn test gives you the answer.
How to choose a wick
Follow the same process every time. It keeps you from guessing.
Measure the diameter across the inside of the container at the top, where the melt pool will end up. Wick charts are organized by diameter, so this number is your starting point.
Attach and center the wick
A wick that isn’t anchored and centered will tilt, burn unevenly and melt one side of the container faster than the other.
- Use a pre-tabbed wick, which has a small metal base that holds it upright.
- Fix the tab to the center of the bottom of the container with a wick sticker or a small dot of hot glue. Press it flat so wax can’t creep under it.
- Hold the wick straight and centered at the top with a wick holder, clothespin, or two chopsticks, and keep it taut while you pour.
- Let the candle set completely before you touch the wick.
Trimming the wick
Trim the wick to about ¼ inch above the wax before the first burn and before every burn afterward. A long wick burns a bigger flame than the wax can support and is the most common cause of smoke and soot.
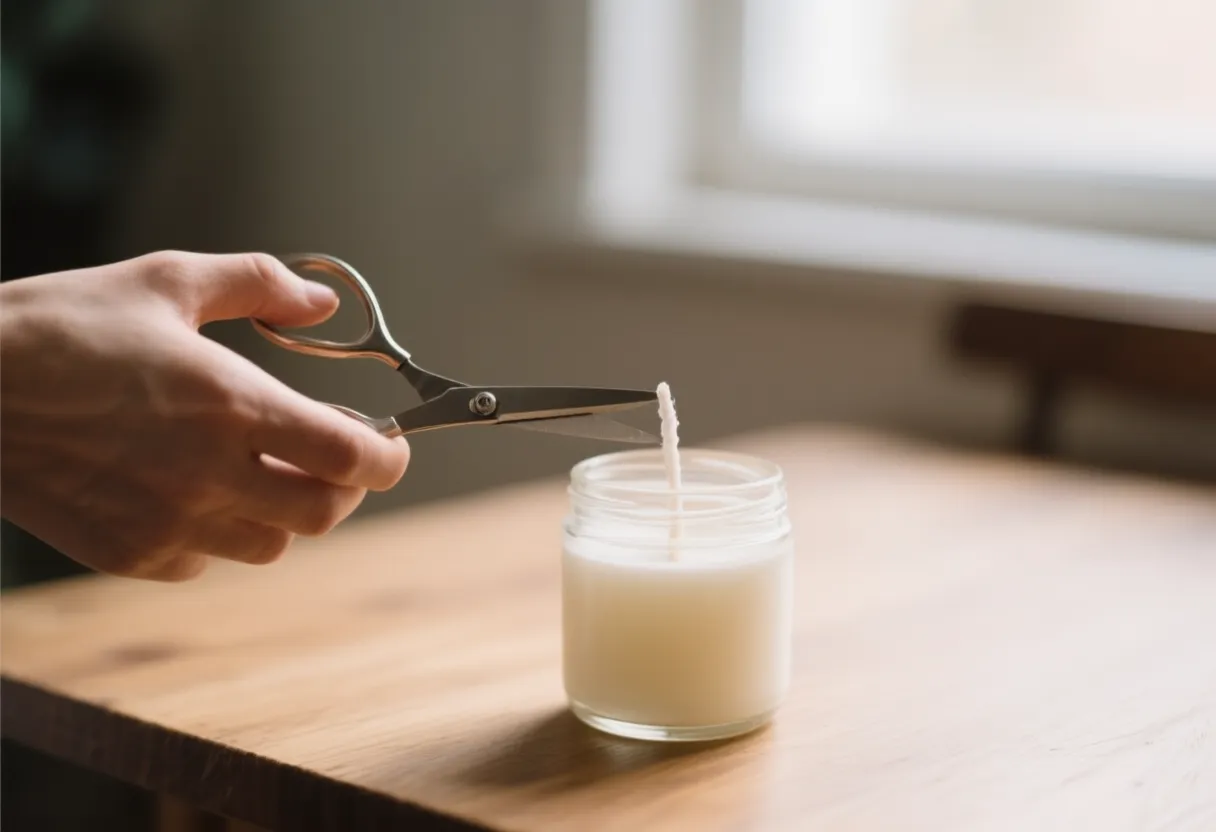
Use wick trimmers or sharp scissors, and remove the trimmed piece from the wax so it doesn’t burn as a tiny second wick.
Reading the burn
A burn shows you whether your wick is too small, too large, or right. This is what to look for.
A well-sized wick gives a steady, moderate flame that melts a full pool across the container, without smoking. A too-small wick gives a tiny flame that can’t keep up, so wax remains on the sides. A too-large wick gives a tall, flickering flame that smokes, overheats the container and grows carbon on the wick.
Run a wick test
A wick test is a short, controlled experiment. Do it whenever you change wax, container, fragrance, fragrance load or dye.
- Pour three identical candles in the same container with the same wax, fragrance, dye and temperatures. Give each a different wick: the size from the chart, one size smaller, and one size larger.
- Label them and write down every detail.
- Let them cure for the time your wax calls for.
- Burn each one, following the burn test in Your First Candle: trim to ¼ inch, burn until the melt pool reaches the edge (about one hour per inch of container diameter), and never more than about four hours at a time.
- Watch the flame, the melt pool, the container and the wick. Take notes at each check.
- Let them cool, trim, and burn again. Wick behavior changes as the candle burns down, so one burn isn’t enough.
- Pick the size that gives a full melt pool, a steady flame and a clean wick, and confirm it with a second round at that size.
Troubleshooting wick problems
| Symptom | Likely cause | What to try |
|---|---|---|
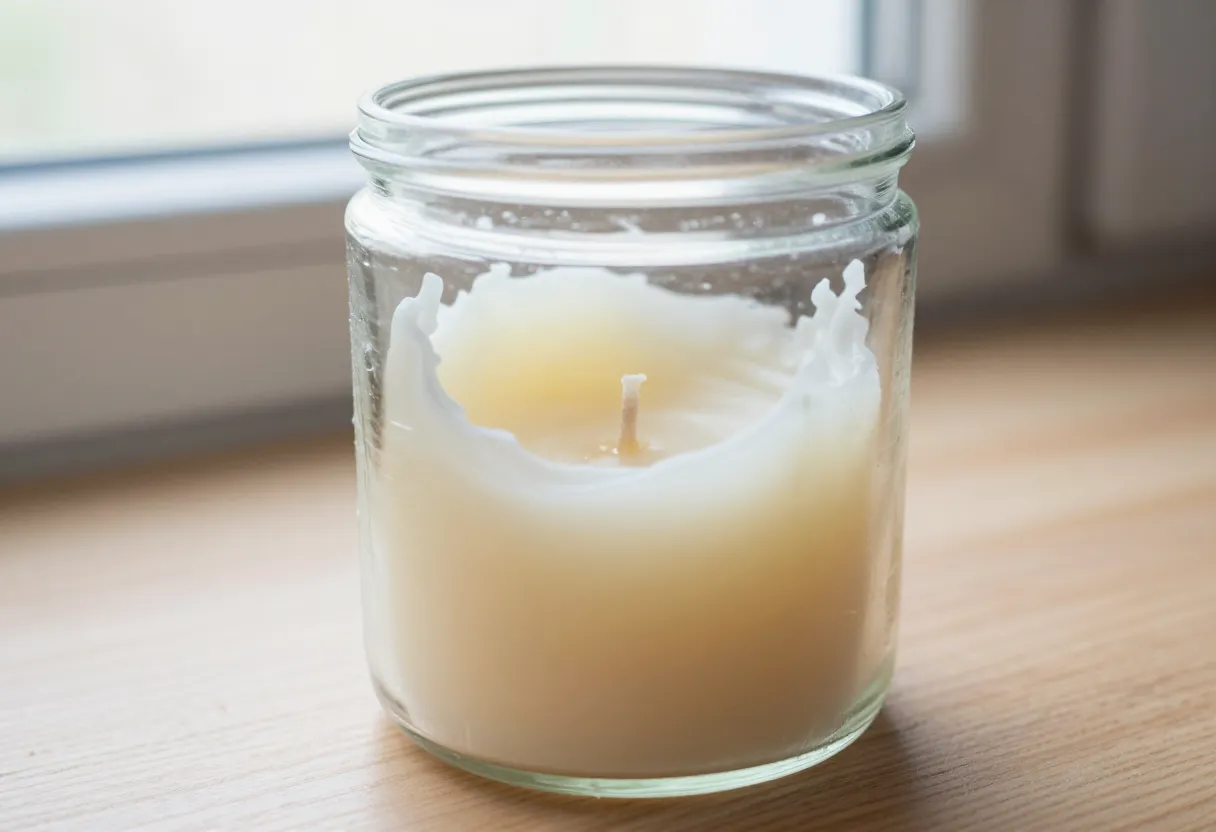
| Tunneling | Wick too small, or burns too short | Go up one wick size. Burn long enough for a full melt pool each time. |
| Drowning flame | Wick too small for the melt pool | Go up a size. Check the wick isn’t clogged with fragrance or dye. |
| Tall, smoky flame | Wick too large or too long | Trim to ¼ inch. Go down a size. |
| Mushrooming (carbon ball on the tip) | Wick too large, too long, or clogged | Trim. Go down a size. Check your fragrance and dye. |
| Container very hot | Wick too large | Go down a size. Stop burning if the glass gets extremely hot. |
| Wick bends or falls over | Flat braid too soft for a deep container, or not centered | Use a stiffer or cored wick, or recenter it when pouring. |
| Flame flickers or sputters | Drafts, water in the wax, or bubbles | Move the candle. Make sure the wax and container are dry. |
| Weak scent | Wick too small to heat the pool | Go up a size and retest, along with checking the cure. |
| Wick won’t stay lit | Wick too small, or wick drowned in wax | Go up a size. Trim and relight. |
Change one variable at a time. If you change the wick and the fragrance load together, you won’t know which one fixed the problem.
Wide containers and multiple wicks
If a single wick can’t melt a container all the way to the edge without becoming too large and hot, many makers use two or three smaller wicks instead. The wicks are spaced so their melt pools merge into one.
A multi-wick candle needs its own testing. Wick spacing, size and container width all interact. Use your wick supplier’s chart for multiples, and test the same way you would a single wick.
Wood wicks
A wood wick is a thin flat strip of wood that produces a soft crackle and a wide, horizontal flame. They look beautiful, but they’re more sensitive to the wax and container than cotton.
- They suit wider, shallower containers better than narrow jars.
- They need careful sizing, and the wax formulation matters a lot.
- Trim them as you would any wick, and make sure the flame stays lit across the full width.
- Test extensively. Wood wicks are less forgiving than cotton.
Safety with wicks
- Never leave a burning candle unattended, including during wick tests.
- Burn tests should be done on a heat-safe, stable surface away from flammables.
- Stop burning when about ½ inch of wax remains at the bottom so the container doesn’t overheat.
- Keep a lid or a snuffer nearby to put out a candle that’s flaring.
- Don’t touch a hot container. Glass that gets too hot to hold comfortably is a sign the wick may be too large.
- Only use wicks that are lead-free and designed for candles.
Common questions
Can I use the same wick for different waxes?
Often not. A wick that burns well in a soft soy wax may be too small for a harder wax. Every time you change wax, run a new wick test.
Why did my candle burn differently after I changed fragrance or dye?
Fragrance and dye change how the wax moves up the wick and how it burns. Even a small change can shift the ideal wick size. Retest.
Should I pre-wax or prime my wicks?
Most wicks sold by candle suppliers are already waxed. Some makers dip wicks in melted wax for extra stiffness, particularly for wood wicks or flat braids, but it’s optional. Follow your wick supplier’s guidance.
Can I trim the wick while the candle is burning?
No. Put the candle out, let it cool, then trim. Trimming a lit wick is a burn and fire hazard.
My wick is perfect at first, but tunnels when the candle is half used. Why?
The burn changes as the candle gets shorter. Test a candle all the way down. Burn it in sessions and check the wick along the way.
Where to go next
Your wax and wick have to work together, and your fragrance has to work with both. The next guides will cover fragrance and dye. Until then, test every wick you choose, keep notes, and trust the burn over any chart.
The flame tells the truth. Learn to read it.
Questions or corrections? Send a note. Ready for the next step?Browse more guides.