

Newsletter October 12, 2026
Building Your Candle Display: Safety and Structure for Season Sales
Getting your candles ready for fall or holiday markets requires careful staging. Learn how applying basic design principles can make a huge difference in presentation—while keeping
The Challenge of Seasonal Staging
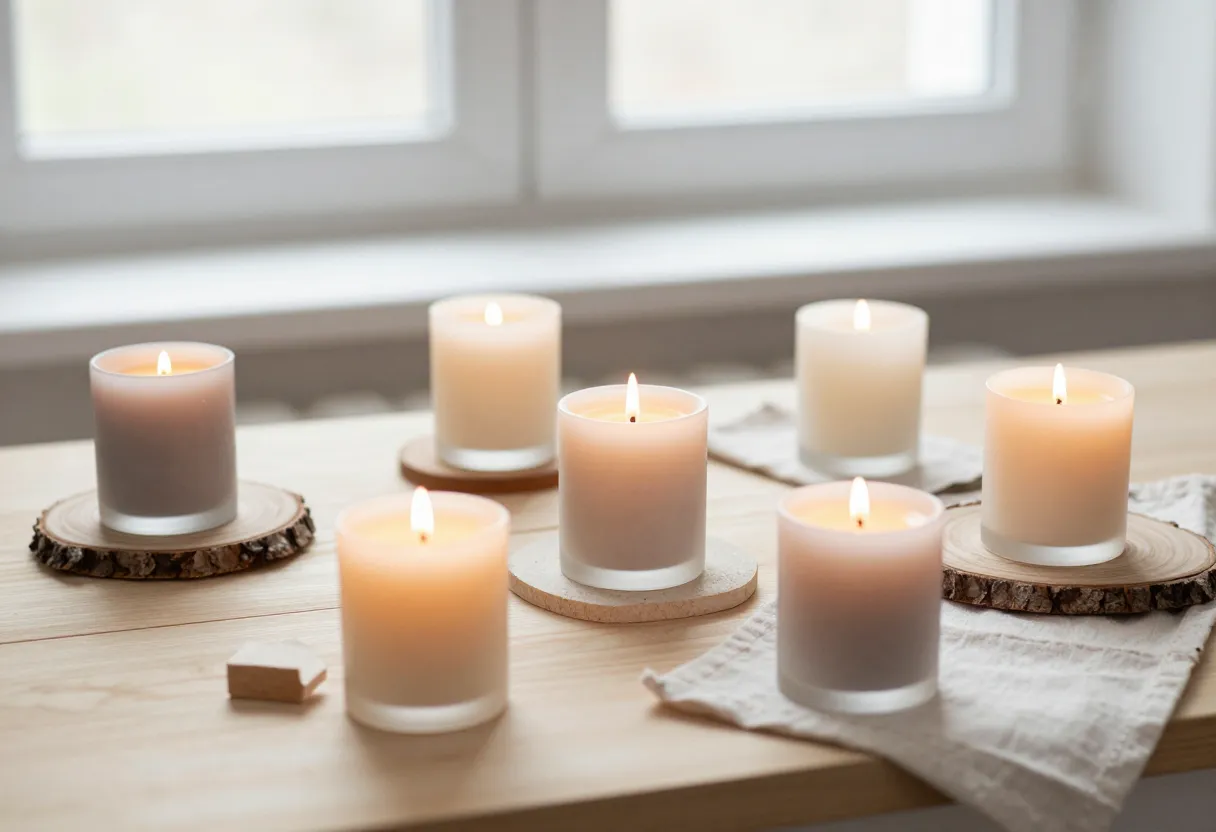
When you move from a standard retail shelf into seasonal marketing, your display usually gets more complex. It is tempting to lean heavily into “the vibe”—adding pinecones, dried florals, heavy fabrics, and decorative props to evoke the feeling of fall or winter. While these elements can make a product feel like part of a story, they introduce two specific challenges for us as makers: physical safety and visual clutter. Every extra item on your table is something that could potentially tip over, catch fire if a candle were lit nearby (though we always advise against lighting in public spaces), or obscure the very thing people are there to buy—your product. The goal of seasonal staging isn’t just to make it look “pretty.” It’s about creating an environment where your candles stand out clearly while maintaining a stable, safe footprint for both you and the customer.
Safety First: Applying Discipline to Displays
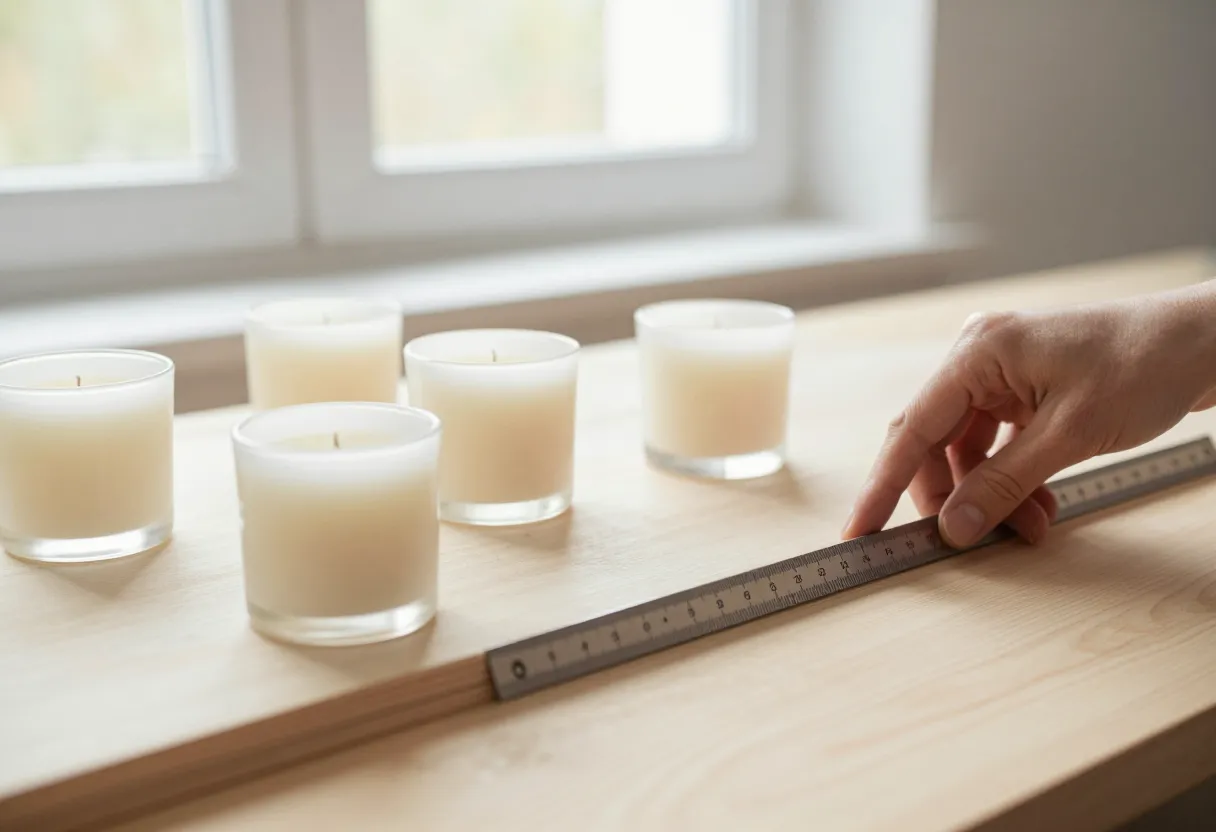
In my experience, safety shouldn’t be something we think about only when something goes wrong; it should be part of our standard operating procedure. When building a seasonal display, I treat this like a pre-flight check. Every prop needs to serve a purpose and sit securely in place. For example, if you use dried botanicals or wood elements as decor, ensure they are not placed so close that they interfere with the candle’s footprint or could be knocked onto the product during a busy market day.
We want to avoid any “close calls” regarding stability. If your display is on a table at a craft fair, it needs to withstand someone bumping into it. Use heavy bases and non-combustible materials where possible for items closest to the candles. You can find more detailed protocols on handling these risks in our guide to candle safety. If you are unsure about how your specific wax or container interacts with certain environments, always consult your supplier’s data sheet before finalizing a display layout.
Visual Merchandising 101 (For Candle Makers)
You don’t need a degree in design to make a professional-looking table, but you do need a plan. One of the biggest mistakes I see makers make is “the scatter.” This happens when every candle and every piece of decor is spread out evenly across a surface, which can look like a cluttered garage sale rather than an intentional shop. Instead, try these three concepts:
Focus Points
Pick one main area where your best-selling seasonal scent sits. Make that the centerpiece. Use height to draw the eye toward it first.
Repetition and Grouping
Instead of lining up ten different candles in a single row, group them by “families.” If you have three scents with berry notes, place those together on one small tray or riser. This tells the customer’s brain that these items belong together as a collection.
Texture Contrast
Use materials like wood slices, linen, and stone to create interest. A rough wooden slab provides a great contrast against a smooth glass jar. These elements provide “grounding” for your products without needing to be loud or flashy. For more on how to present your work effectively, see our guide to selling candles.
Building the Display Base
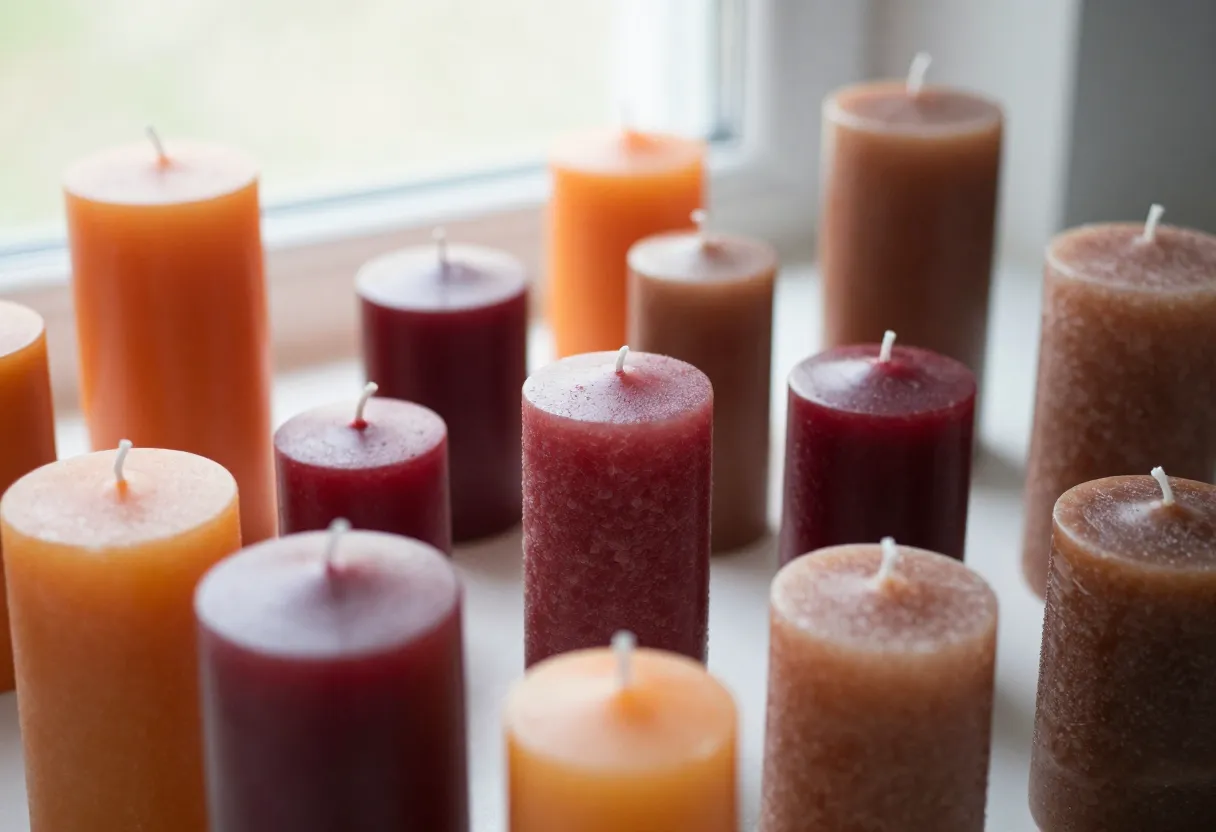
The foundation of your display is what keeps everything upright and organized. When I set up a booth or a shop window, I think about “zones.” You want to build stable platforms so that you aren’t constantly adjusting items during the day.
Using Risers
Use wooden crates, overturned sturdy boxes covered in fabric, or stone slabs as risers. These create different levels for your products, making it easier for customers to see every label on a crowded table.
Selecting Props
When choosing props like wood slices or baskets, ensure they are heavy enough that they won’t slide around easily. If you use fabrics like burlap or cotton to drape over tables, make sure the fabric isn’t hanging in a way that could snag on passing feet or trip someone up. The goal is for the decor to support the product, not compete with it.
If you are still trying to figure out how to price these seasonal items after you’ve built your display, I recommend using our pricing calculator to ensure your margins account for any extra materials you’s used in the staging process.
Quick Checklist Before Opening Day
Before you head to a market or open your shop doors for a holiday rush, take five minutes to walk through this checklist. This is about ensuring that everything—from the wax inside the jar to the prop on the table—is where it needs to be.
- Stability Check: Give every item on your display a gentle nudge. If a riser wobbles or a decorative piece slides, secure it with a bit of adhesive or weight.
- Label Visibility: Ensure that no decorations are overlapping your labels. A customer should never have to move a pinecone to see what scent they are buying.
- Clear Pathways: Ensure the area around your display is clear of tripping hazards and that you have enough room for people to stand and look without blocking others.
- Safety Signage: If applicable, ensure any necessary safety information regarding candle care is clearly visible. You can refer back to our candle safety guide to see what should be communicated.
- Inventory Check: Ensure you have enough of your “hero” products for the duration of the event.
If you find yourself struggling with how a specific wax is performing in its container during these high-traffic times, use our troubleshooter tool to get back on track quickly.
Inspired by a story from CraftGossip.
Get the next issue
Questions or corrections? Send a note. Or read more issues.