

Newsletter November 5, 2026
How to Make Your Candles the Supporting Cast,
When your customer's seasonal décor is already dazzling, your job isn't to compete—it’s to complement. Learn how to stage accent pieces that look intentional and beautiful.
The Problem with Being The Main Event
I’ve noticed a common hurdle when people start decorating their homes for a season: they want every single item to stand out as much as possible. When you have a massive centerpiece on your dining table—maybe it’s a large floral arrangement or a heavy holiday display—it naturally becomes the “lead actor” of the room. The mistake many makers, myself included when I first started styling my own space, is trying to make their candles compete for that same spotlight. If you place five identical jars directly in front of a dominant centerpiece, they end up creating visual noise rather than a cohesive look.
In my experience, the most effective way to use candles is as supporting cast members. They shouldn’t be fighting your main decor; they should be enhancing it. When a candle’s job is to provide warmth and atmosphere rather than to demand 100% of the viewer’s attention, it allows the overall design of the room to breathe. It’s about finding that balance where the candle feels like an intentional part of the scenery, providing a flicker of light without overcrowding the focal point.
Complementary Accents: Height and Symmetry First

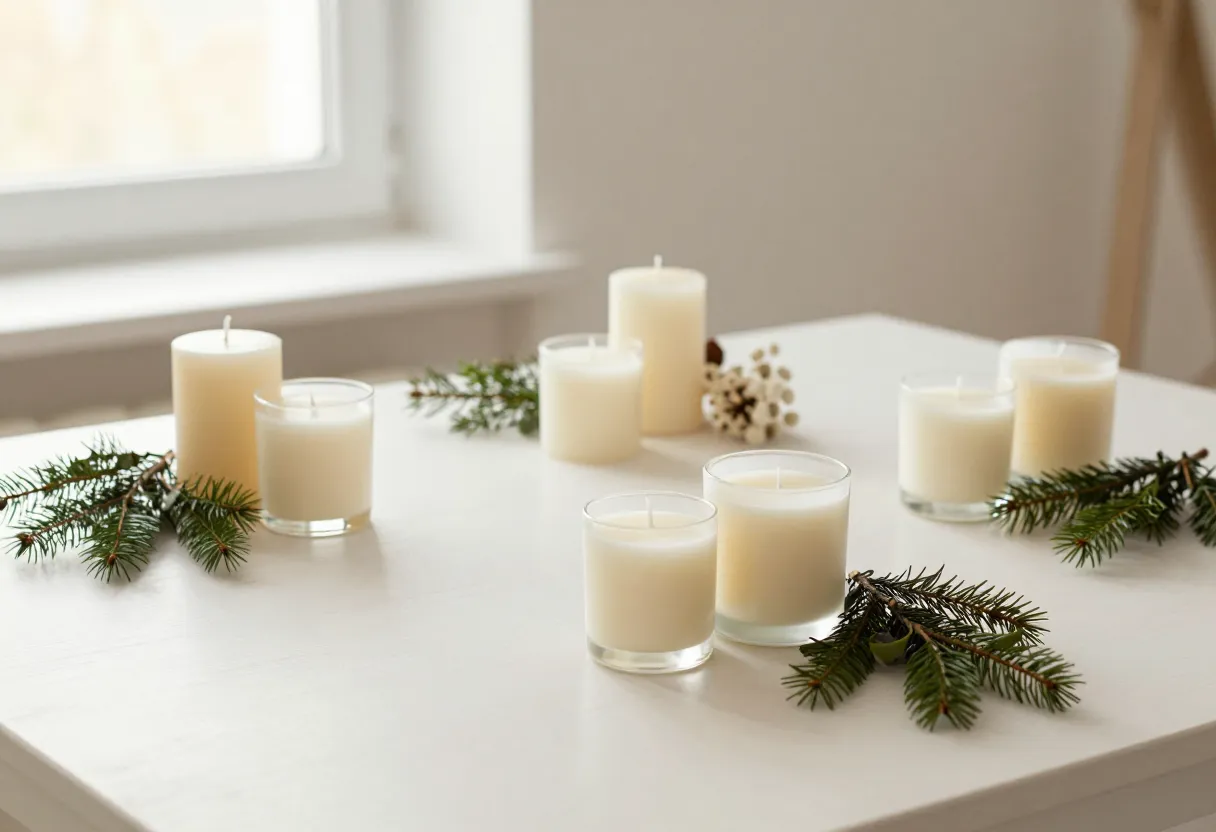
One of the most practical ways I’ve learned to handle this is through height variation. If every object on a surface is at the same level, it creates a flat, stagnant look that makes it hard for the eye to move across the space. When you are grouping candles around a dominant centerpiece, think about creating a “triangle” or an asymmetrical balance. You want to guide the viewer’s eye horizontally across the table or vertically up toward your main display without breaking the flow of the scene.
To do this effectively on your own bench-side staging:
- Use Varying Heights: Mix different container sizes. A tall, slender jar can act as a secondary anchor point, while smaller votives fill in the gaps nearby.
- Avoid “Soldier” Lining: Unless you are going for a very specific, formal look, avoid lining up identical jars in a straight row. It often feels less intentional and more like an inventory count.
- Create Depth: By varying heights, you create layers. This makes the arrangement feel curated rather than just a collection of items placed on a surface at random.
Where To Place Them (and Where Not To)
There are some practical staging rules I’ve picked up over time that can make or break a display. A common mistake is placing candles directly in front of, or tucked behind, a centerpiece where they get lost in the shadows or become physically obscured by branches and fabric. You want your candles to be accessible but not crowded.
- The Edge Rule: Try placing your accent candles toward the edges of mantels, side tables, or windowsills. This lets them stand out as distinct accents while leaving the center clear for your main display.
- Secondary Surfaces: Don’t feel like every candle has to live on the same table as your centerpiece. Using a nearby stool, a stack of books, or even a different shelf helps distribute that warmth throughout the room without cluttering one specific spot.
- Clearance and Safety: From a practical standpoint, never crowd candles so tightly that they interfere with each other’s burn or airflow. Always ensure there is enough physical space for proper clearance around the flame—never place them in a way that traps heat or limits oxygen. For more on this, see our guide on candle-safety-explained.
Staging for the Camera: Making Accents Look Intentional
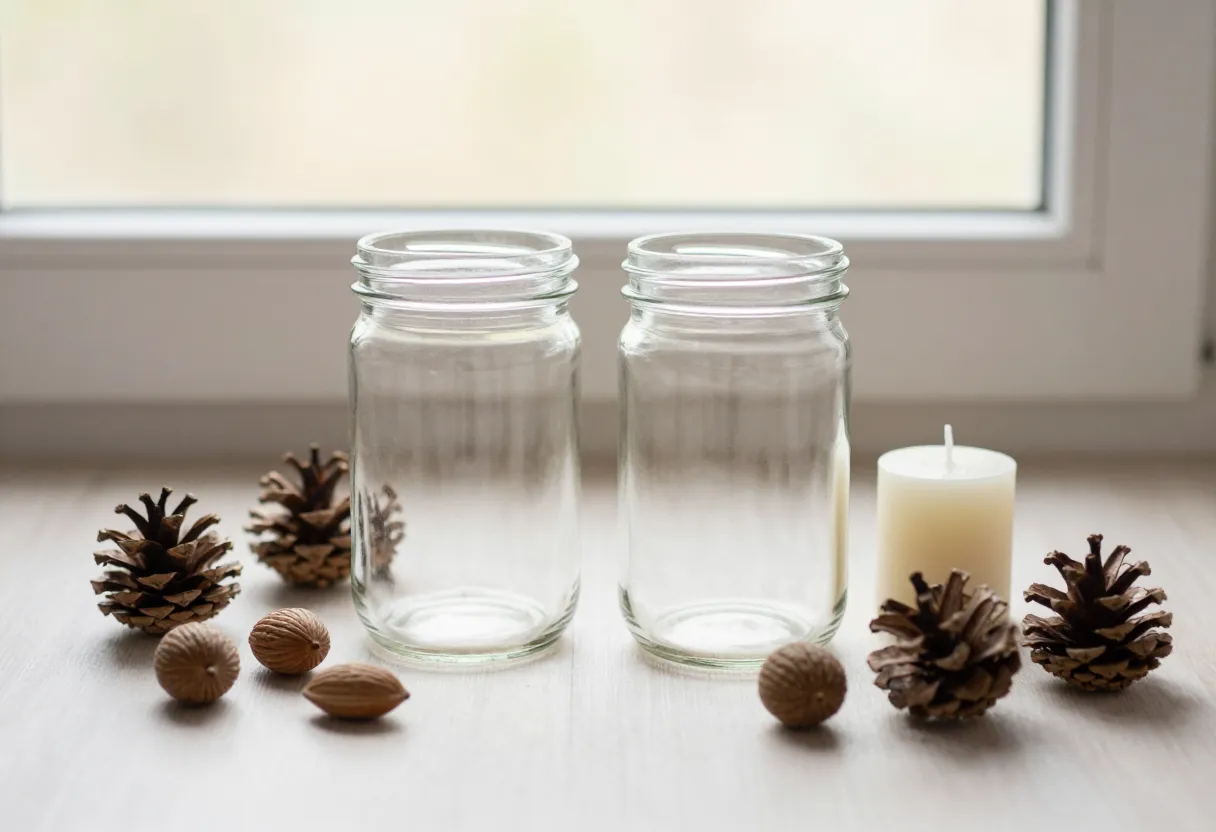
When you move from styling your own home to taking photos of your products, these same rules apply but with a few extra tweaks for the lens. You want the viewer to see how your candle fits into a real lifestyle without it feeling like a clinical product shot.
- Depth of Field: If you are shooting an accent candle near a centerpiece, use a shallow depth of field. Let the main decor be slightly out of focus while your candle stays sharp. This tells the viewer’s brain that the candle is the subject, even though it’s playing a supporting role in the scene.
- The Grouping Shot: Instead of just one jar, photograph them in a cluster of three or more. Use different sizes and colors to show variety. It looks much more natural and less like a single product on a pedestal.
- Anchoring Elements: Make sure there’s something “near” the candle—a sprig of greenery, a coaster, or a book. This anchors the candle in a real-world setting so it doesn’t look like it’s just floating in white space.
To learn more about how to capture these types of shots for your own brand, check out our guide on candle-photography-explained.
Inspired by a story from Good Housekeeping.
Get the next issue
Questions or corrections? Send a note. Or read more issues.