
Newsletter October 21, 2026
Lighting Up Your Listings: Product Photography Basics for Makers
Getting the photo right is half the battle. We'll talk about simple lighting setups that make your candles look crisp and professionally finished online.
Why Your Photo Needs to Do More Than Just Show Wax
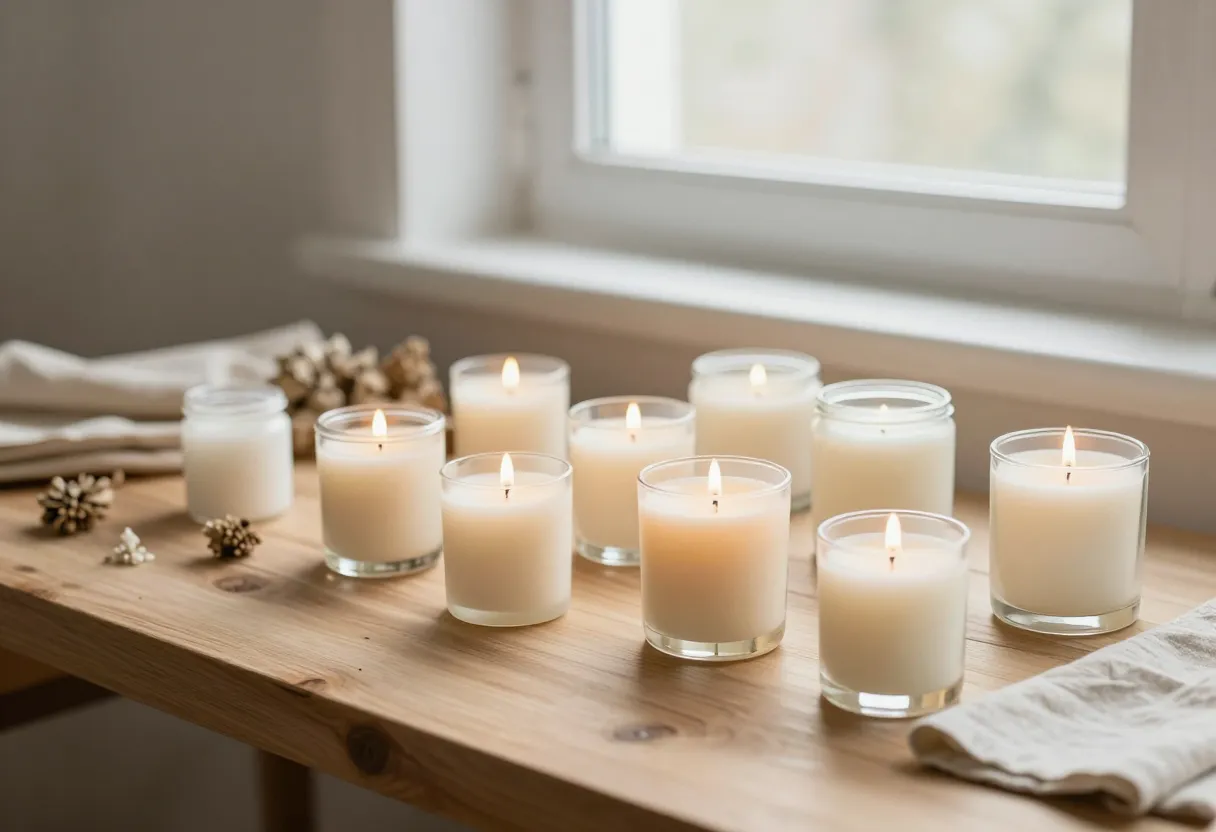
When you start selling your candles, your photos serve as the primary way a customer can judge the quality of your work before they ever smell a single note of fragrance. A photograph is not just documentation; it is your storefront and your most direct form of communication with someone who cannot physically visit your studio or hold your product in their hands. On my bench, I learned early on that if a photo shows grainy wax or an off-center wick, the customer will assume those issues exist in the physical product. You want to use photography to prove your craftsmanship—the smooth top of the pour, the clean lines of the vessel, and the intentional placement of your label. Instead of just taking a picture, think of it as documenting the discipline you put into every batch. Good photos build trust by showing that you take care in the small details, ensuring the customer feels confident before they click “add to cart.”
Understanding Light: Soft vs. Hard Sources
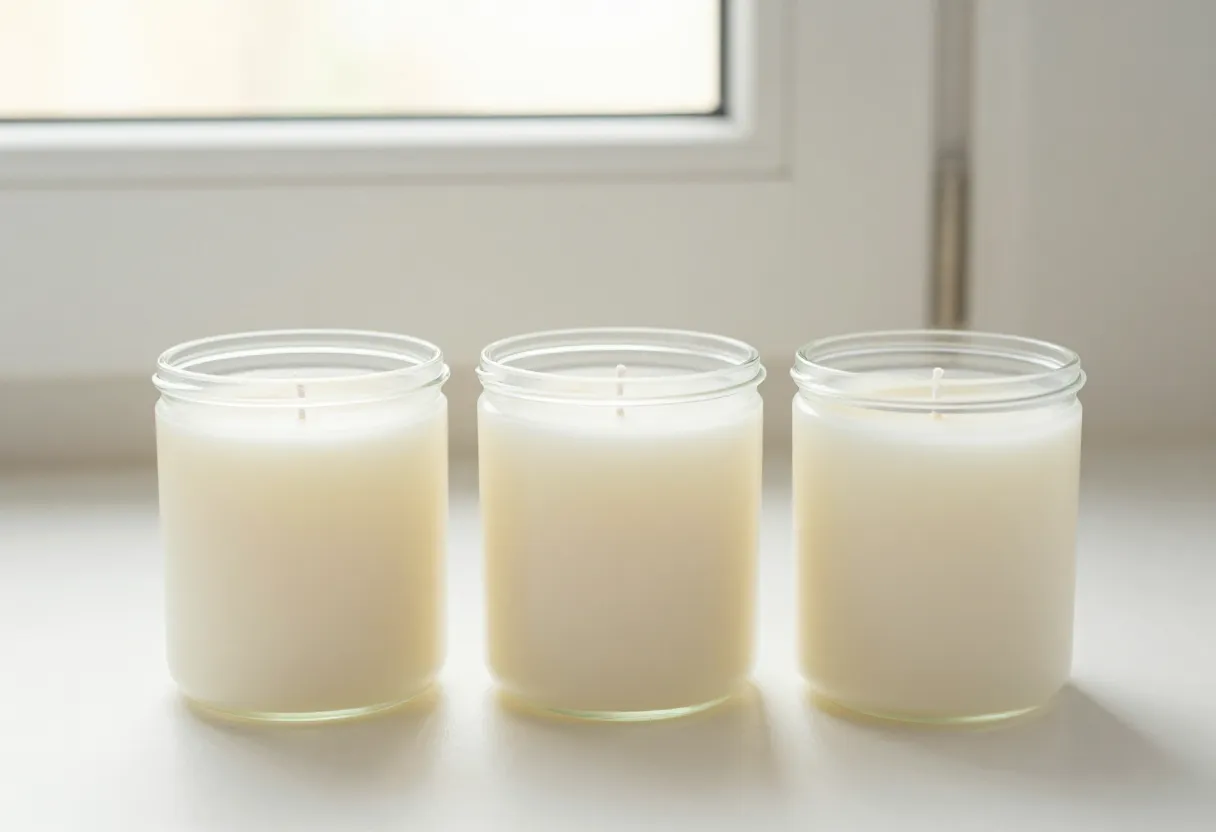
Understanding how light interacts with your products will change how you view your inventory at the workbench. There are two primary types of light sources: hard and soft. Hard light comes from a small, direct source like the sun on a clear day or a bare lightbulb. This creates sharp-edged shadows and can make the texture of your wax look harsh or overly highlighted in some areas while leaving others in deep shadow. Soft light is diffused; it hits an object from multiple angles because it passes through something translucent or bounces off another surface. Think of a cloudy day or a window covered by a sheer curtain. For most makers, soft light is the preferred choice for product photography because it fills in shadows and highlights the curves of your jars without creating distracting contrast. Learning to identify these sources will help you create a consistent look across all your listings regardless of what time of day you are working on your photos.
Setting Up Your Shoot: Simple Backgrounds That Work
You do not need an expensive studio or professional lighting rigs to produce high-quality results for your shop. You simply need a controlled environment and some practical props that don’t distract from the candle itself. I often recommend using textures that feel grounded, such as linen fabrics, wood blocks, or even flat stones. These provide enough visual interest to make the scene look intentional without drawing eyes away from the product. The goal is to create a neutral space where your candle remains the hero of the shot. If you use too many busy props or clashing colors, it can clutter the image and muddy your brand’s identity. Consistency is key; choose one or two textures that represent your specific style and stick with them for every batch of photos you take. This creates a cohesive look across your entire storefront. You can find more detailed advice on this approach in our guide to candle photography.
Focusing the Lens: What to Photograph Beyond Just a Lit Candle
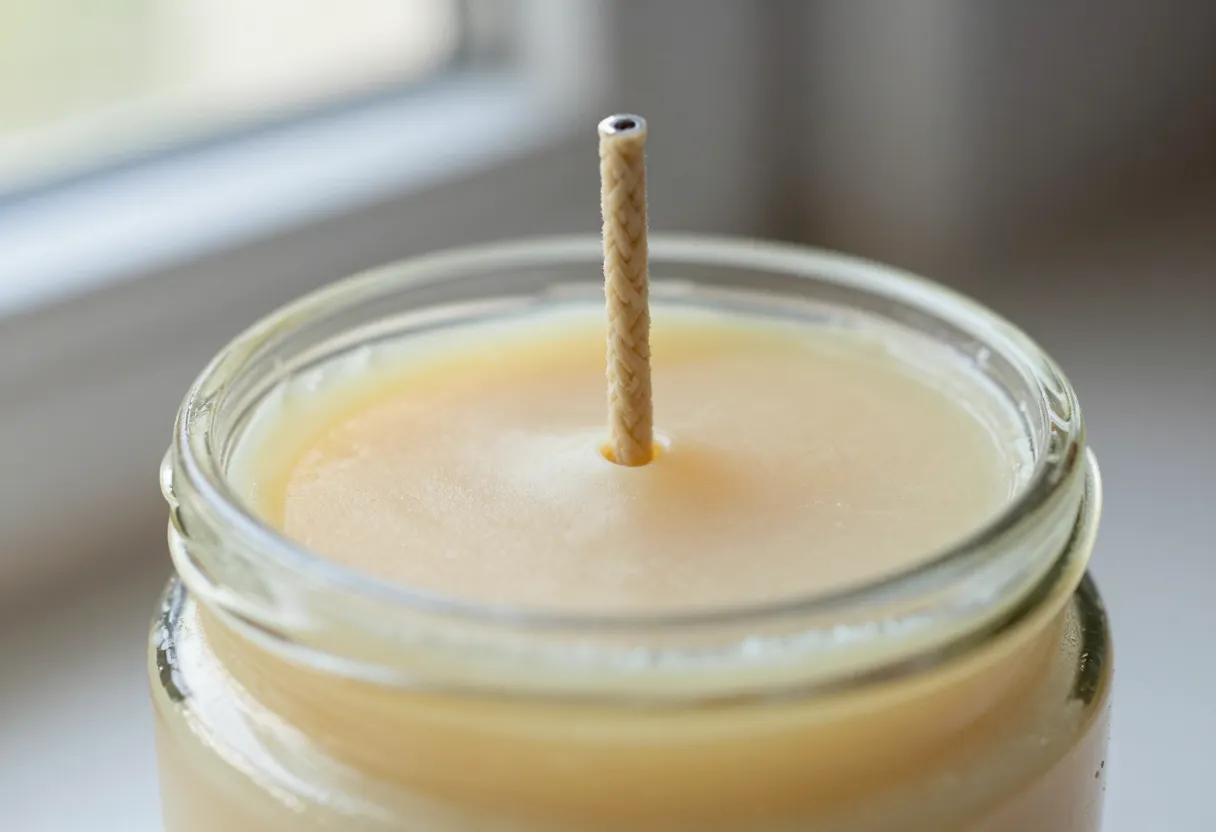
A single photo of a lit candle is rarely enough to tell the full story of what you have produced. To provide your customers with a complete view, try capturing several different angles and details for each product listing. This helps them visualize how the candle fits into their home and showcases the quality of your materials. I recommend including these three types of shots in your rotation:
- The Hero Shot: A clear, centered photo showing the full jar and label clearly.
- Detail Shots: Close-ups of the wax surface to show a smooth pour or a close look at the wick style.
- Contextual Shots: Photos that show the candle’s scale in a setting like a bedside table or mantel.
Providing variety helps answer questions before they are asked. For instance, a clear shot of your label ensures customers can see your branding and read all necessary information found in our candle labels and compliance guide. Different angles also help showcase the specific shape of the container you have chosen for that batch.
Inspired by a story from PetaPixel.
Get the next issue
Questions or corrections? Send a note. Or read more issues.