
Guides Troubleshooting
Candle Troubleshooting: Diagnosing and Fixing Common Problems
A symptom-by-symptom guide to tunneling, mushrooming, frosting, wet spots, sinkholes, weak scent, sweating and more, with causes and fixes you can test.
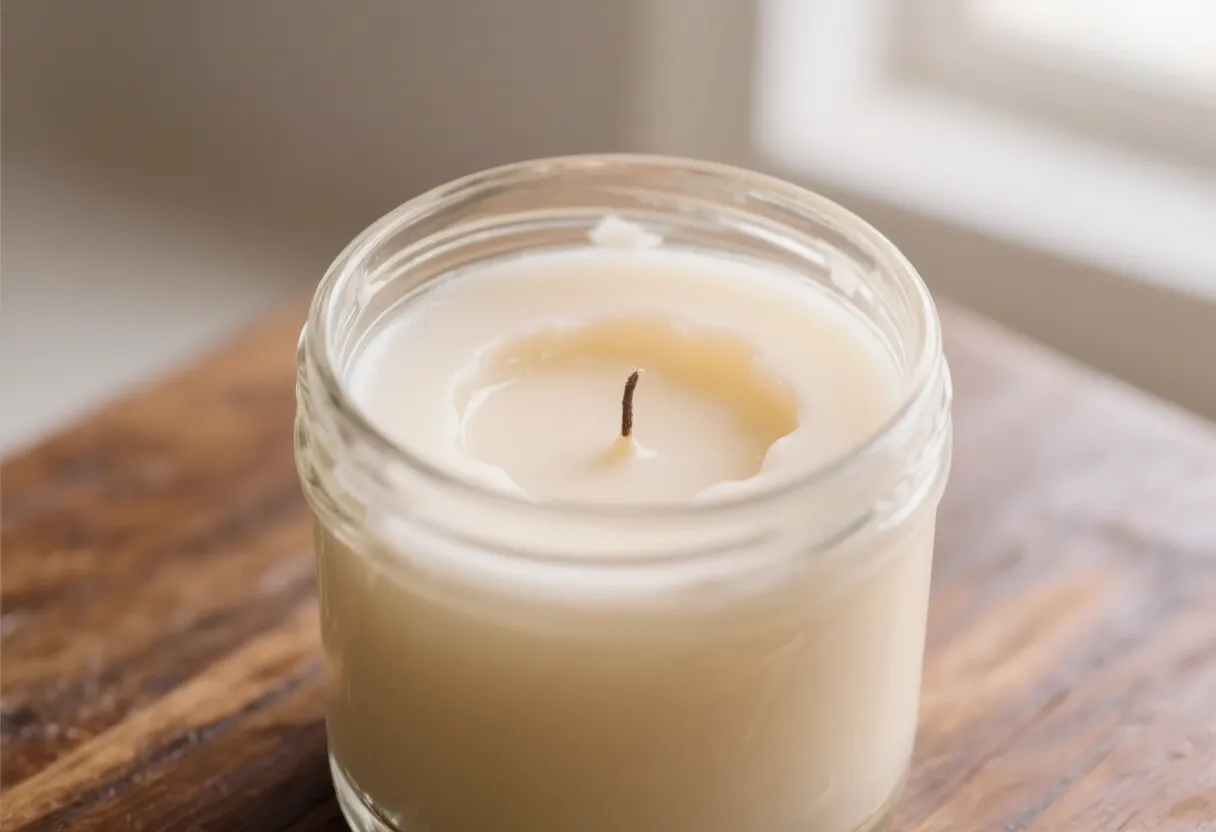
Every candle maker has a shelf of failures. A candle that tunnels, a top that cracks, a jar that looks fogged, a scent that vanishes the moment it’s lit. These aren’t signs you’re bad at this. They’re the normal feedback of a craft where wax, wick, fragrance, dye and container all affect each other.
This guide is organized by symptom. Find what you’re seeing, read the likely causes, and try the fixes one at a time. It draws on everything in the series, so keep Candle Waxes, Wicks, Fragrance, Dye and Containers handy.
Start with a method, not a guess
Troubleshooting works when you change one thing at a time and write it down. It fails when you change the wick, the fragrance and the pour temperature together and hope.
Where to look first
Most problems fall into three groups, and each group points to a different first suspect.
Burn problems
These show up when the candle is lit. The wick is the usual cause, so see Candle Wicks Explained for how to run a wick test.
| Problem | Likely causes | What to try |
|---|---|---|
| Tunneling (wax left on the walls) | Wick too small, or burns were too short | Go up one wick size. Burn until the melt pool reaches the edge each time. |
| Drowning flame (tiny flame, wet wick) | Wick too small for the container and wax | Go up a size. Check that dye or fragrance isn’t clogging the wick. |
| Tall or flickering flame | Wick too large, wick too long, drafts | Trim to about ¼ inch. Go down a size. Move the candle out of drafts. |
| Smoke and soot | Wick too large or too long, too much fragrance | Trim. Go down a size. Reduce the fragrance load. |
| Mushrooming wick (carbon ball on the tip) | Wick too large, too long, or clogged | Trim. Go down a size. Reduce dye and check your fragrance. |
| Container too hot to touch | Wick too large | Go down a size. Don’t touch a hot container, and put it out if it’s extremely hot. |
| Wick bends or falls over | Soft wick in a deep container, or not centered | Use a stiffer or cored wick. Recenter during the pour. |
| Flame sputters or pops | Water in the wax or container, bubbles | Make sure containers and equipment are fully dry. |
| Won’t stay lit | Wick too small, or wick drowned in wax | Go up a size. Trim and relight. |
| Burns too fast | Wick too large | Go down a size and retest. |
| Weak hot throw | Wick too small to heat the pool | Go up a size. Check the fragrance load and the cure. |
Appearance problems
These are the ones you can see before you ever light a candle. Many are cosmetic, and some point to a deeper issue.
Sinkholes and air pockets
As wax cools it shrinks, and a hollow or crater can form around the wick. Sometimes there’s a hidden air pocket beneath the surface.
- Cause: The wax cooled and contracted unevenly, often from cooling too fast.
- Fix: Poke a few small holes around the wick with a skewer, then pour a thin second layer of reheated wax. A heat gun can smooth the surface first.
- Prevent: Cool slowly at room temperature, away from drafts, and always keep a little wax back for a second pour.
Frosting
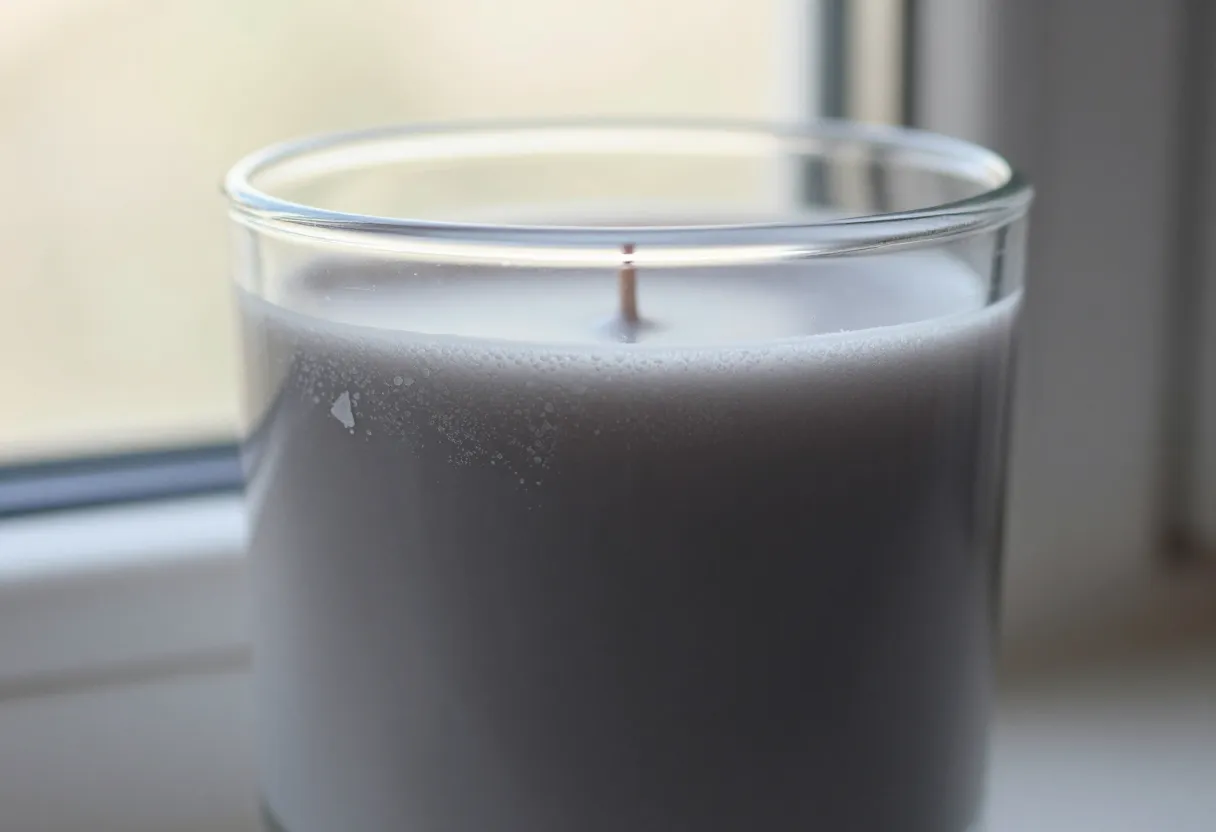
Frosting is white, crystalline bloom on the surface or along the glass. It’s a natural trait of many soy waxes, and it’s cosmetic. It doesn’t affect safety or burning.
- Cause: Wax crystallizing as it cools, made worse by temperature swings and dark dyes.
- Try: Pour at the recommended temperature, warm the container slightly, cool slowly, avoid drafts, or switch to a blend that frosts less.
Wet spots
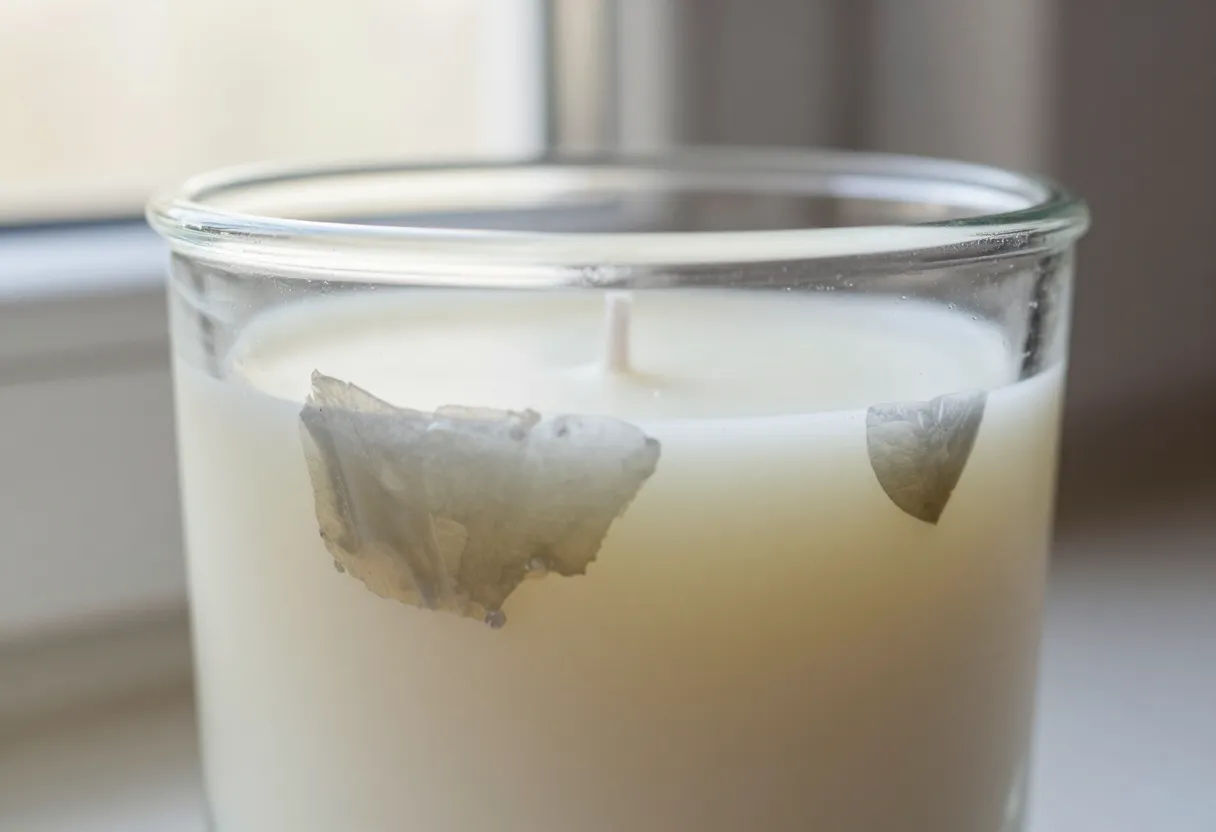
Wet spots are uneven patches where the wax separates from the container, making the glass look blotchy.
- Cause: Uneven or fast cooling, a cold container, or wax shrinkage.
- Try: Warm the container slightly before pouring, pour at the recommended temperature, and avoid drafts. They’re cosmetic, and many makers choose opaque or textured containers to hide them.
Cracks and fissures
- Cause: Cooling too fast, a cold room, or a wax that’s prone to it.
- Fix: Gently warm the surface with a heat gun to re-melt and smooth it.
- Prevent: Cool at a steady room temperature and avoid placing candles near a cold window or fan.
Bubbles and pits
- Cause: Air stirred in, pouring too fast, or moisture.
- Fix: Tap the container gently and pop bubbles with a heat gun.
- Prevent: Stir slowly, pour steadily, and make sure everything is dry.
Rough, ripple or uneven tops
- Cause: Pouring too hot or too cool, or the surface cooling unevenly.
- Fix: Smooth with a heat gun, or add a thin second pour.
Discoloration and fading
- Tan or yellow wax: Often fragrance components such as vanillin, or age and light. Choose a different oil or accept the tint.
- Fading color: Light exposure. Store candles out of direct sun and consider UV-stable dye.
- Specks and streaks: Undissolved dye or poor mixing. Melt hotter within the wax’s limits and stir longer.
Scent problems
See Candle Fragrance Explained for the full picture.
| Problem | Likely causes | What to try |
|---|---|---|
| Weak cold throw | Not cured, too little fragrance, oil added too hot | Cure the full time. Check the load and the adding temperature. |
| Weak hot throw | Wick too small, load too low, oil unsuited to the wax | Retest the wick. Raise the load slightly within the wax’s limit. |
| Scent too strong | Load too high, an overpowering oil | Lower the load. Choose a lighter oil. |
| Oil beads on the surface (sweating) | Over the wax’s limit, or oil added too cool | Reduce the load. Add at the right temperature and stir well. |
| Scent fades quickly | Top-note-heavy oil, heat or light exposure | Choose oils with more base notes. Store candles cool and out of sun. |
| Smells different than in the bottle | Oils change in wax and with heat | Judge a cured candle, and test small first. |
Pouring and setting problems
| Problem | Likely causes | What to try |
|---|---|---|
| Wick off-center | Not held taut or centered | Use a centering tool. While the top is still soft, gently reposition it. |
| Wick tab comes loose | Weak adhesive, or the container was too hot | Press the tab flat with a wick sticker or a small dot of hot glue, and let it set. |
| Wax is soft or slow to set | Too much fragrance, wrong wax for the job, or the pour was too hot | Check the load and the wax type. Give it more time to set. |
| Grainy or lumpy wax | Uneven cooling, or it was stirred or disturbed while setting | Remelt and pour again, cooling undisturbed. |
| Glass cracks while pouring | Thermal shock, thin glass | Warm the container first and use thicker, candle-rated glass. |
| Wax pulls away from the sides | Normal shrinkage | Cosmetic. Slower cooling and a warmer container help. |
Rescuing a finished candle
Not every problem means starting over.
- Heat gun: gently re-melt the top layer to smooth cracks, bubbles and uneven surfaces. Keep it moving and never overheat.
- Second pour: top off a sinkhole with a thin layer of reheated wax, poured at a slightly higher temperature.
- Re-wick: if a candle tunnels, you can often melt it back down, fix the wick and pour it again.
- Remelt and remake: when in doubt, remelt the wax, filter it, and use it in a new test batch.
Keep a candle log
Troubleshooting without records is guesswork. Keep a simple log with one line per pour.
| What to record | Example |
|---|---|
| Date and batch | The day, and a batch number or name |
| Wax and wick | Wax type and size, wick series and size |
| Fragrance | Oil name and the percentage by weight |
| Dye | Color and amount |
| Container | Type and inside diameter |
| Temperatures | Melt, add, pour, and room temperature |
| Cure and burn notes | Days cured, throw, melt pool, flame |
| What you changed | The one variable you changed this time |
Common questions
How do I know whether it’s the wick or the wax?
Burn problems (tunneling, smoke, mushrooming, a hot container) point to the wick. Surface problems (frosting, wet spots, sinkholes) point to the wax and the pour. Run a wick test to rule the wick in or out.
Why do my candles look different every time?
Small differences in temperature, room conditions and how you cool them show up in the finish. Record your temperatures and keep them consistent.
Is frosting a defect?
It’s cosmetic, and it’s a natural trait of many soy waxes. It doesn’t change how the candle burns.
When should I throw a candle away?
If it’s smoking heavily, has a flame that’s tall and out of control, has a cracked container, or you aren’t sure it’s safe, put it out and don’t burn it again. Remelt the wax into a test batch if you like.
How many test candles do I need?
Enough to compare a change. Two or three small tests per variable is a good rule of thumb.
Where to go next
The last guide in this series covers selling candles: pricing, labels, photography and what to know before you sell. Until then, keep your log, change one thing at a time, and trust the cured, burn-tested candle over the theory.
Every failed candle is a note about what to change next.
Questions or corrections? Send a note. Ready for the next step?Browse more guides.