

Newsletter October 16, 2026
Cotton vs. Wood: Picking the Right Wick for Your Candle
Don't just pick a wick because it looks good. This guide breaks down what makes different materials work and how to match them properly to your wax blend and container size. Keep c
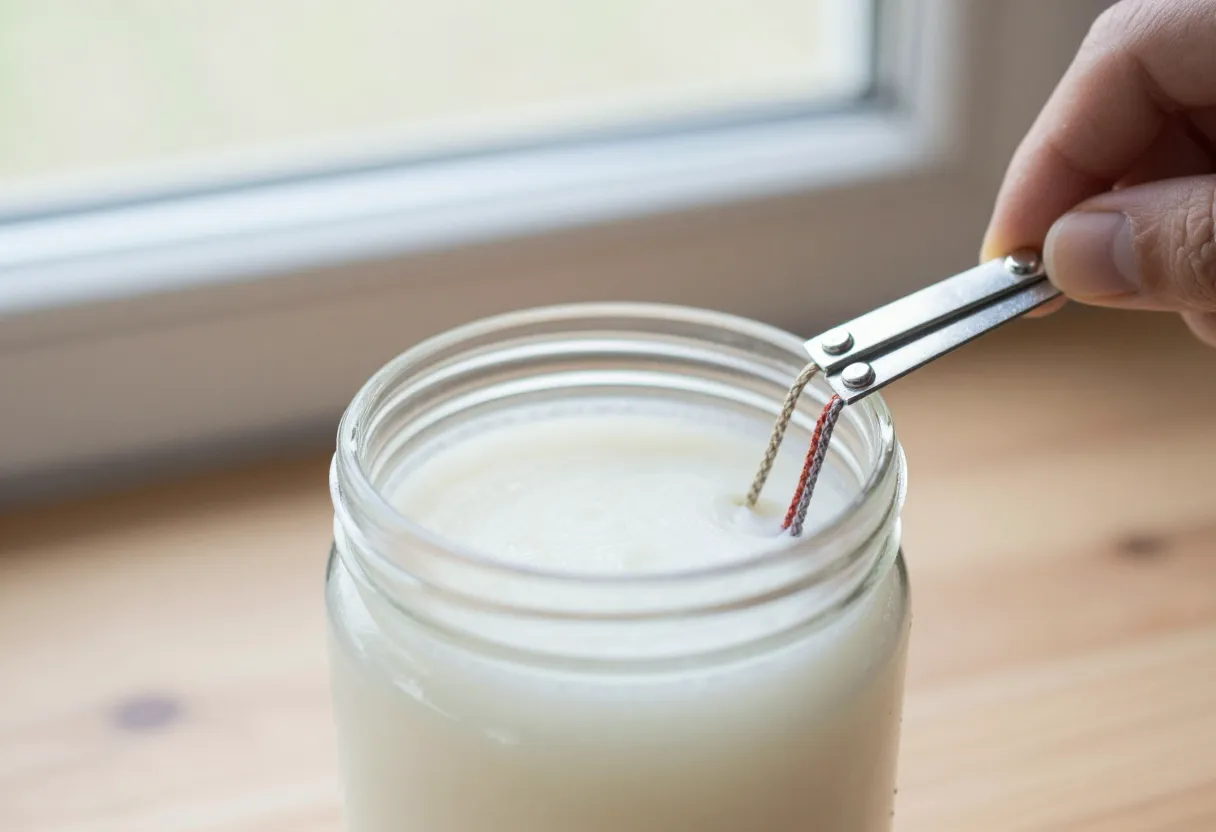
Wicks aren’t just string. They are part of your formulation.
When I first started making candles, it was easy to think of the wick as a minor detail—something you simply “plugged in” to make the wax burn. I quickly learned that this is one of those common mistakes where we get things backward early on. In reality, the wick is just as much a part of your formulation as your wax choice or your fragrance load.
Think of the wick as the engine of the candle. It dictates how much fuel (wax) is drawn into the flame and how quickly that wax is consumed. If the “engine” is too small for the amount of fuel available, you’ll see tunneling or a weak melt pool. If it’s too large, the flame can become unstable, produce excessive soot, or burn through the wax much faster than intended. Because every wax has different density and viscosity, and every container holds heat differently, your choice of wick directly impacts the safety and performance of the final product. It isn’t an afterthought; it is a functional component that determines whether a candle burns cleanly for hours or creates a mess on the first try.
Cotton vs Wood: Understanding the materials and their physical differences
Choosing between cotton and wood wicks usually comes down to the specific “feel” you want for your brand and how those materials interact with different wax types. Neither is inherently better; they simply behave differently under heat.
Cotton Wicks
Cotton wicks are typically made of braided or twisted fibers. They have been the industry standard for a long time because they provide consistent capillary action, drawing wax up into the wick to feed the flame. Because they are circular in shape, they create a single point of combustion that expands outward as it melts the surrounding wax.
Wood Wicks
Wood wicks consist of two pieces of wood glued together with a core (often cotton twine) and sometimes additional fibers for extra stability. They provide a different aesthetic—a wider, more linear flame—and can offer a very even melt pool across the top of the container. Because they are flat, they don’t “travel” as much in terms of their physical shape, but they require specific care to ensure they stay centered and balanced within your vessel.
Performance isn’t universal. Why testing matters more than theory.
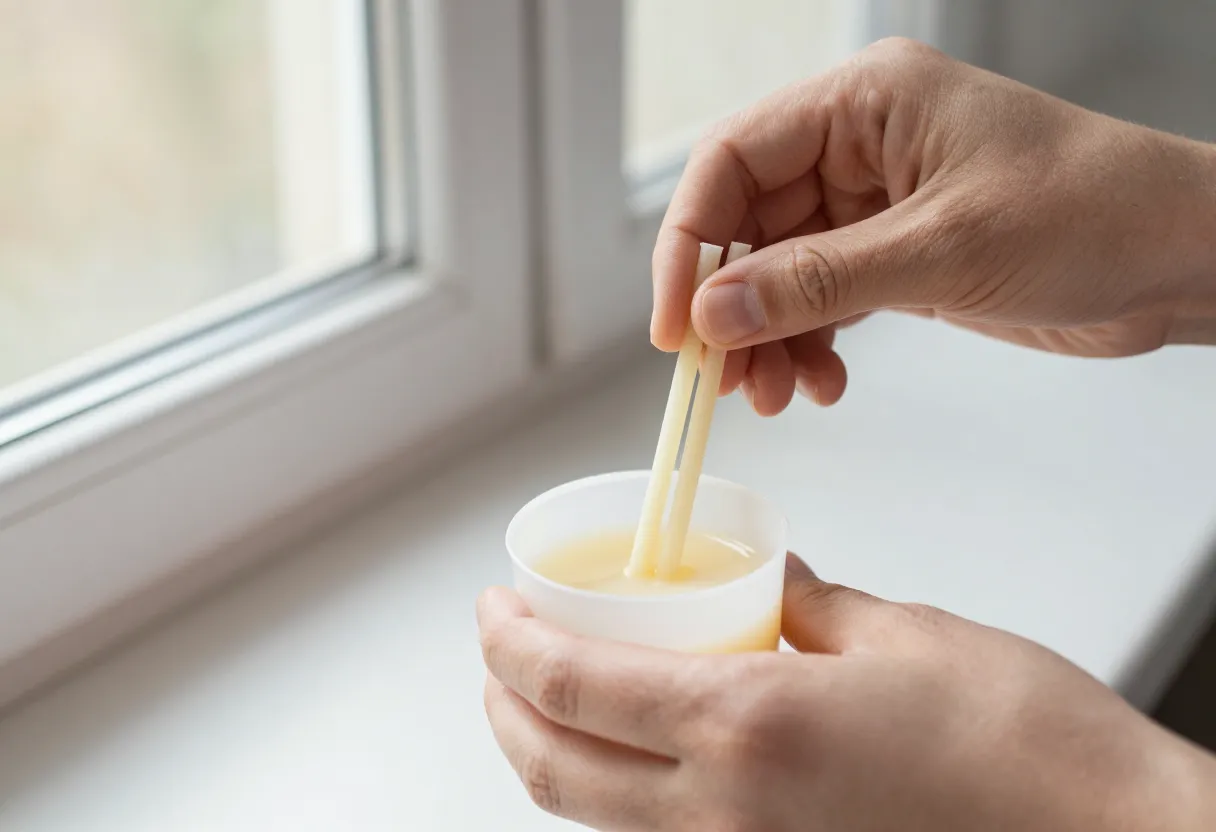
One thing I’ve learned through years on the bench is that a wick manufacturer’s chart is a starting point, not a final answer. You can have two identical jars filled with the same wax and fragrance, but if one uses a cotton wick and the other a wood wick—or even just different sizes of those wicks—the performance will vary significantly.
Factors like your specific wax blend, the exact concentration of your fragrance oil (fragrance load), and the thermal properties of your container all change how much “work” a wick has to do. For example, a thick-walled ceramic jar retains heat differently than a thin tin. If you rely solely on someone else’s data without testing it yourself, you risk producing a batch that performs poorly or unsafely. I always tell makers: don’t trust a number you haven’t checked on your own bench. You have to see how the wick interacts with your specific combination of materials before you can claim it works reliably for others.
How to match the wick: A systematic approach for small batches
When you are starting out or moving into smaller production runs, you need a method to narrow down your choices without wasting expensive wax and fragrance on dozens of test pours. The goal is to find a “baseline” that gets you close to your target performance before you start fine-tuning.
To do this effectively:
- Identify your goals: Are you looking for a slow, steady burn or a wide, fast melt? Cotton wicks are often easier to troubleshoot because their size increments are standard; wood wicks offer more immediate visual symmetry but can be more sensitive to wax thickness.
- Test one variable at a time: If a wick is tunneling, don’t change the fragrance and the wick at once. Swap the wick for a slightly larger size in an identical pour until you find the “sweet spot” where the melt pool reaches the edges of the container.
- Keep detailed notes: Every test should be logged with the wax type, fragrance load, container dimensions, and the specific wick.
This methodical approach helps you build a library of knowledge so that when you do decide to sell your first batch, you can speak confidently about why you chose that specific wick for that specific jar. You can find more on this process in our guide to candle wicks and use the wick selector tool to help narrow down your starting point.
The final checklist: Setting up your testing protocol
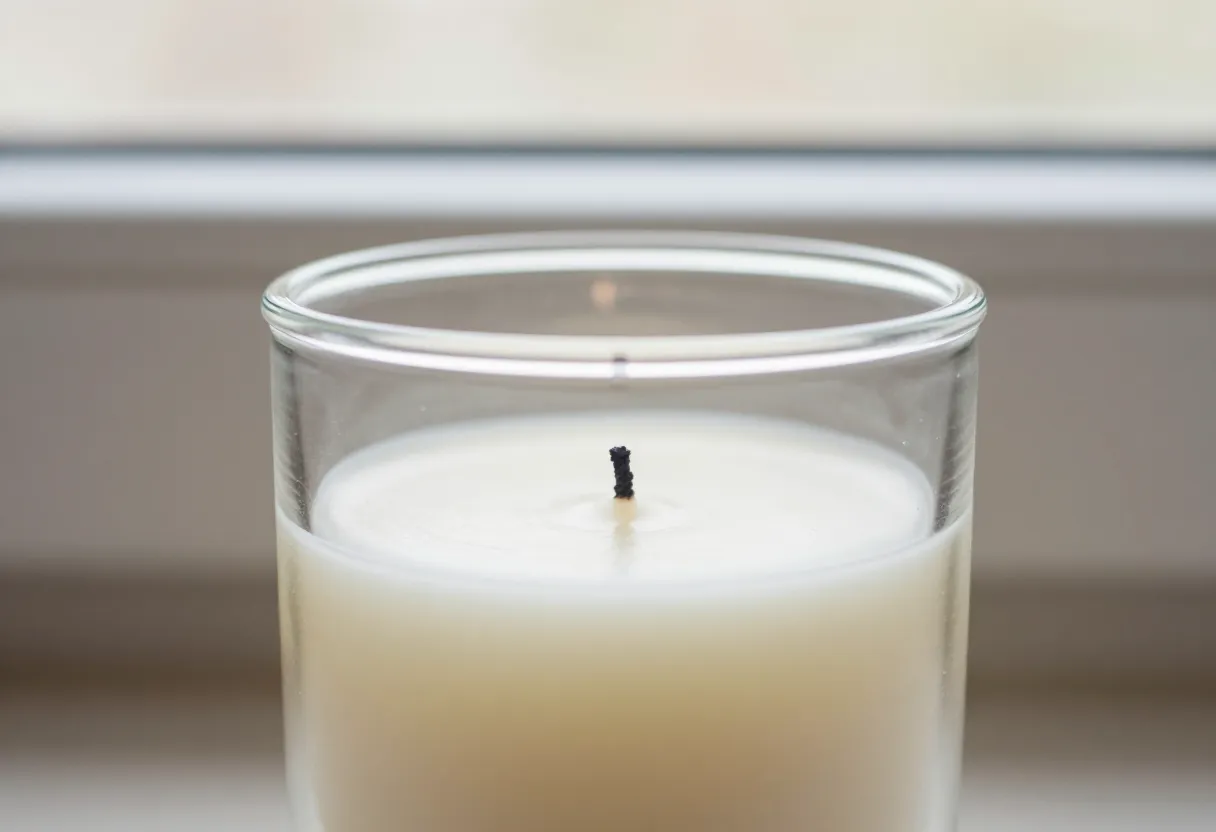
Before you move from “maker” to “seller,” you need a disciplined way to prove that your candles perform consistently. You shouldn’t have to guess if a candle is safe or effective; you should know because you’ve documented it. A professional test protocol takes the guesswork out of production and ensures safety for your customers.
When testing a new wick style or size, use this checklist:
- Melt Pool Diameter: Does the wax melt all the way to the edge of the container within the first 2-3 hours? (Check our troubleshooting guide for what to do if it doesn’t.)
- Flame Height and Stability: Is the flame steady, or is it flickering wildly or producing heavy soot?
- Burn Time vs. Weight: Does the candle burn for a reasonable amount of time relative to its size? You can use our burn time tool to help calculate expectations.
- Scent Throw: Does the fragrance release effectively as the wax melts?
If you find that your wick isn’t performing as expected, don’t just keep making it and hoping for the best. Go back to the data, adjust one variable at a time, and re-test. If you need help determining exactly what size to start with based on your specific container, use our wick selector or check out our how-to guide for candle wax.
Inspired by a story from Makesy Blog.
Get the next issue
Questions or corrections? Send a note. Or read more issues.