

Newsletter October 2, 2026
Cotton vs. Wood Wicks: Finding the Best Fit for Your Batch
Choosing the right wick is foundational. We walk through what wood and cotton wicks do differently so you can match your process to your goals.
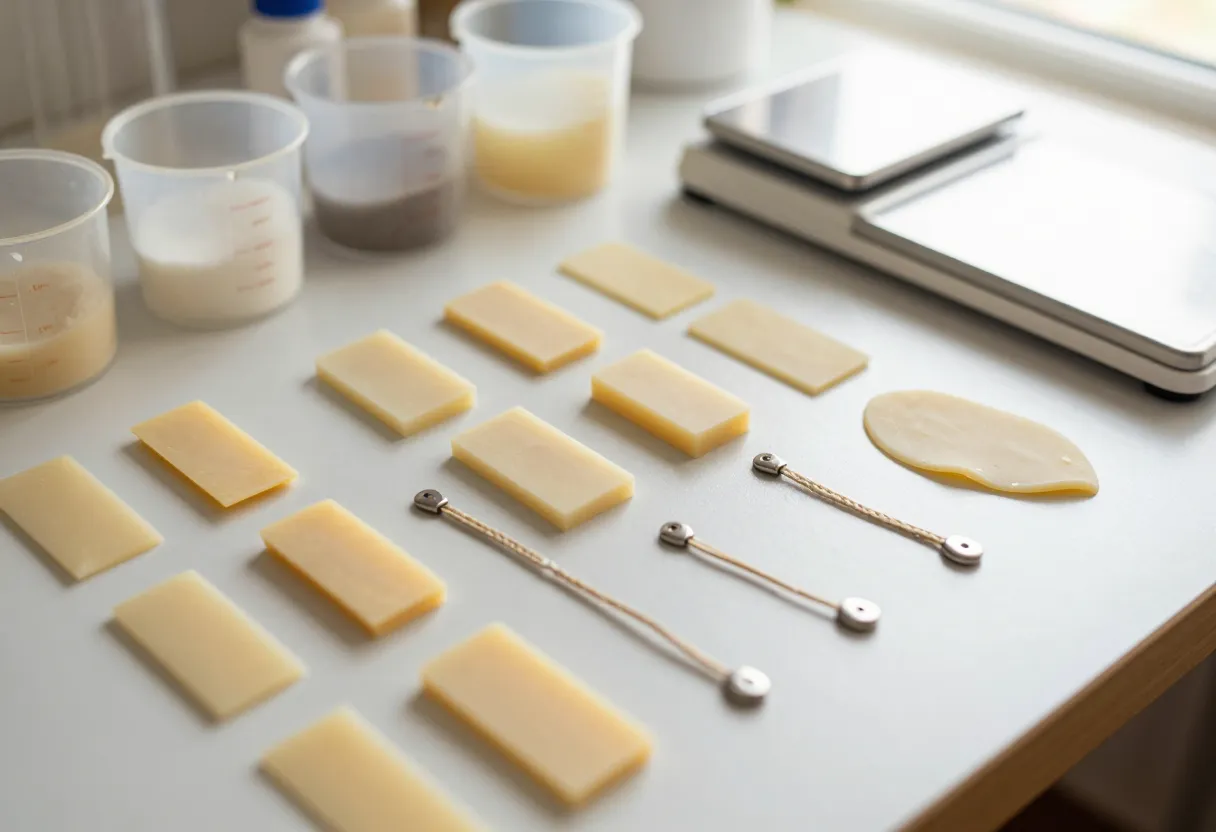
Wick choice is more science than art.
When you are standing at your workbench preparing a new batch, it can be tempting to view wick selection as an aesthetic choice—simply picking what looks good or fits the “vibe” of your brand. However, after years of testing and making adjustments, I’ve learned that the wick is arguably the most technical component of your candle’s construction. It is the engine. If the engine isn’t sized correctly for the weight of the wax and the volume of the container, the “fuel” (your fragrance) won’t be distributed properly.
A poorly matched wick leads to a slow melt pool that leaves unburnt wax at the edges, or a flame that is too large, creating soot and heat issues. Selecting the right wick requires looking past the aesthetics and focusing on the physics of how the wax melts and carries your scent into the room. Before you pour a single batch, it is vital to understand these mechanics. You can find more foundational information in our guide to candle wicks.
What’s the difference between wood and cotton?
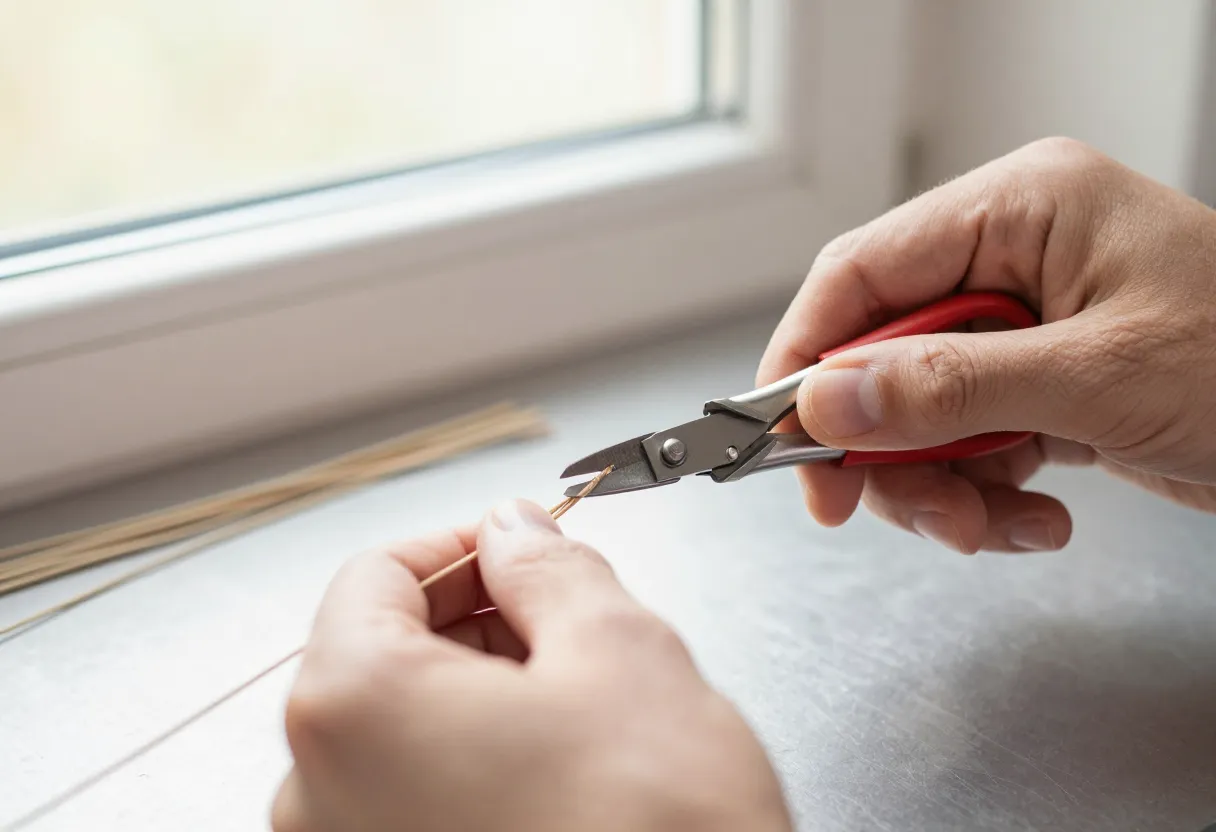
Neither wick type is inherently “better,” but they offer different experiences at the bench and for the end user. Cotton wicks are the industry standard for a reason: they are reliable, consistent, and generally provide a steady, predictable burn. They are often the preferred choice when your primary goal is a consistent melt pool and maximum fragrance throw in larger containers. Because they are made of braided or twisted fibers, they handle various wax types with high predictability.
Wood wicks are thin strips of wood, often chosen for their look and the soft crackle some of them make as they burn. While many modern wood wicks perform very well, they can be more sensitive to certain wax blends or container shapes than cotton. The flame of a wood wick is usually wider and flatter than a cotton wick’s, so the melt pool can behave differently. When deciding between them, consider what your specific customer values most: the steady performance of a cotton wick or the atmospheric qualities of wood.
How do I pick the right wick for my specific goal?
To decide which path to take, you need to define what success looks like for this specific product. Not every candle needs to be a “powerhouse” of scent; some are meant to be small accent pieces on a bedside table.
For an aesthetic experience
If your brand emphasizes the ritual of lighting a candle and your customers enjoy details like the crackle of wood, a wood wick is a strong choice. It creates a specific atmosphere that many find appealing in smaller vessels.
For maximum fragrance throw
If you are making large jars or candles intended to fill a wide room, cotton wicks are often the more reliable workhorse. They typically allow for a more consistent and expansive melt pool across larger surface areas.
For specific wax types
Different waxes—such as soy, coconut, or paraffin blends—have different melting points and densities. You should never assume a wick that works in one wax will work in another. Always consult your wax supplier’s data sheet to understand the characteristics of your material, then use our wick selector tool to find a match based on your specific container dimensions.
The bench test: What to look for when burning your first batch.

Once you have selected a wick and a size, you must move to the testing phase. This is where we ground out the variables. When you burn your first few samples of a new wax/wick combination, do not change more than one thing at a time. If the melt pool isn’t reaching the edges of the jar within the first few hours, the wick is likely too small; move up one size. If the flame is flickering excessively or producing heavy soot, the wick may be too large for the container.
Keep a log of these tests. Note the date, the wax blend, the fragrance load, and the specific wick type/size used. This documentation helps you identify patterns rather than guessing. During this process, always follow strict safety protocols: never leave a burning candle unattended, do not burn a candle that is damaged or has an improperly seated wick, and ensure your workspace is clear of flammable materials. For detailed instructions on maintaining a safe studio environment, see our candle safety guide. If you encounter issues with soot, tunneling, or inconsistent melting, our troubleshooting guide can help you identify the root cause and determine your next move.
Inspired by a story from Makesy Blog.
Get the next issue
Questions or corrections? Send a note. Or read more issues.