Newsletter November 12, 2026
Working with Vintage Containers in Your Studio
Using found items like teacups or small decorative vessels can be a cost-effective way to create unique, high-end lines. Remember that safety and burn performance come first, regar
When the vessel is the star (and more than just decoration)
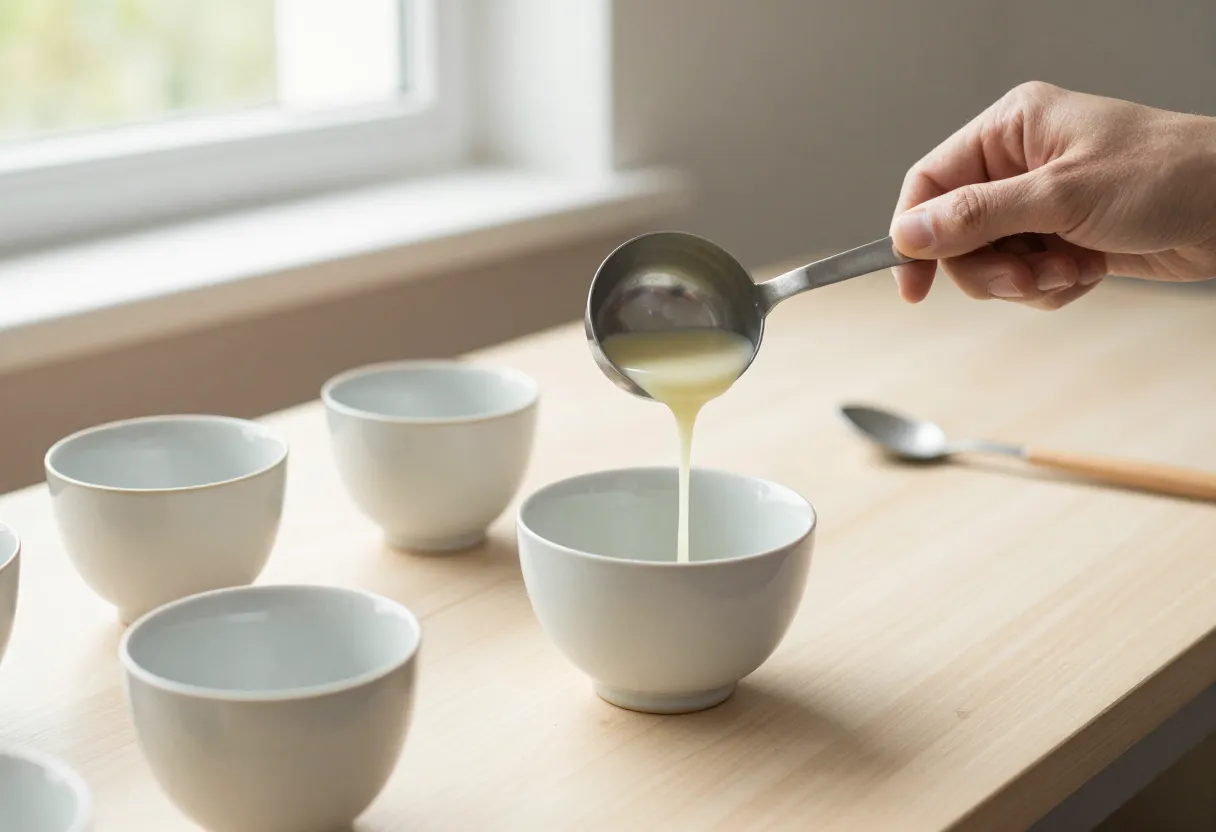
There is a specific kind of satisfaction that comes from finding a unique piece—a chipped porcelain teacup, an old glass jar with a heavy base, or a weathered ceramic mug—and turning it into a candle. For many makers, especially those starting out on a budget, upcycling these types of containers is one of the best ways to create a “signature” line without high overhead costs. It allows you to offer something that feels curated and intentional rather than mass-produced.
However, when the vessel becomes the primary design element, your role as a maker shifts slightly. You aren’t just making a candle; you are managing an object with its own history and physical limitations. I’ve found that while these containers provide great aesthetic appeal, they require more attention to detail during the production phase than a standard straight-sided jar. It is about finding that balance between the “found” charm of the piece and the technical requirements of a safe, high-performing candle.
The most important step: Testing your container
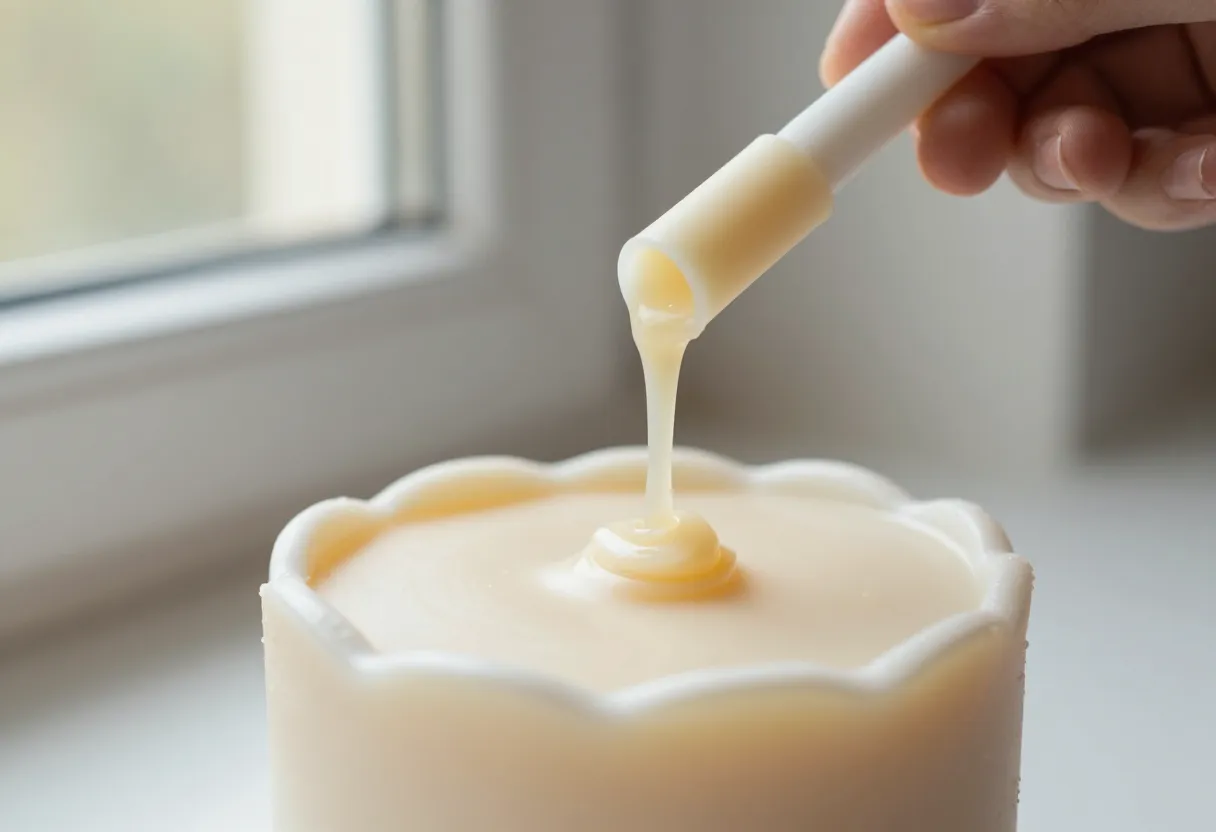
Before you pour a single batch into an unconventional vessel like a vintage teacup or a heavy glass bowl, you need to run through a practical checklist. In my experience, this is where many makers skip ahead and end up with a mess—or worse, a safety hazard. I treat this part of the process with the same discipline I used in the Marine Corps: you don’t move forward until every box is checked.
The Integrity Checklist
- Heat Resistance: Does the material (glaze, paint, or metal) react to high temperatures? Some vintage paints can flake or off-gas when exposed to heat.
- Weight Capacity: Is the bottom of the vessel sturdy enough to hold several pounds of wax and glass/ceramic without cracking?
- Heat Transfer: Does the container get dangerously hot to the touch during a full burn? If it becomes impossible to hold, it may not be suitable for sale.
Never assume a vintage piece is “candle-safe” just because it looks like one. Always refer to your wax supplier’s data sheets regarding maximum temperatures and check out my guide on reading safety data sheets explained to understand what those numbers actually mean for your bench work.
Wicking and filling unconventional shapes
Standard containers are easy because they are usually symmetrical. Vintage teacups or irregular jars present a different challenge: keeping the wick centered and managing the “pour level.” If a wick is even slightly off-center in a small, rounded vessel, it will pull the wax toward one side, leading to an uneven melt pool and potential safety issues.
Practical Bench Tips
- Wick Centering: Use a centering tool or even a simple piece of wire taped to the rim (removed before pouring) to ensure the wick stays dead center during the cooling phase.
- Pour Levels: It is tempting to fill these unique vessels to the absolute brim, but you must leave enough headspace. Wax expands as it cools, and you need room for a safe flame. I recommend leaving at least an inch of space from the top edge.
- Batch Notes: Because every vintage piece varies slightly in volume, keep precise batch notes on how much wax each specific vessel took to ensure consistency across your line.
For help finding the right wick size for these tricky shapes, use my wick selector tool.
The performance test: What happens after the cure?
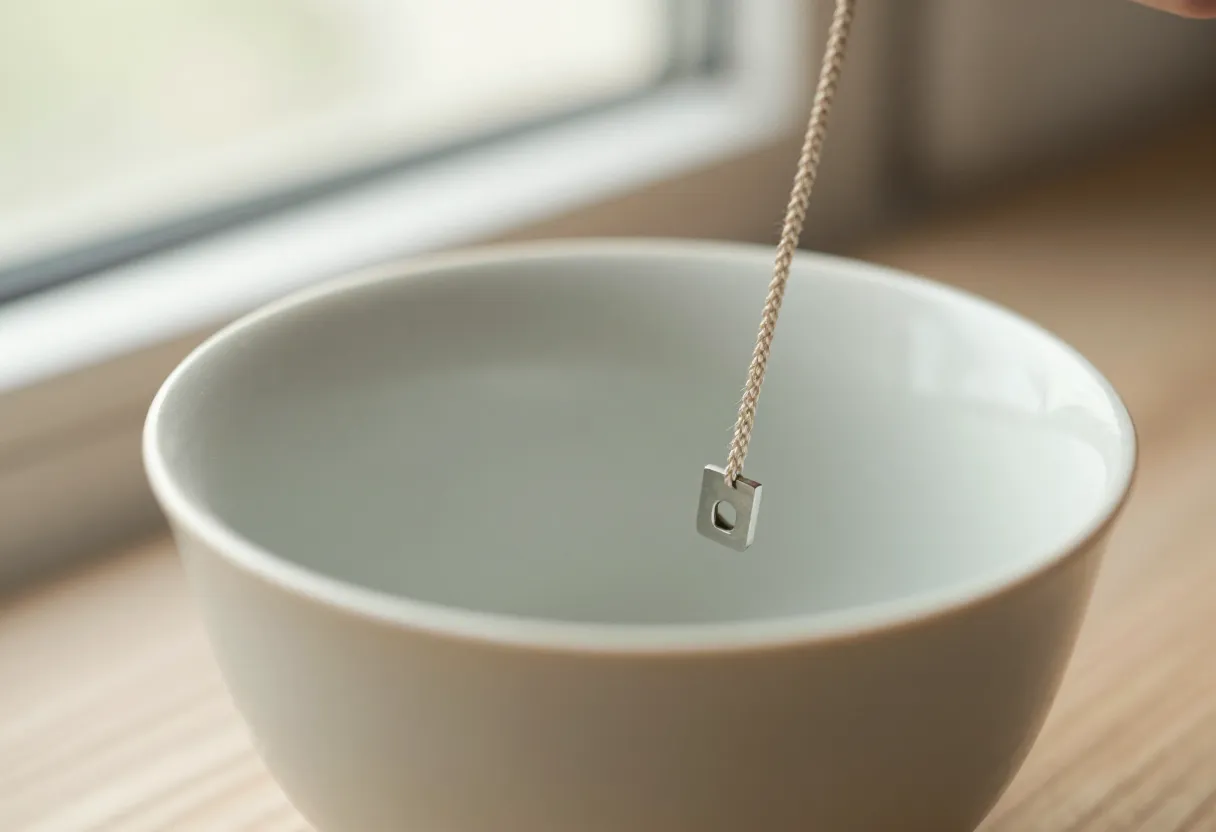
A container might look perfect on a shelf, but it has to perform in the “hot seat.” This is where you need to conduct thorough burn tests. Unconventional vessels often have different heat retention properties than standard jars. A thick ceramic mug will hold heat differently than a thin porcelain cup, which can affect how the wax melts and how the wick behaves.
I’ve had batches where the vessel looked great, but because of its shape, it caused “tunneling”—where the wax burns down the center while the edges remain solid. You might also see an uneven melt pool if the container is tilted or has a non-uniform base.
Safety remains paramount. If you notice heavy soot, a flickering flame that reaches the rim, or a vessel that gets excessively hot, that specific container design needs to be retired from your line. Every unique piece must pass a controlled burn test before it goes into your inventory. For more on how to document these tests, see my burn log tool.
Displaying your collection
Once you have successfully tested and poured your candles, the final step is presentation. When selling upcycled items, the “story” of the vessel is part of the appeal, but it needs to be organized so it doesn’t look cluttered.
Presentation Strategies
- Label Placement: On a teacup or an irregular jar, finding a flat surface for a label can be tough. Consider using high-quality hang tags tied with twine around the handle or base, rather than trying to stick a label onto a curved surface where it might peel off.
- Grouping by Theme: Arrange your collection by color palette or “vibe” (e.g., “The Garden Collection”) to help customers navigate your offerings.
- Using Risers: If you are displaying these at a market, use wooden blocks or risers of different heights. This prevents the unique shapes from blending together and allows each vessel to stand out individually.
To get started on the professional side of things, check out my guide on selling candles explained and my tips for candle photography explained.
Inspired by a story from Good Housekeeping.
Get the next issue
Questions or corrections? Send a note. Or read more issues.