Guides Testing & Quality
Burn Testing and Curing: Prove a Candle Before You Sell It
How to cure a candle, set up a safe burn test, read the flame and melt pool, decide pass or fail, know when to retest, and keep records you can trust.
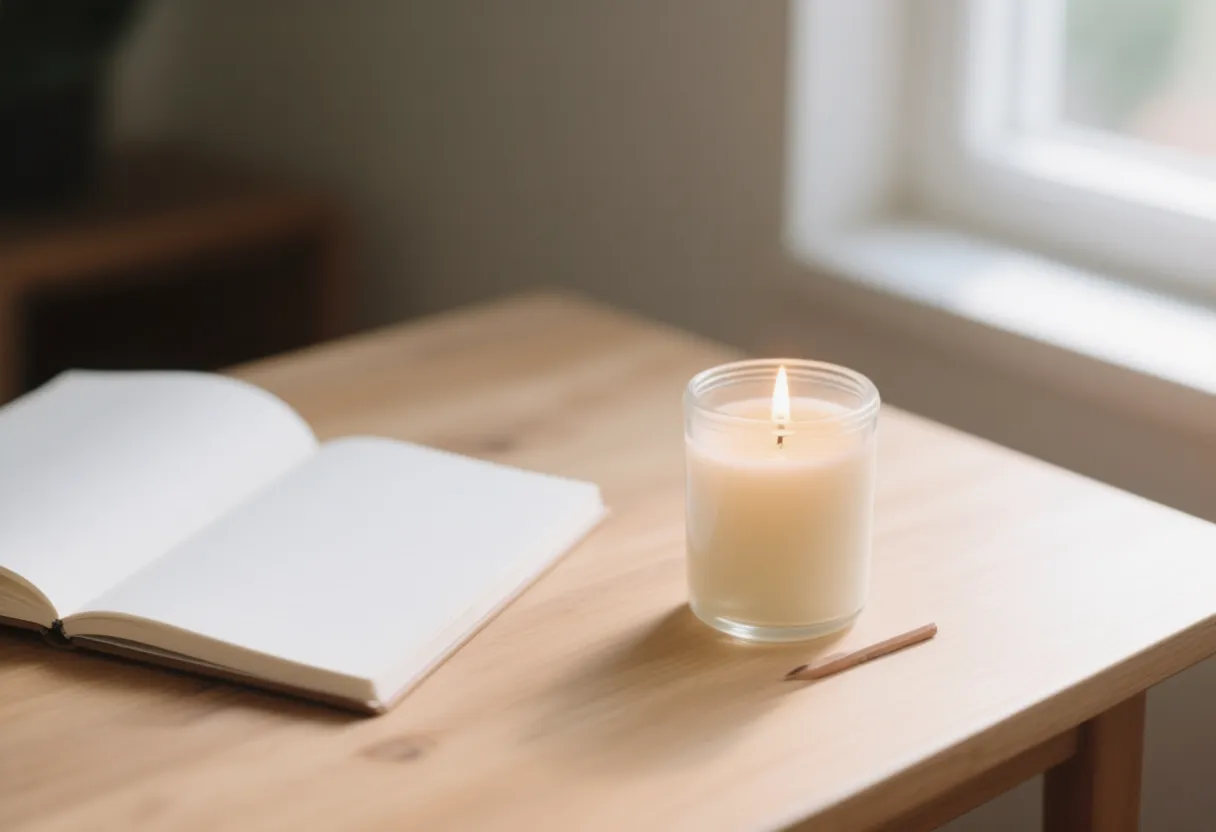
A candle that looks perfect on the shelf tells you almost nothing. The only way to know how a candle behaves is to light it, watch it, and burn it down. A recipe is a guess until it has been burned, and a candle you sell without testing is a guess you are asking a customer to check for you.
This guide is about proving a candle: curing it properly, setting up a safe test, knowing what to look for at each stage, deciding whether it passes, and writing it all down so the result is repeatable. It builds on the short burn test in Your First Candle and the wick experiment in Candle Wicks Explained, and goes deeper than either. Read Candle Safety before you light anything you made.
What “tested” really means
A tested candle is one you have burned, start to finish, under controlled conditions, with the results written down. It is not a candle you lit for ten minutes to smell it. The difference matters because candles change as they burn. A wick that looks right at the top can run hot near the bottom, and a scent that is strong in the first hour can fade.
A proper test answers five questions:
- Does it burn safely? Steady flame, no heavy smoke, no overheating container.
- Does it burn evenly? A full melt pool, no deep tunnel, no wax left on the glass.
- Does it burn cleanly? A wick that stays tidy, with little soot.
- Does it smell right? A cold throw that sells the candle and a hot throw that fills a room.
- Does it do it every time? The same result from a second candle in the same batch, and from the next batch.
If you cannot answer yes to all five, the candle is not finished. It is a prototype.
Cure first
A candle needs to cure before you judge it. Curing gives the wax time to finish setting and the fragrance time to settle into it. A candle tested too early can smell weak and burn differently from the finished product, so you end up fixing the wrong thing.
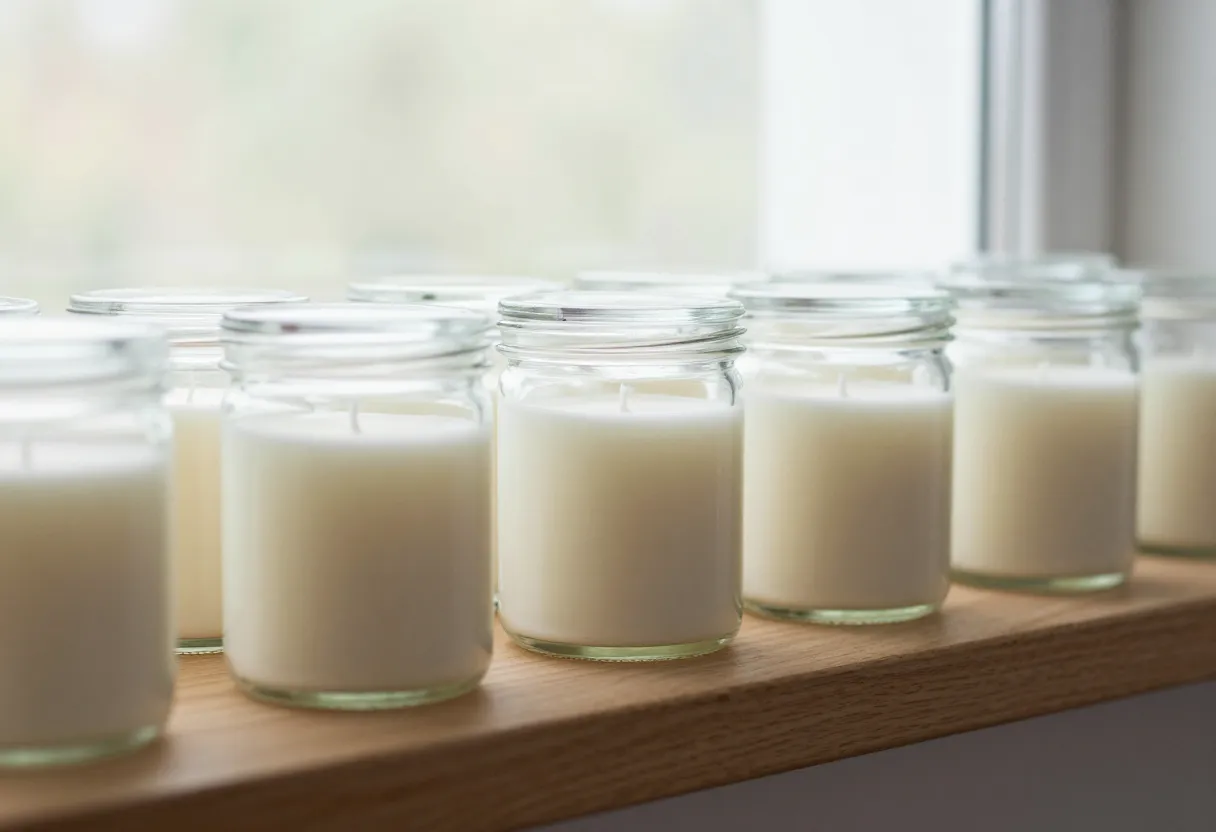
- Follow your wax supplier’s cure time. It varies by wax. The Pour and Cure Guide lists suppliers’ figures and works out the date a candle will be ready.
- Store candles somewhere cool, dry and out of direct sun, with the lid on or covered.
- Label each one with the batch, the date and the recipe, so the notes you take later match the candle in front of you.
- Do the first burn on the day the cure ends, not a week after. Candles age, and you want to compare like with like.
Set up a test station
Your testing should be boring and repeatable. Set up a spot you use every time.
- Same place, same conditions. A draft changes the flame. A cold room changes the melt pool. Use one calm spot so differences between tests come from the candle, not the room.
- Trim the wick to about ¼ inch before every burn, the same way each time.
- Keep a notebook or the Burn Test Log open and a timer running.
- Use a scale and a ruler if you want to measure how much wax a candle burns and how tall a flame gets. You do not need either to get started, but they make your notes much more useful.
The test sequence
The first burn
The first burn sets the shape of the whole candle. If the melted wax never reaches the edge of the container on the first burn, the candle will tend to tunnel from then on, because the wax around the edge keeps a “memory” of the first melt.
A common rule of thumb is to burn the candle for about one hour per inch of container diameter, but never more than about four hours at a stretch. Treat it as a starting point. What matters is that the melt pool reaches the edge, not the clock. If your wax supplier gives different guidance, follow theirs.
Check as it burns
Look at the candle every half hour or so, and note what you see. You are checking:
- The flame. Is it steady, and is its height stable? A flame that grows taller as the candle burns is a warning that the wick is too big.
- The melt pool. How wide is it, and how deep? Does it reach the edge, and when?
- The container. Carefully hold your hand near it, not on it. A container that gets uncomfortably hot is a sign of trouble. Check more often as the candle burns down.
- The wick. Is the tip clean, or is carbon building into a mushroom?
- Smoke and soot. Any smoke, and any black on the glass above the flame.
- Scent. Is it filling the room, and how does it compare with the cold throw?
Burn it down
One good burn proves little. Burn the candle again, in stretches, until it is nearly used up. Candles run hotter as the wax level drops, so the second half of a candle is where overheating shows up. Stop burning when about ½ inch of wax remains, and note how much was left.
If a candle passes the first burn and fails near the bottom, it is not a good candle. Go back to the wick.
Read the result
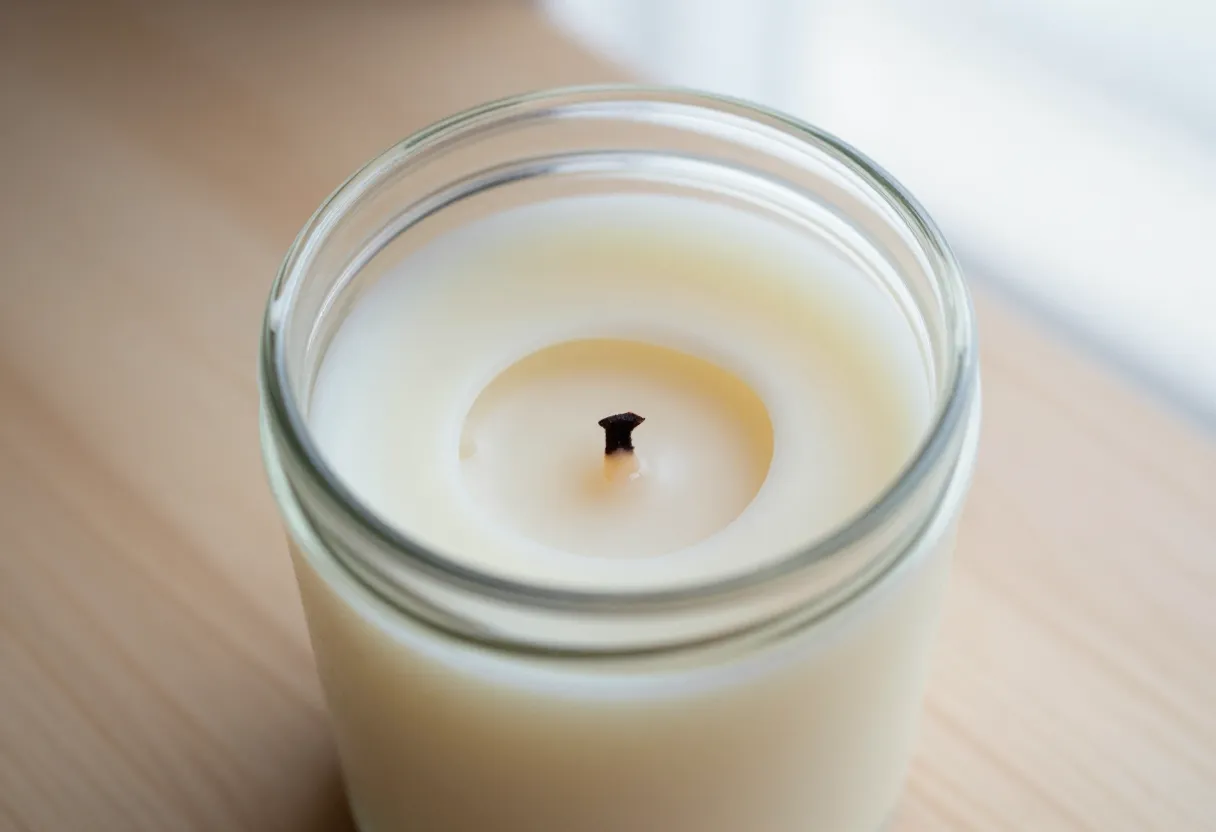
Compare what you saw with the melt pool and flame you wanted. This is where the real information is. A tunnel like the one below is a classic result.
| What you saw | What it usually means | What to try next |
|---|---|---|
| Narrow pit, wax left on the glass | Wick too small, or the first burn was too short | Test the next size up, and give the first burn long enough |
| Tall, flickering or smoky flame | Wick too large, or too long | Test the next size down. Trim the wick to the same length each time |
| Container gets very hot | Wick too large | Put it out. Test a smaller wick |
| Carbon mushroom on the wick | Wick too large, or too long | Test a smaller wick and trim to ¼ inch |
| Pool reaches the edge, flame steady, clean tip | The wick is working | Confirm it with a second candle |
| Strong cold throw, weak hot throw | Wick too small to heat the pool, or fragrance not suited to the wax | Retest the wick before you touch the fragrance |
| Scent fades part way down | Top-heavy fragrance, or the candle is running out of fuel | Check the fragrance blend and the wick together |
For a longer list of symptoms and fixes, use the Candle Troubleshooter and the Candle Troubleshooting guide. If the wick is the problem, the Wick Selector gives you the neighboring sizes to try.
What counts as a pass
Decide in advance what passes, so you do not talk yourself into a candle that is almost right. A candle passes when, across a full burn, all of these are true:
- The flame is steady and does not climb as the candle burns.
- The melt pool reaches the edge and stays a sensible depth.
- No deep tunnel is left behind, and little wax is left on the glass.
- The container stays safe to handle with care, including near the bottom.
- The wick stays clean, with little carbon and little soot.
- The scent is right, both cold and hot.
- A second candle from the same batch behaves the same way.
If any one fails, adjust a single variable and test again.
Change one thing at a time
If you change the wick and the fragrance load together, you cannot tell which one made the difference. Change one thing per test and keep everything else the same. This is slower on the first day and much faster over a month.
Retest whenever you change any of these:
| Change | Why it matters |
|---|---|
| Wax, or a new batch or formula from the same supplier | Wax behavior can vary |
| Wick type or size | The obvious one |
| Container, even one that looks the same | Different glass, wall thickness and width |
| Fragrance, or the fragrance load | Oils change how wax burns |
| Dye or color | Dye can change how a wick performs |
| Pour or cure method | Affects how the wax sets |
Test a batch, not just a candle
One candle that works does not mean the batch works. Pour a few extra test candles in every production run, and burn one from the start, one from the middle and one from the end. If you make candles in big batches, this shows you when the wax, the temperature or the wick has drifted.
Keep one candle from each batch, labeled, as a reference. If a customer reports a problem, you can burn the same candle and see what they saw.
Beyond your bench
Industry standards for candle design and fire safety exist. The National Candle Association describes standards covering warning labels (ASTM F2058), glass containers (ASTM F2179) and the design of the candle itself, including flame height, tipping over and how a candle behaves as it reaches the end of its life (ASTM F2417). These are voluntary, and a home maker is not required to put candles through laboratory tests. They are still worth knowing, because they describe what a careful maker should be aiming at. If you grow into wholesale or large retail accounts, a buyer may ask for testing, and a professional lab can run it.
Your own burn tests are not a substitute for that, but they come first, because a candle that fails at your bench would fail in a lab too.
Keep records
A test you did not write down did not happen. Record, for every test:
- The recipe, with the wax, wick, container, fragrance, load and dye.
- The dates: poured, cured and burned.
- The room and the setup.
- The times and what you saw at each check.
- The result, and the single change you will make next.
The Burn Test Log is built for this. It stores recipes and test results in your browser, with a verdict on each burn, and exports to CSV or JSON.
Common questions
How long should I burn a test candle?
Long enough for the melt pool to reach the edge on the first burn, and then, over several burns, all the way down. The one-hour-per-inch rule is a rough guide, and four hours is a common limit for a single burn. Follow your wax supplier’s advice if it differs.
How many test candles do I need?
For a new wick, three: the suggested size, one smaller and one larger. Then pour a confirmation candle at the size you choose. See Candle Wicks Explained.
Can I test in a different room from the one it will be burned in?
Test in a calm, draft-free spot so you can compare results. Real homes are less tidy, so a candle that only works in a perfect room is a weak candle.
What if a candle fails near the bottom?
That is a real failure. Candles run hotter as they burn down, so a wick that was fine at the top may be too big. Test the next size down.
Do I have to cure every candle?
Yes, for the time your wax calls for. Skipping the cure can make the scent, and sometimes the burn, look worse than it is.
Can I test more than one candle at the same time?
Yes, with enough room between them. Keep them well apart so they do not heat each other, and keep them all in sight.
Where to go next
- Burn Test Log to save recipes and results.
- Pour and Cure Guide for cure dates.
- Wick Selector for the sizes to test.
- Burn Rate and Burn Time to work out how long a candle lasts.
- Candle Troubleshooter when a result looks wrong.
- Candle Safety before every test.
Questions or corrections? Send a note. Ready for the next step?Browse more guides.