

Guides Fragrance & Dye
Scent Blending 101: Make Your Own Candle Fragrance
How to blend fragrance oils for candles: scent families, top, heart and base notes, ratios, weighing, testing in wax, curing and writing down a recipe you can repeat.
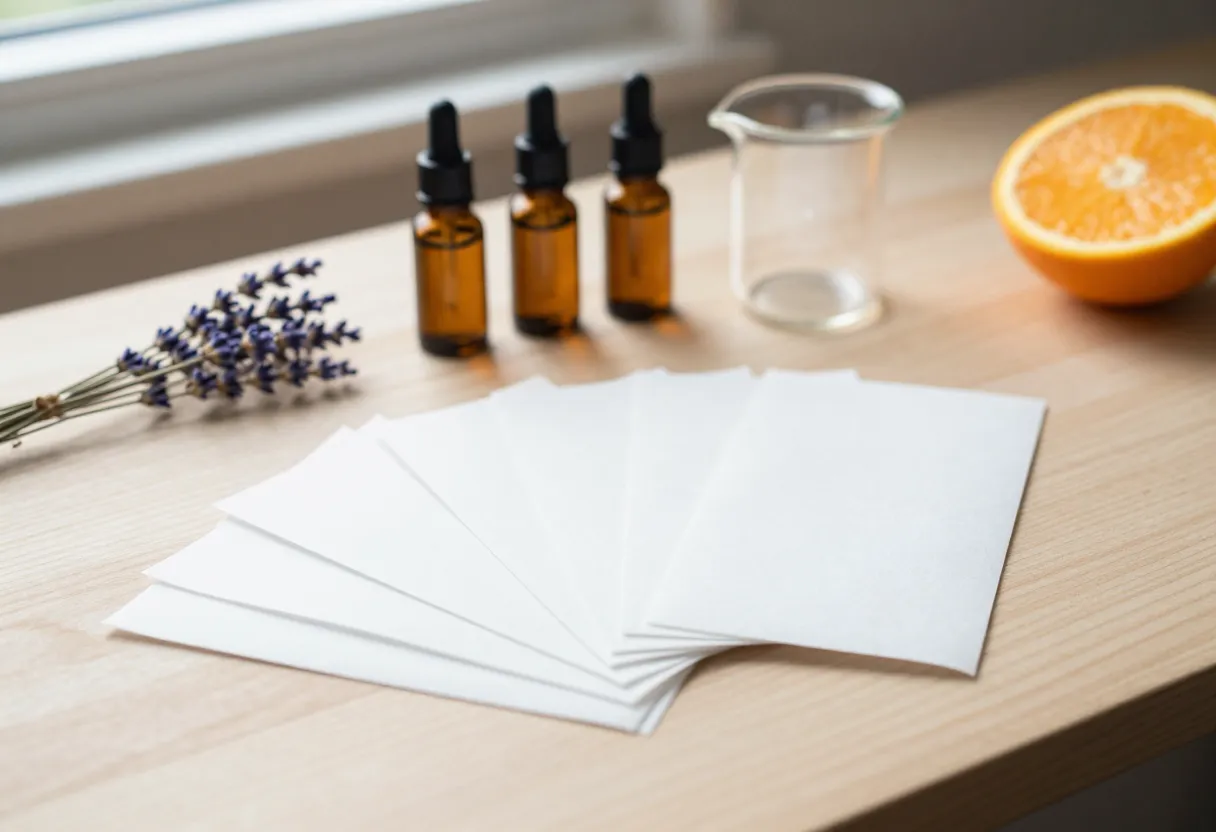
Every supplier sells a hundred fragrance oils, and every other candle maker is using the same ones. Blending is how you end up with a scent that is yours: a vanilla that is not quite like anyone else’s, or a fresh, woody blend you could not buy in a bottle. It is also the quickest way to waste a weekend of wax if you do it by guesswork.
This guide covers blending from the ground up: how scents are built, which families go together, how to turn a ratio into grams, how to test a blend before you commit a whole batch, and how to write it down so you can make it again. It builds on Candle Fragrance Explained, so read that first if fragrance load, flash points and curing are new to you.
Why blend at all?
- A signature scent. A blend gives your candles a character that customers cannot match against a competitor’s listing.
- Fixing an oil. A fragrance that is too sweet, too sharp or too flat can often be rounded out with a small amount of a second oil.
- Using up what you have. Two half-bottles can become one good candle.
- Seasonal variations. One base recipe plus a different accent oil gives you a whole range.
The trade-off is time. A blend has more variables than a single oil, so it takes more testing, not less.
Start with oils made for candles
Everything in Candle Fragrance Explained still applies. Blend fragrance oils sold for candles, from a supplier that publishes safety data sheets. Perfume, body oil, cooking extracts and craft-store scents are not made to be burned. Keep every blend to oils that are meant to be used together in the same kind of wax. When in doubt, ask the supplier, and read the data sheet for each oil you use.
How a scent is built
You already know the three layers from the fragrance guide: top notes arrive first and fade first, heart notes carry the character, and base notes linger. A balanced blend usually has something from each layer, though a single oil is often already a mix of all three.
Two ideas make blending easier than it first looks:
- Roles. Give each oil a job. The lead is the main scent and the first thing anyone will name. The support rounds it out. An optional accent adds a small twist.
- Strength. Oils are not equal. A strong vanilla or a sharp mint can swamp everything next to it, so a small share of a loud oil can do more than a large share of a quiet one. Learn each oil on its own before you blend it.
Scent families
It helps to sort oils into families. Families that sit next to each other on the ring tend to blend easily. Families on opposite sides contrast, which can be striking in a small dose and clashing in a large one.
| Family | Think of | Tends to go with |
|---|---|---|
| Citrus | Lemon, orange, grapefruit, bergamot | Fresh and green, floral, woody |
| Fresh and green | Mint, eucalyptus, tea, cut grass | Citrus, floral, woody |
| Floral | Lavender, rose, jasmine, peony | Citrus, fruity, sweet, woody |
| Fruity | Apple, pear, berry, peach | Floral, sweet, citrus |
| Sweet | Vanilla, caramel, coconut, brown sugar | Fruity, warm and spicy, amber |
| Warm and spicy | Cinnamon, clove, ginger, nutmeg | Sweet, amber, woody, citrus |
| Amber and resin | Amber, musk, incense, frankincense | Sweet, warm and spicy, woody |
| Woody | Cedar, sandalwood, pine, oakmoss | Citrus, floral, amber, warm and spicy |
These are common pairings, not rules. They are a place to start, because you only learn what a blend smells like by smelling it.
Some blends to start from
A few classic structures to build on, with your own oils in each slot:
| Idea | Lead | Support | Accent |
|---|---|---|---|
| Warm and cozy | Vanilla | Amber | A little cedar |
| Fresh morning | Lemon | Eucalyptus | A little lavender |
| Cabin | Cedar | Pine | A little cinnamon |
| Garden | Lavender | Rose | A little citrus |
| Orchard | Pear | Vanilla | A little warm spice |
Treat these as starting points. Your oils will not smell exactly like another supplier’s, so the real recipe is the one you test.
Work in parts
Blend by parts of weight, never by drops or by eye. A ratio like 60 / 30 / 10 means six parts lead, three parts support and one part accent. The numbers do not need to add up to 100. 6 : 3 : 1 is the same blend.
To turn a ratio into grams for a batch:
- Work out the total fragrance with the Fragrance Load Calculator: wax weight times the load.
- Divide it by the parts. In a 16 g batch, a 60 / 30 / 10 blend is 9.6 g, 4.8 g and 1.6 g.
- Weigh each oil separately into the same container.
The Scent Blend Calculator does all of this for you, including a master blend you mix ahead of time.
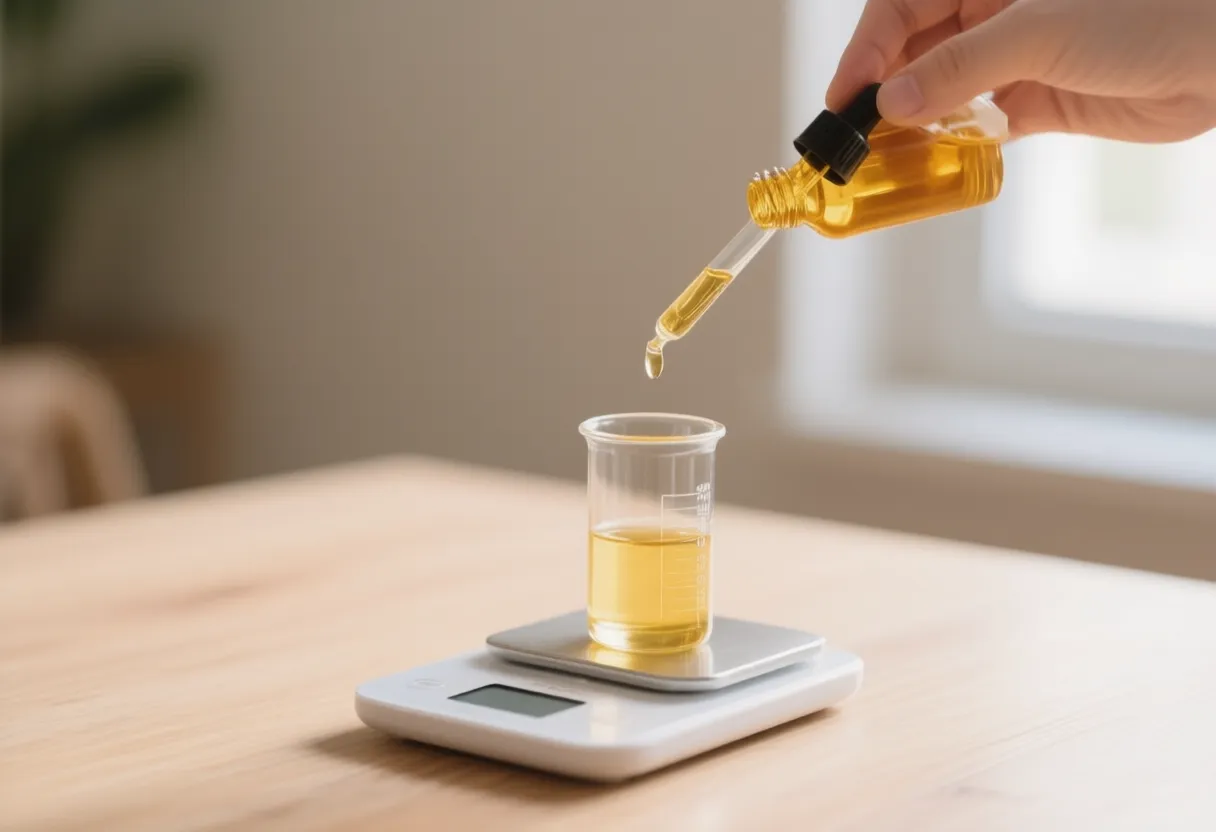
Make a master blend
If you will pour the same scent many times, mix a master blend in a bottle ahead of time. Pick a size that covers several batches, weigh each oil in by its share, close the bottle and label it with the recipe and the date. Then every batch just needs the total fragrance weight of the blend.
A master blend also solves a common problem with small batches: an accent of 10 percent in a 6 g batch is only 0.6 g, which is hard to weigh on a home scale. Mix the blend in a larger quantity and the amounts become easy to measure accurately.
Build it step by step
- Smell each oil by itself first. Note what you notice, what stays, and what fades. Keep notes.
- Choose a lead. Decide which oil should be the first thing someone names.
- Add a support, usually from a neighboring family. Try a few ratios, such as 70 / 30 and 50 / 50.
- Try a small accent. A little of a contrasting oil, a tenth of the blend or less, can add interest. If you cannot tell it is there, that is fine. If it jumps out, use less.
- Stop adding. More than three or four oils tends to turn muddy, because each one dilutes the others.
Smell tests on paper
Before you use any wax, test the blend on a paper blotter strip. Dip a strip, or put a drop on it, wave it a few inches from your nose, and smell it again after a minute and after ten. The top notes show up first and fade, the heart notes arrive next, and the base notes are what remains. Take a break between sniffs, because your nose tires quickly. Smelling coffee beans or fresh air between strips is a common reset.
Keep a separate strip for each blend and write the recipe on it.
Let it rest
Once you have mixed a blend, let it sit in a closed bottle for a day or more before you judge it. The oils meld and the first harsh edges soften. A blend that smells sharp on day one is sometimes lovely on day three, and the other way round.
Test it in wax
A blend smells different in wax than it does on paper, and different again when it is burning. So test it the same way you would test a single oil:
- Make a small test batch in your usual wax, container and wick.
- Add the blend at the load you plan to use, within your wax’s maximum and within the lowest maximum among the oils.
- Pour two or three candles, and label each one with the blend ratio and the date.
- Cure them for the time your wax calls for.
- Smell the cold throw, then burn each one and judge the hot throw after the melt pool has reached its full width.
- Write down what you notice at the start, in the middle and near the end of the burn, because a blend can change as it burns. Some oils fade faster than others.
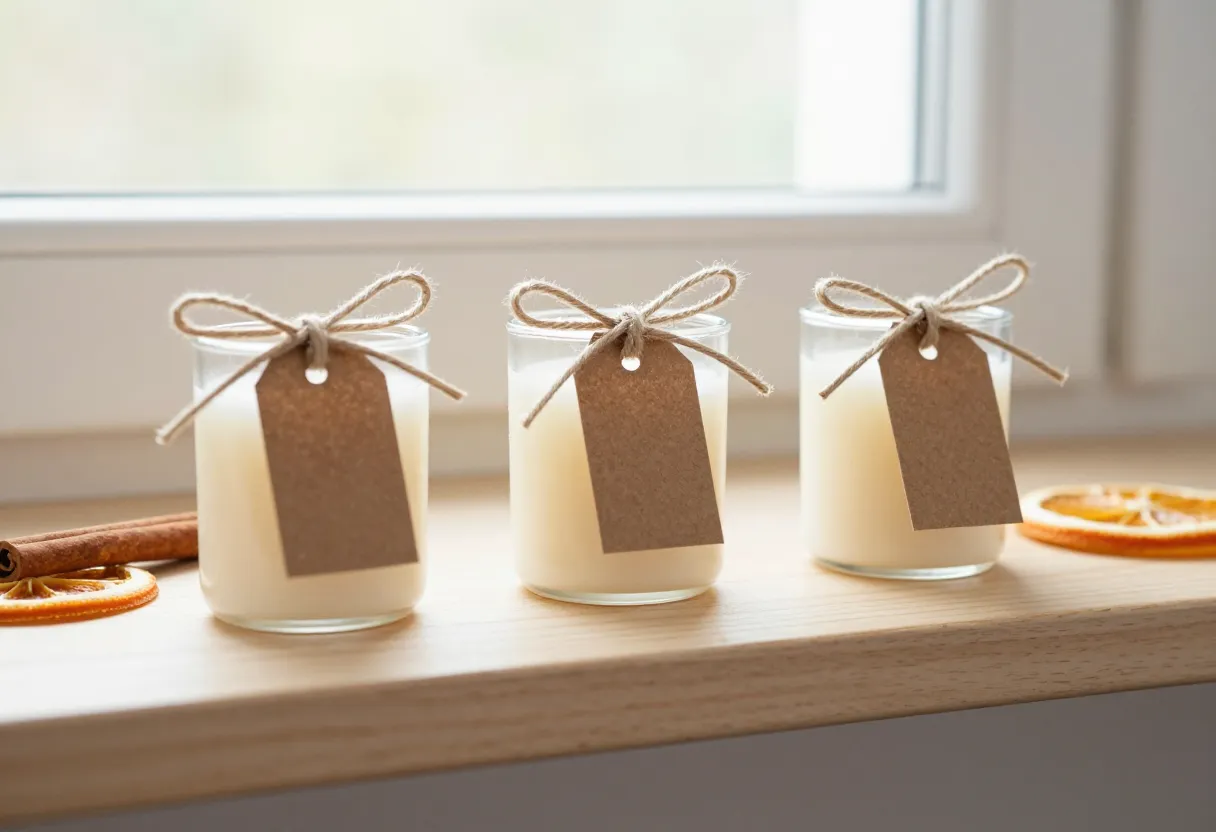
Change one thing at a time. If you adjust the ratio and the load at once, you will not know which one made the difference. The Burn Test Log is built for this: save each blend as a recipe and log the result of each test.
Write it down
A blend you cannot repeat is a blend you cannot sell. For every recipe, record:
- The oils, their suppliers and the ratio in parts.
- The total fragrance load and the wax, wick and container.
- The date mixed and the date poured.
- What you noticed in the cold throw and the hot throw, and what you would change.
Give blends a version number. When you change a ratio, it is a new version. Keep the notes for the versions that failed, too, because they tell you what to avoid.
Common blending problems
| Problem | Likely cause | What to try |
|---|---|---|
| Muddy, hard to name | Too many oils, or oils from opposite families in equal shares | Cut it to two or three oils. Make one the clear lead. |
| One oil dominates | A strong oil at too high a share | Cut its share, or add a little more of the quieter oils. |
| Smells great on paper, weak in the candle | Not cured, too little fragrance, or the wick is too small | Cure longer. Check the load. Retest the wick. |
| Smells right cold, different when burning | Top notes burn off first and leave the base notes | Add more heart or base notes, or choose less volatile oils. |
| Scent fades quickly | Mostly top notes | Move some of the blend toward heart and base notes. |
| Wax turns tan or yellow | Some oils, especially some vanilla ones, discolor the wax | Choose a different oil, or expect the color change and plan for it. |
| Oil beads on the surface | Over the wax’s limit, or oil added too cool | Lower the load. Add it at the temperature your wax supplier gives, and stir well. |
Selling blends
- Keep the recipe private. Customers do not need the ratio, but you do.
- Name the scent for what it smells like, not just for what is in it. Customers shop by mood and by memory.
- Be consistent. Weigh every batch the same way, so the candle someone buys again smells like the first one.
- Check the labeling rules that apply where you sell. If you sell candles, warning labels and fragrance information can be required.
For the business side, see Selling Candles Explained.
Common questions
How many oils should I blend?
Two or three is plenty for most candles. A lead and a support is a perfectly good blend, and many great ones are just that.
Can I blend fragrance oils from different suppliers?
You can, but check each oil’s safety data sheet and recommended maximum load, and use the most restrictive of them. Test the blend in wax before you sell it.
Can I add essential oils to a blend?
Some people do, in small amounts. Essential oils vary a lot in their flash points and in how well they throw in wax, so check the data for each one and test carefully.
Why does my blend smell different from what I expected?
Scent changes with the wax, the load, the cure and the burn. Judge a blend only after the cure and a proper burn test, not by the bottle.
How long should I let a blend rest?
A day or two is a good minimum for a small blend. Let a master blend rest a few days if you can, and check the scent again before you pour.
Do I need to cure the candle before I judge it?
Yes. See Candle Fragrance Explained and the cure planner in the Pour and Cure Guide.
Where to go next
- Scent Blend Calculator for grams of every oil.
- Fragrance Load Calculator for the total fragrance in a batch.
- Burn Test Log for saving recipes and test results.
- Candle Troubleshooter when a scent is too weak or too strong.
- Candle Safety before you pour anything.
Questions or corrections? Send a note. Ready for the next step?Browse more guides.