

Newsletter October 12, 2026
Candle Making with Kids: Safe Ways to Get Started
Incorporating kids into the craft is rewarding. We walk through age-appropriate techniques—from rolling to simple pours—while prioritizing safety above all else.
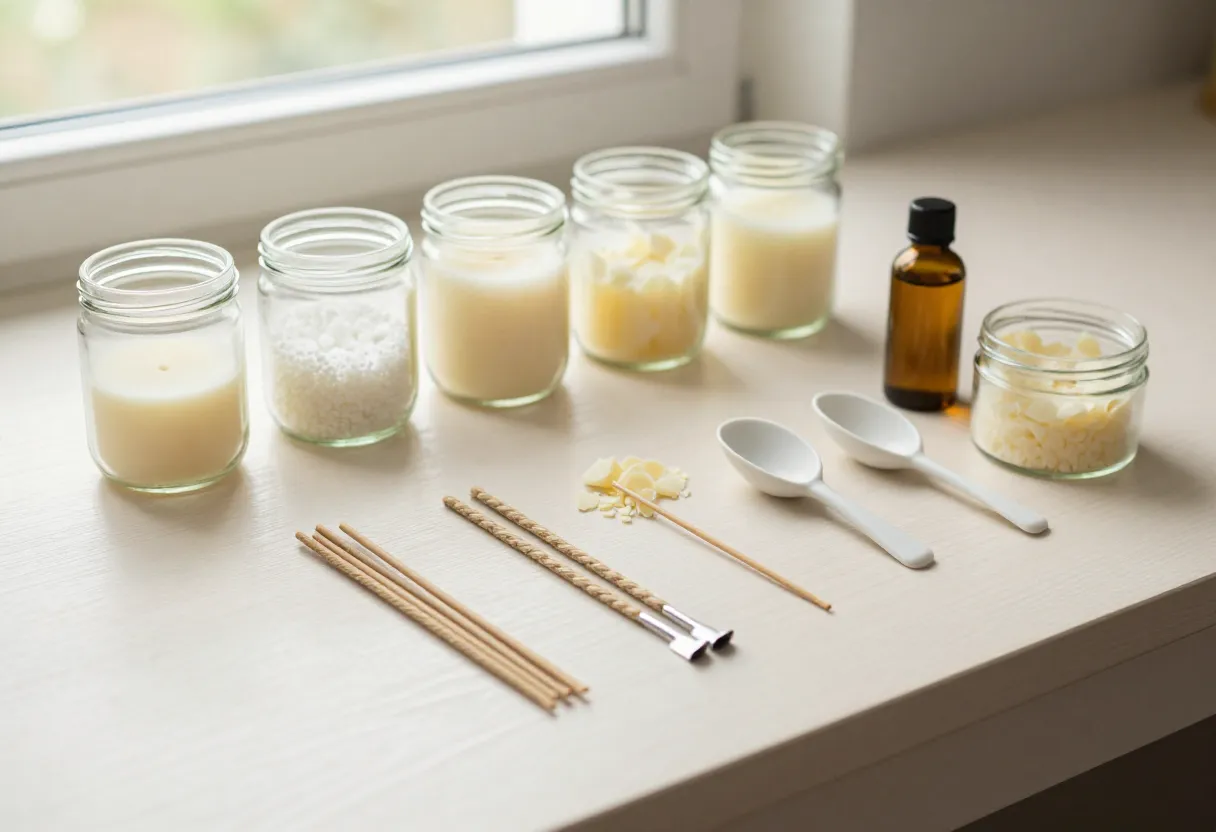
Safety First: Setting Up a Kid-Friendly Bench
Before any wax is melted or any wick is placed, the most important step is establishing clear boundaries at your workbench. When I started making candles, my focus was on precision and safety—habits that stayed with me from my time in the Marine Corps. Those same principles apply when children are involved. You need to establish a “no-go” zone for anything involving heat.
A kid-friendly bench means creating a space where they can participate without being near active heating elements or molten wax. This involves several non-negotiable rules:
- The Hot Zone: Children should never be allowed within arm’s reach of the melting pot, hot plates, or any other heat source while it is in use.
- Stop Signals: Establish a clear verbal cue if they need to step back or if you need them to wait for a specific instruction.
- No Rush Policy: Teach them that candle making is about following the process. If we rush, things can get messy or unsafe.
By setting these boundaries early, you create a safe environment where they can focus on the craft without compromising safety. For more foundational information on keeping your workspace and process safe, see our candle safety guide.
Low Heat Methods for Younger Makers (Ages 3-7)
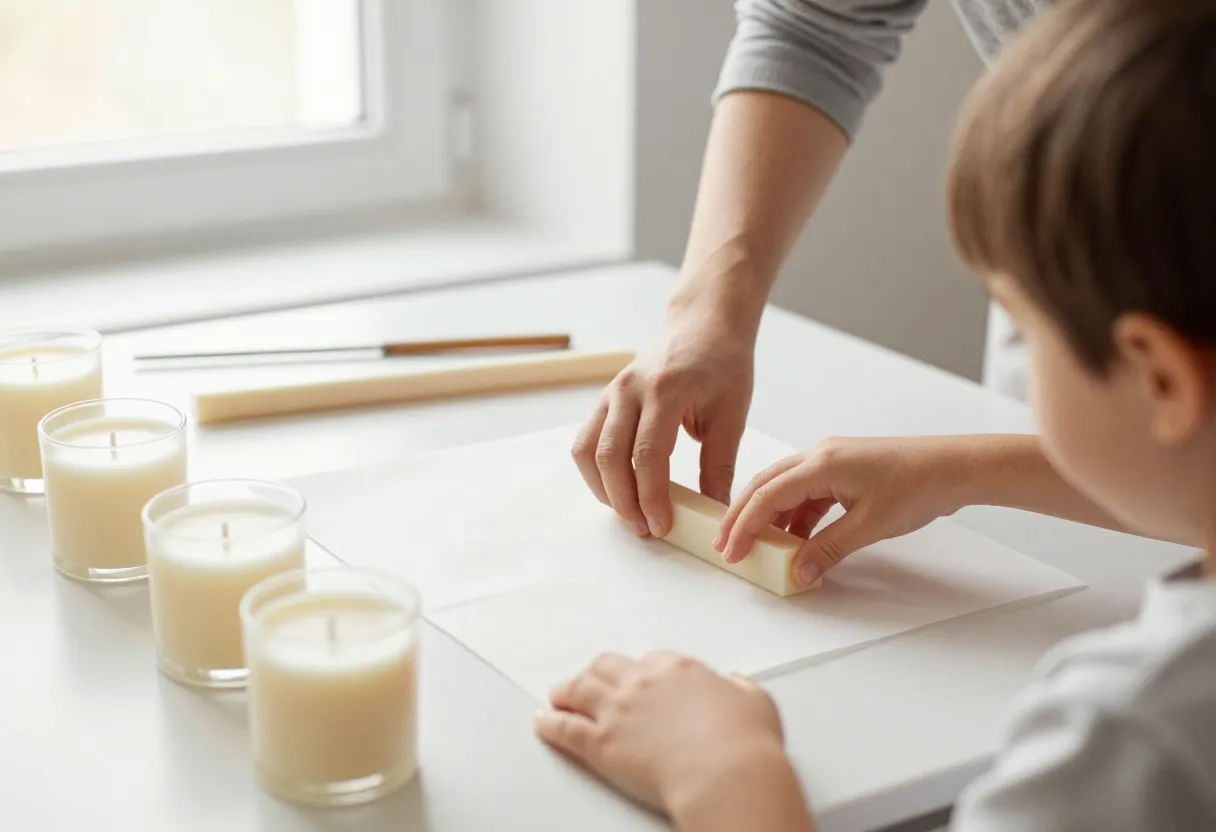
For younger children, the goal is to engage their senses—sight, smell, and touch—without the risks associated with high temperatures. At this age, I recommend skipping the melting pot entirely and focusing on “low heat” or no-heat activities. This allows them to experience the joy of creation without being near a hazard.
You can introduce them to the craft through:
- Scent Rolling: Let them explore different fragrance oils by smelling them and choosing their favorites for a rollerball blend.
- Wax Melt Blocks: Give them pre-made wax melts (that have already been cooled) to “sculpt” or arrange in small tins, focusing on the textures and colors of the wax.
- Color Exploration: Let them help you stir in your dyes into a batch that you have already poured and are cooling, allowing them to see how color changes over time.
These activities let them feel like part of the “making” process while keeping their hands away from heat sources. If they want to learn about different wax types for these projects, check out our guide on candle waxes.
Simple Layering & Pouring for Older Kids (Ages 8+)
As kids get older and show more interest in the technical side of making, you can gradually introduce them to parts of the process that involve more interaction with the materials. At this stage, they can handle “prepped” tasks under your direct supervision. This means they are working with items that have already been measured or mixed by an adult.
You might let them help with:
- Wick Placement: They can help center and secure wicks in containers before the pour.
- Small Batch Pouring: Once you have prepared a small amount of wax, they can assist in pouring it into pre-filled containers, provided they are standing on a stable stool and staying away from the heat source.
- Organizing Supplies: They can help gather wicks, jars, or labels, which builds their understanding of the workflow.
Keep these tasks simple and focused. If you want to dive deeper into different types of products for them to try first, like wax melts, see our pillar, votle, and wax melt guide.
What to Watch Out For: Common Mistakes When Teaching

When teaching children, the most common hurdle is managing their excitement versus the actual process. Kids often want to move straight to “pouring,” but in candle making, every step—from measuring and mixing to cooling times—matters for a successful batch.
Be mindful of these specific issues:
- The Rush: Children may try to grab things or skip steps because they are excited. You must be the gateholder; if a step isn’t ready, it doesn’t happen yet.
- Mess Management: Spilled wax is common when kids are involved. Keep their work area clear of clutter so that any small spills stay contained and don’t become hazards or ruin your supplies.
- Over-complicating the Task: It’s tempting to let them try everything at once. Instead, pick one “win” for each session—like just making a specific color or choosing a scent—so they can experience success without getting overwhelmed by too many variables.
If you find yourself struggling with a specific issue on your bench, our troubleshooter tool can help identify what might be going wrong with the wax itself.
Making the Most of It (The Adult Job)
While involving kids in the process is a great way to share the craft and build their confidence, it’s important to remember that you are still the lead maker on this bench. The “fun” parts—the colors, the scents, and the creative choices—are for them; the technical precision and safety management are your responsibility.
Your role as an adult is to ensure that:
- Safety Protocols are Met: You must manage all heat sources and handle any chemicals or hot materials yourself.
- Quality Control stays High: While a “perfect” pour isn’t always possible with extra hands, you are the one ensuring the measurements are correct for proper scent throw and burn.
- The Process is Consistent: Use your experience to guide them through the steps slowly, making sure they understand why we do things in a certain order.
Think of it as mentorship: you’re teaching them the discipline of the craft while they bring the enthusiasm. For more on how to get started with the basics of making and pouring, visit our start here guide.
Inspired by a story from Candle Creations Blog.
Get the next issue
Questions or corrections? Send a note. Or read more issues.