

Guides Pillars & Melts
Pillars, Votives and Wax Melts: Making Candles Without a Jar
How to make pillar candles, votives, tealights and wax melts: the right wax, molds, wicking, pouring, finishing, safe burning, troubleshooting and selling.
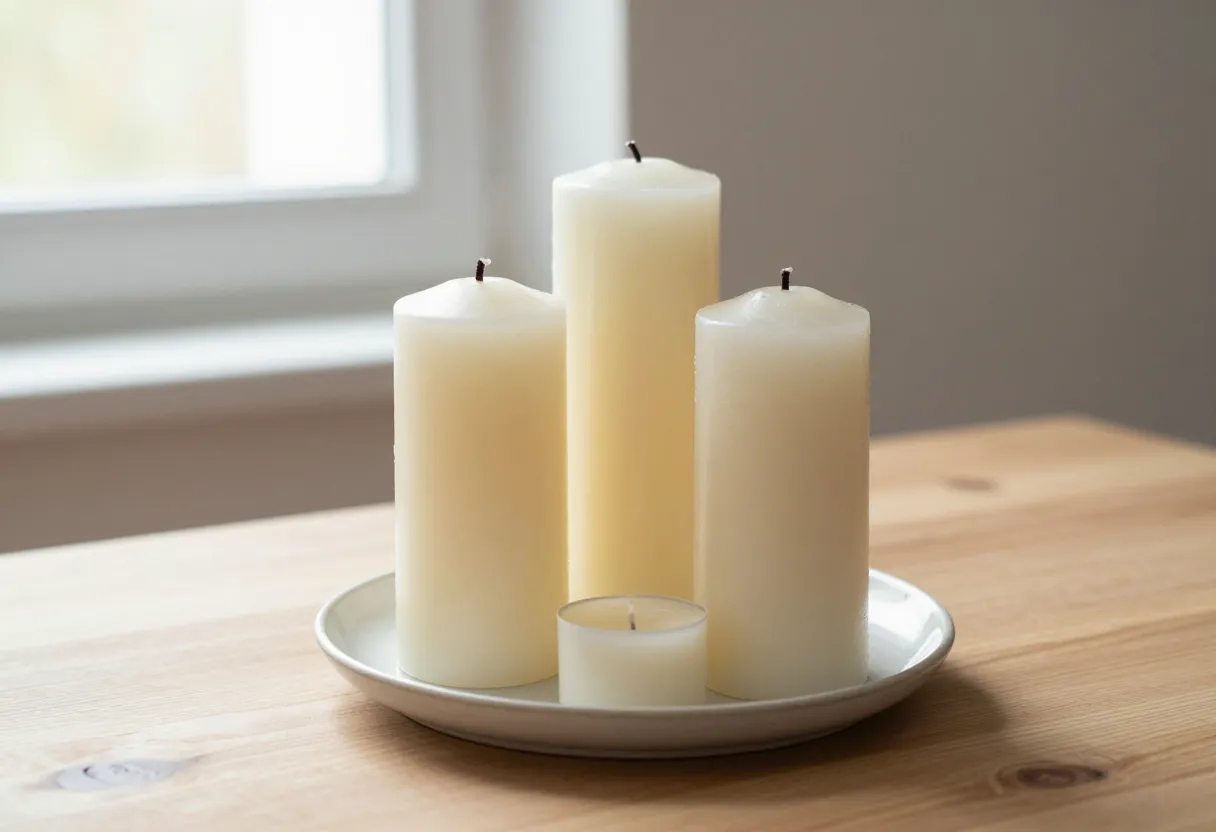
A container candle lets the jar do a lot of the work. The glass holds the wax, catches the melt pool and protects the surface it sits on. Take the jar away and everything changes. A pillar has to stand on its own, a votive sits in a holder, and a wax melt has no wick at all. Each one is a different product with its own wax, its own wicking and its own safety rules.
This guide covers freestanding candles and melts from the ground up: the wax, the molds, the wick, the pour, the finish, how a pillar should burn, what goes wrong and how to sell them. It assumes you have made a container candle already. If not, start with Your First Candle, and read Candle Safety before you pour anything.
Container, pillar, votive, tealight or melt?
| Product | What holds the wax | Wick | Burned how |
|---|---|---|---|
| Container candle | The jar | Yes | In its jar |
| Pillar | The candle’s own outer wall | Yes | On a heat-safe plate or holder |
| Votive | A holder, which is usually glass | Yes | Inside the holder |
| Tealight | A small metal or plastic cup | Yes, pre-tabbed | In its cup, in a holder |
| Wax melt or tart | Nothing, it is a solid piece | No | Melted in a warmer, never lit |
The big difference between a container and a pillar is where the wax goes. In a jar, the whole top can melt, and the glass keeps it in. In a pillar, the wick should melt a pool in the middle while a wall of solid wax stays standing around it. Get that balance wrong and the pillar either tunnels or leaks.
Choose the wax
Container wax is usually too soft to stand on its own. For pillars and votives, pick a wax made for them, which is harder, has a higher melting point and releases from a mold cleanly. Common choices include paraffin pillar waxes, pillar blends and soy-based pillar blends.
- Look for “pillar” or “votive” on the data sheet. The supplier says what each wax is meant for.
- Check the melt point. A higher melting point helps a pillar hold its shape and handle warm rooms. A softer wax that is fine in a jar may slump in the open.
- Check the fragrance limit. The maximum fragrance load varies a lot from one pillar wax to another, and it can be lower than for container waxes. Some blends made for melts allow far more.
- Check the pour temperature. It is often different from a container wax, and each supplier gives its own figure.
You don’t need to memorize any of this. The Pour & Cure Guide lists melt point, pour temperature and maximum fragrance for each wax on the supplier’s chart, including the pillar and melt waxes. Always confirm against the data sheet for the exact wax you buy.
Molds
Molds decide the shape, the finish and how easily the candle comes out.
- Metal molds, usually aluminum, are the classic choice for pillars. They give a smooth side and last for years, and they have a hole in the base for the wick.
- Silicone molds are flexible, which makes them good for shaped candles, small pillars and wax melts, since you can peel the mold away.
- Plastic and polycarbonate molds give a glossy side and are easy to clean.
- Seamless and two-part molds differ in how much seam line you will have to trim.
Whichever you use, wash and dry it fully before every pour, because dust, oil and water leave marks on the wax. Follow the mold maker’s instructions for release spray or lubricant, and the wax supplier’s advice for the mold temperature. Keep molds on a flat, stable surface and away from drafts.
Wick a pillar
A pillar’s wick has a different job from a container wick. It has to melt a pool wide enough to burn well, but never so wide that it eats the wall. Wick size depends mostly on the pillar’s diameter and the wax.
- Choose by diameter and wax. The Wick Selector now covers pillars and votives. Pick “Pillar or votive”, choose your pillar wax and size, and it shows the supplier’s suggested starting wick and the neighboring sizes to test.
- Test three sizes. Burn the suggestion, the next size down and the next size up, as you would for a container candle. Log each one in the Burn Test Log.
- Dye and fragrance can change the answer. Heavily colored or scented pillars often need a larger wick than the chart’s baseline.
- Stay with one wick series while you test, and don’t swap between brands. Sizes don’t line up from one brand to another.
What a well-wicked pillar looks like
Don’t expect a pillar to burn all the way across like a container candle. It is normal and even desirable for a pillar to keep an outer wall as it burns down. What matters is that the wall stays standing and the melted pool stays inside it.
Make a pillar, step by step
- Prepare the mold. Clean and dry it, apply release if the mold maker recommends it, and stand it on a level surface. Have your wick, wick putty, a wick bar or a pencil, a pouring pitcher and a thermometer ready before the wax is hot.
- Wick the mold. Thread the wick through the hole at the base, and seal that hole with wick putty or the mold’s own sealing plug so wax can’t leak out. Pull the wick tight across the open top and secure it on a wick bar or a pencil, so it sits dead center.
- Melt the wax gently. Use a double boiler or a dedicated melter, and stir occasionally. Never melt wax over a direct flame or in a microwave, and never leave it unattended. Follow your wax’s data sheet for how hot to take it.
- Add color and scent. Add dye first and stir until it is fully dissolved, then add fragrance at the temperature your supplier gives, staying under the wax’s maximum load. Stir thoroughly for a couple of minutes. The Fragrance Load Calculator will do the weights for you.
- Pour. Let the wax cool to the supplier’s pour temperature, then pour slowly down the side of the mold or against the wick, so you don’t splash and trap air. Tap the mold gently to bring bubbles to the surface. Keep a little wax in reserve.
- Cool and top off. As the wax sets, it shrinks around the wick and usually leaves a sunken well. Some makers poke a few relief holes beside the wick to release trapped air and then pour reserved wax in to fill the gap. You may need two top-offs. Let it cool undisturbed at room temperature, because chilling it quickly can cause cracks.
- Release and finish. Once it is fully set and cool, remove the sealing plug or putty and ease the candle out. Trim the wick to about ¼ inch, and level the base if needed. Let the candle cure for the time your supplier recommends before you burn test it.
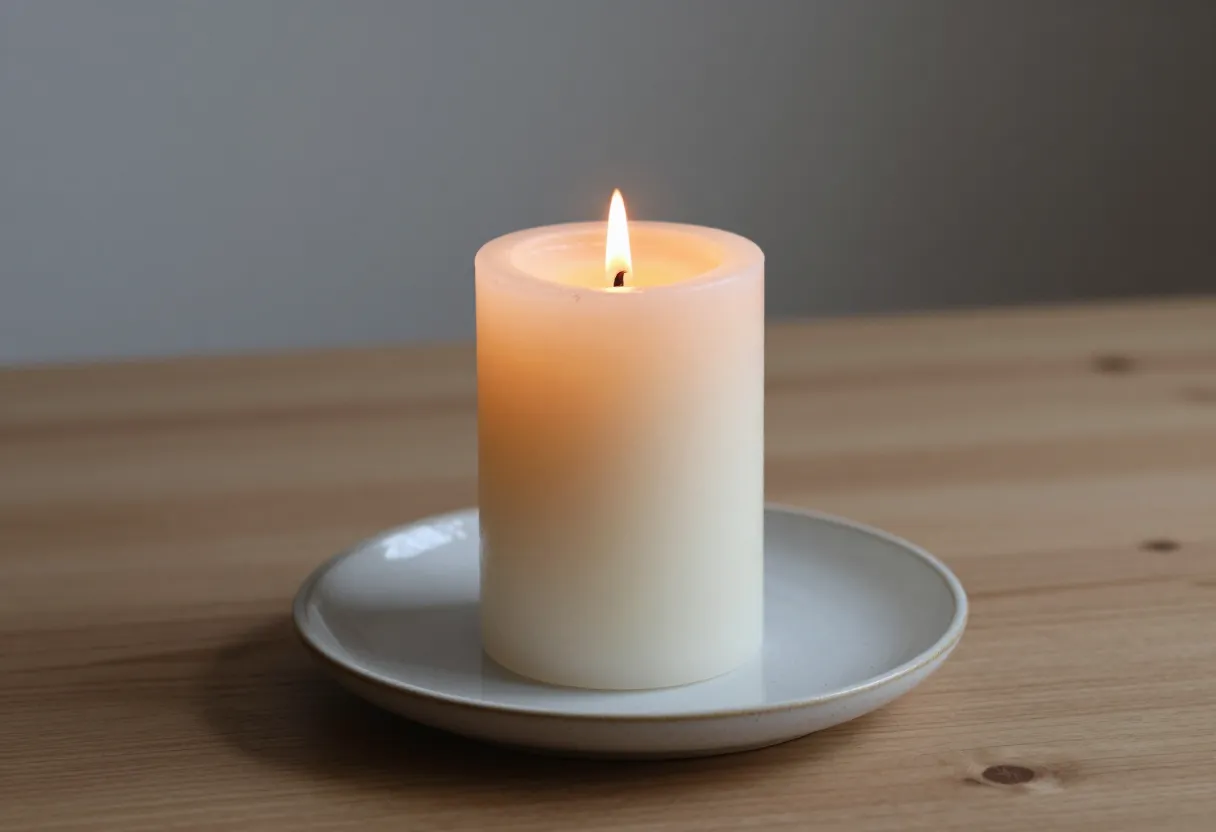
Finishing and troubleshooting a pillar
Most pillar problems come from the wax cooling unevenly or the wick being the wrong size. Here are the usual ones.
| Problem | Likely cause | What to try |
|---|---|---|
| Sunken well around the wick | Wax shrinks as it cools | Top off with a second pour, and make a smaller first pour next time |
| Cracks in the surface or sides | Cooling too fast, or a cold mold | Let it cool slowly at room temperature, away from drafts |
| Air bubbles and pits | Trapped air or pouring too fast | Pour slowly, tap the mold, and bring up bubbles before the wax sets |
| Frosting, wet spots or mottling | Temperature swings or the wax’s natural look | Check your wax and pour temperature, and keep the room steady |
| Sticks in the mold | A dirty or unprepared mold, or releasing before it has set | Clean and prepare the mold, and let it set fully before releasing |
| Seam lines | The mold’s seams | Trim or smooth them with a warm, clean cloth |
| Wick off-center | Not held tight when poured | Pull the wick taut and keep it centered until the wax sets |
| Tunneling | Wick too small | Test the next size up |
| Melt pool breaks through the wall, wax leaks | Wick too large | Put it out and test the next size down. Never burn it unattended |
| Heavy soot or a tall flame | Wick too large | Test the next size down, and trim the wick |
For container problems that also apply here, see Candle Troubleshooting.
Votives and tealights
Votives and tealights are small candles that burn inside a holder.
- Votives are made in votive molds or in votive cups, and burned in a glass or metal holder. They use the same pillar-style wax and a small, appropriately sized wick. The Wick Selector includes a votive option.
- Tealights are made in small cups with a pre-tabbed wick that is already attached. The cup is part of the candle, and you burn it in a holder.
- Fill carefully. A small candle shrinks noticeably as it sets, so top off for a flat surface.
- Burn them in a holder that suits the size, and keep them away from anything that can burn.
Wax melts and tarts
Wax melts, sometimes called tarts, are small pieces of scented wax that you warm to release fragrance. They have no wick and are never lit.
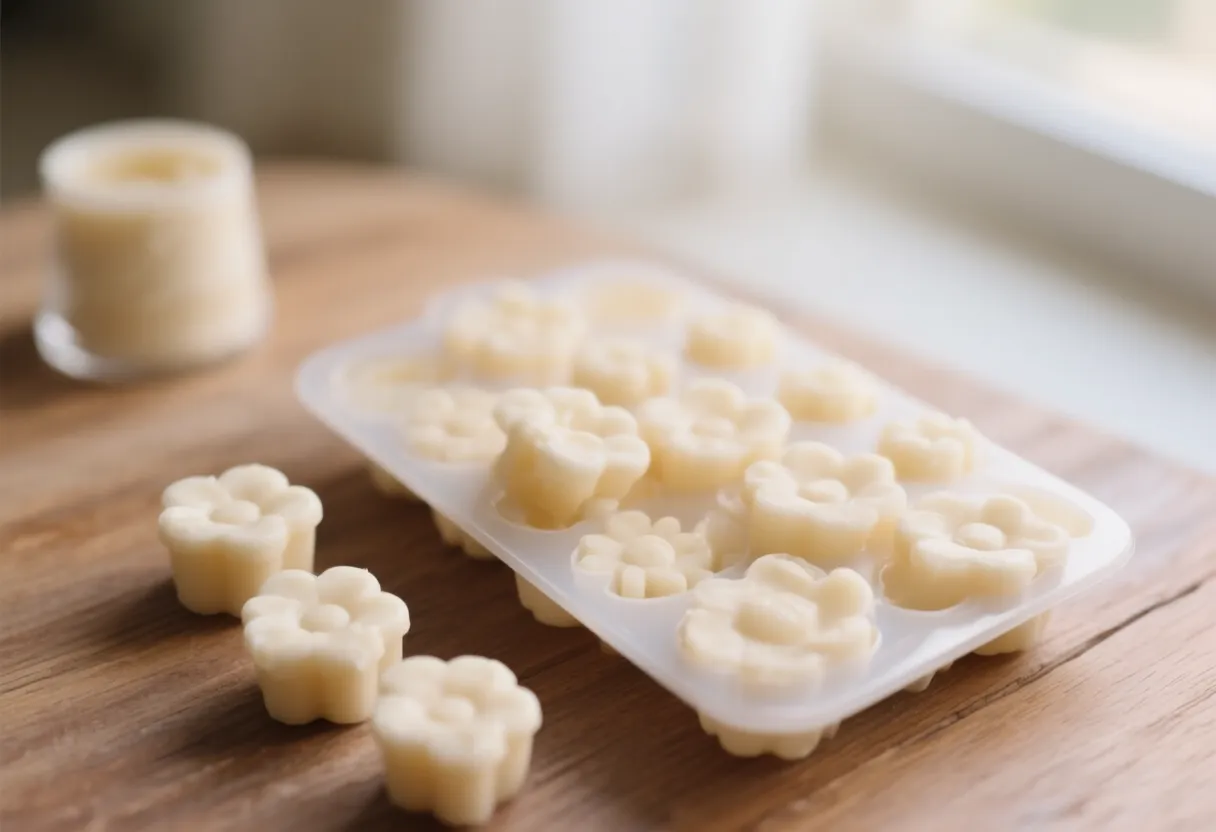
- Use a wax made for melts. Some blends are designed to release scent well when warmed and to hold a higher fragrance load. Check the data sheet for the maximum load, and stay under it.
- Scent matters more. With no flame to throw the scent, a melt lives or dies on its fragrance. Follow the supplier’s advice on when to add it, and test several oils in a warmer.
- Pour and mold. Melt the wax, add dye and fragrance at the supplier’s temperatures, pour into silicone melt molds or clamshell packaging, and let them set completely before you pop them out.
- Test in a real warmer. Check the strength and how long the scent lasts. Notice how the wax behaves as it melts and how strongly the scent comes through.
- Warn your customers. Melts are for electric or tealight warmers made for them. They must never be lit like a candle, and warmers must never be left unattended or used near anything that can burn.
Color and fragrance in freestanding candles
- Color looks different when cooled. Judge it on a cured test candle, not in the pitcher. See Candle Dye Explained.
- Fragrance limits are lower for some waxes. Staying within the maximum protects the burn and the finish. Heavy fragrance and dye can also clog a wick, so retest your wick at the final recipe.
- Cure before you judge the scent. Give a pillar the cure time your supplier suggests. See Candle Fragrance Explained for cold and hot throw.
Burn test a pillar
Test a pillar the same careful way you test a container candle, with a few extra checks.
- Set it on a heat-safe plate on a level surface, away from drafts and anything flammable.
- Burn in sessions of about four hours at a time, staying nearby. Don’t leave a flame unattended.
- Check every hour: the size of the pool, whether the wall is standing, the flame height and any soot.
- If the pool reaches the edge or wax runs down, put it out and let it cool. That wick is too large.
- If the candle tunnels with a thick wall left, try the next wick size up.
- Burn it down at least once, since it will run hotter near the bottom, and write down what you see.
Use the Burn Test Log to keep the results together.
Selling pillars, votives and melts
- Label for the product. A pillar needs burn warnings that mention a heat-safe holder and a level surface. Melts need clear “do not burn, use in a warmer only” wording. Check the labeling rules where you sell. See Selling Candles.
- Weigh and label the net weight. Pillars and melts are sold by weight or by piece, so make sure what you state is accurate.
- Pack for heat. Pillar waxes are harder, but melts and softer blends can deform in a hot truck. Plan your shipping season and packaging.
- Price it properly. Use the Cost & Pricing Calculator with your real material, time and fee costs.
- Photograph it well. Pillars and melts photograph beautifully in window light. See Candle Photography.
Before you sell checklist
- You have burn tested the pillar or votive in the wax, size and fragrance you will sell.
- The pool stays inside the wall for the whole burn, including the last stretch.
- The wax is within its maximum fragrance load.
- The candle has cured for your supplier’s recommended time.
- The label has warnings that cover a heat-safe holder, level surface and never leaving a flame unattended.
- Melts are labeled as warmer-only.
- You have written down the recipe and the wick.
Common questions
Can I use container wax for pillars?
Usually not. Container wax is typically too soft to stand freestanding and may slump or release poorly. Use a wax designed for pillars, votives or both.
Why does my pillar tunnel?
The wick is probably too small for the diameter, or heavy dye or fragrance is slowing the burn. Test the next size up in the same series. Some tunneling that leaves a thin wall around a pool can be normal, as long as the pool stays inside the wall.
Why did melted wax run down the side?
The wick is probably too large, or the pillar was burned for too long in one sitting. Put it out, let it cool, and test the next size down.
Do I need a holder for a pillar?
Yes. Always burn a pillar on a heat-safe plate or holder that is larger than the candle, on a level surface, away from anything flammable.
Do wax melts need a wick?
No. They are never lit. They are melted gently in a warmer made for melts.
How high can the fragrance load go?
It depends on the wax. Some pillar waxes allow much less than container waxes, and some melt blends allow much more. Check your supplier’s data sheet and the Pour & Cure Guide, and stay under the limit.
How long should a pillar cure?
Follow your wax supplier’s recommendation. Many makers allow one to two weeks, but it varies by wax.
Where to go next
Make one test pillar in a wax made for the job, and use the Wick Selector for your size. Log the burn in the Burn Test Log, then adjust one thing at a time. When it burns well, read Selling Candles to plan your labels, pricing and shipping.
A pillar earns its keep when its wall stands. Test it, watch the pool, and trust what you see.
Questions or corrections? Send a note. Ready for the next step?Browse more guides.